By Alina Fernandes
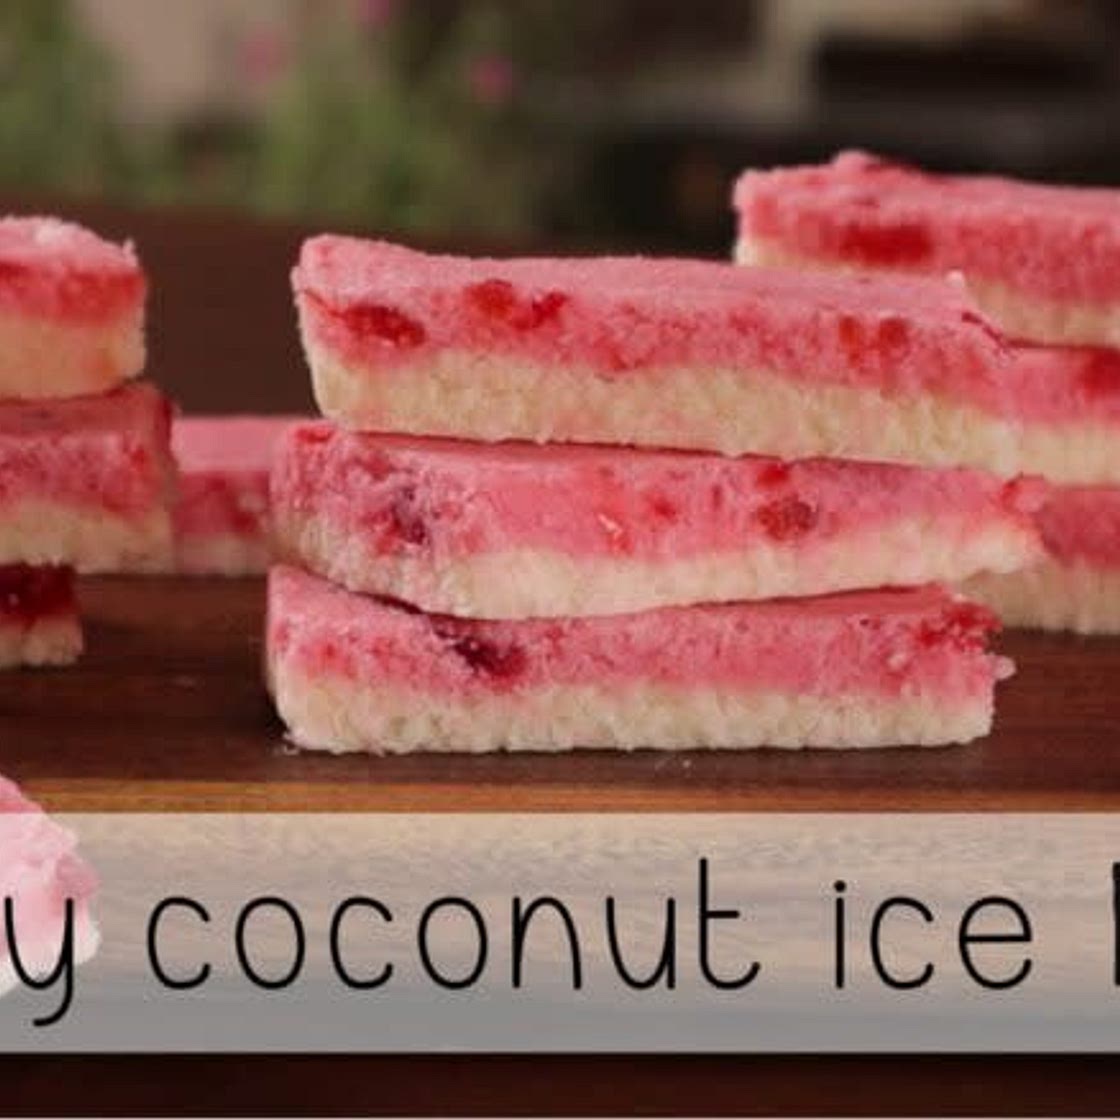
Cherry Coconut Ice (with 4 Variations)
9 steps
Prep:10min
This Cherry Coconut Ice recipe is a great variation to plain coconut ice. It’s no bake, it’s super easy to throw together, and it takes around 10 minutes to make! I have 4 other variation too, which you can grab from the bottom of this post!
Updated at: Mon, 10 Feb 2025 21:47:42 GMT
Nutrition balance score
Unbalanced
Glycemic Index
62
Moderate
Glycemic Load
21
High
Nutrition per serving
Calories222 kcal (11%)
Total Fat8.7 g (12%)
Carbs34.6 g (13%)
Sugars31.4 g (35%)
Protein2.6 g (5%)
Sodium48.9 mg (2%)
Fiber0 g (0%)
% Daily Values based on a 2,000 calorie diet
Ingredients
16 servings
2 cupsIcing Sugar
/ Confectioners Sugar
salt
385 gramTin Condensed Milk
3 cupsDesiccated Coconut
75 gramsGlace Cherries
Chopped
Pink Food Colorant
Equipment:
Instructions
Method (for the cherry coconut ice):
Step 1
Prep a baking tin with baking paper. You can either use a 20cm X 20cm tin (for thinner coconut ice bars), or a 15cm X 15cm tin (for thicker squares).
Step 2
Sift the icing sugar and salt into a mixing bowl.
Step 3
Pour in the condensed milk, and mix it until it's combined.
Step 4
Add the desiccated coconut, about a third at a time, and continue mixing until it's incorporated.
Step 5
Divide the coconut ice equally between 2 bowls (roughly 430g in each). Add the chopped glace cherries and colorant into one bowl, mixing them through evenly (you may need to mix it with your hands to achieve this).
Step 6
Place the plain white coconut ice into your prepped tin, squishing it flat and ensuring it's even. Using the backend of a spoon is a great way to get it even and tightly packed.
Step 7
Then repeat this with the pink cherry coconut ice, creating 2 layers.
Step 8
Place the tin into the fridge to set for an hour. Once set, cut it into squares (3,5cm X 3,3cm) or bars (4cm X 7cm), depending on the tin size you used to make it.
Step 9
Store in an airtight container to keep fresh. Enjoy!
View on Supermoms Club
↑Support creators by visiting their site 😊
Notes
0 liked
0 disliked
There are no notes yet. Be the first to share your experience!