By Katya Lyukum
Vanilla Japanese Sponge
10 steps
Prep:15minCook:25min
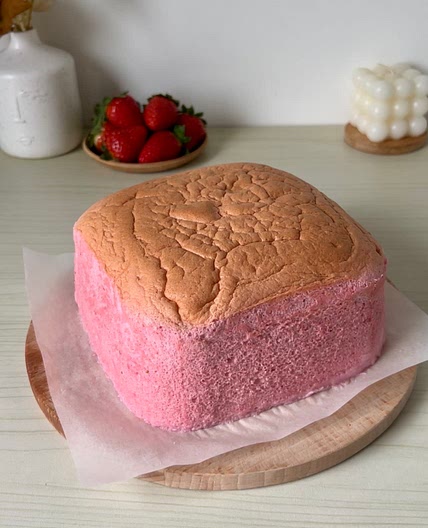
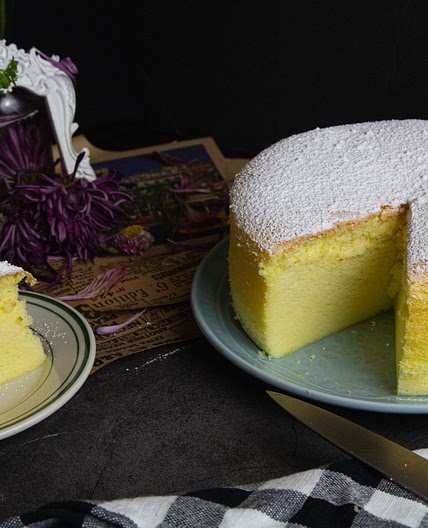
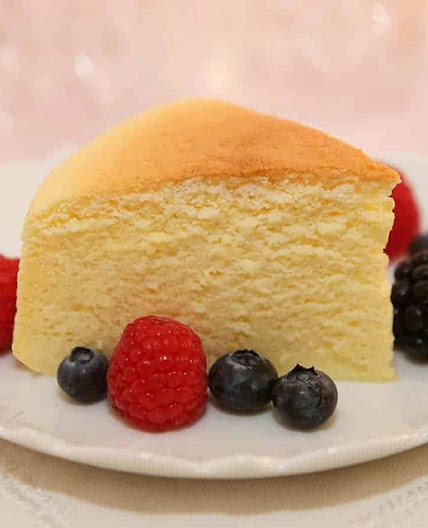
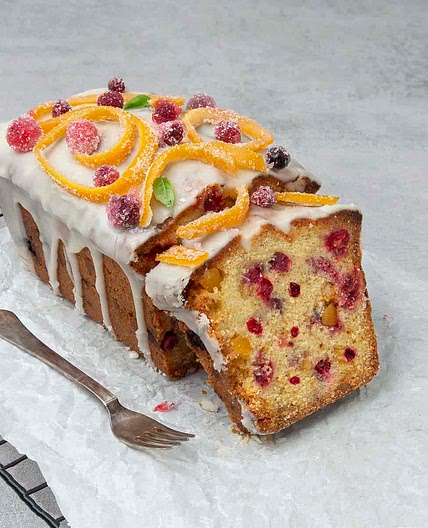
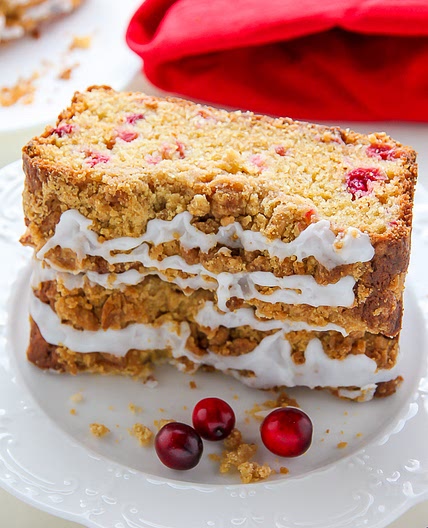
This recipe features a cottony soft Japanese sponge flavored with vanilla. It is barely sweet, with delicate flavors, but its texture strikes the most. The method of making this sponge produces batter with tiny bubbles and, when gently baked at low temperatures, the lightest and the fluffiest crumb.
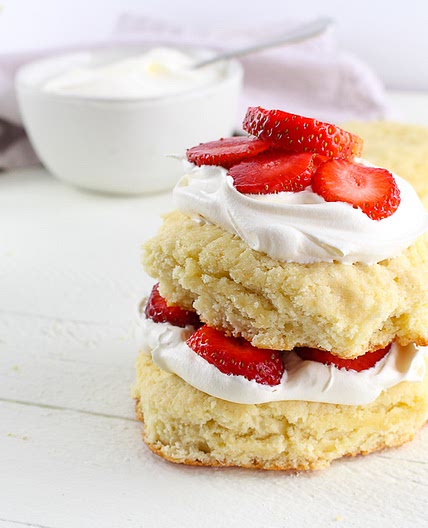
A cake with a Japanese sponge, vanilla whipped cream, and fresh berries was my client’s idea for the cake for her 2-year old daughter’s birthday party. I made a small cake to test the recipe, and it was brilliant — pure flavors, healthy ingredients, baby-gentle textures — made for kids to enjoy!
This recipe is for three layers of sponge, 8" D. All instructions are for baking layers in three perforated rings, 1" H.
Updated at: Thu, 17 Aug 2023 03:43:34 GMT
Nutrition balance score
Unbalanced
Glycemic Index
64
Moderate
Glycemic Load
23
High
Nutrition per serving
Calories381.2 kcal (19%)
Total Fat23.1 g (33%)
Carbs36.1 g (14%)
Sugars23.8 g (26%)
Protein7.9 g (16%)
Sodium181.1 mg (9%)
Fiber2.2 g (8%)
% Daily Values based on a 2,000 calorie diet
Ingredients
12 servings
for sponge
150gall-purpose flour
1 ½ tspbaking powder
¼ tspsalt
fine
114gbutter
melted, room temperature
140gmilk
whole
9eggs
large
170gpowdered sugar
confectioners
1 ½ tspdry egg whites
2 tspvanilla extract
for cream
Instructions
Step 1
Preheat oven to 325F. Prepare three 8" D perforated rings. To prevent sliding, line the bottom of the baking sheet with a silicone mat. Place a parchment paper round under every ring.
Step 2
Measure all the ingredients. Combine the flour, salt, and baking powder, and sieve the mix twice (don't skip this step!). Separate egg yolks and whites.
Step 3
Melt butter (I use a microwave), transfer it into the bowl (to the last drop!), and let cool a little.
Step 4
Add flour to the melted butter and mix well. (By mixing well I mean to make a homogenous paste.)
Step 5
Add egg yolks and mix well.
Step 6
Using a handheld or stand mixer with a whisk attachment, beat egg whites, dry egg whites (they will make the meringue more stable), and sugar into a stiff peak meringue. Using a spatula, fold the meringue into the batter in three steps.
Step 7
Gently transfer the batter into the prepared perforated rings. Gently tap the baking sheet a few times to let the large bubbles escape. Bake for 25 minutes. Turn off the heat, crack open the door and let the sponge cool for another 25 minutes still sitting in the oven.
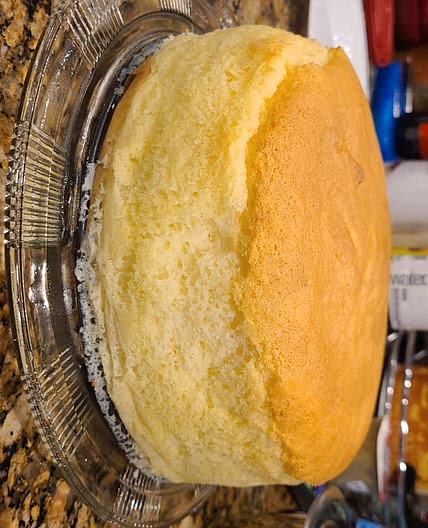
Step 8
Remove from the oven and let rest on a cooling rack for 15 minutes. Remove from the rings by releasing the sides with a sharp knife, gently peel the parchment paper from the bottom of the sponges, and let cool completely on the rack. The sponge can be stored at room temperature or refrigerated for up to 2 days in a covered container. Freezing is not recommended. I recommend assembling the cake one day before serving it.
for cream
Step 9
In a cold bowl, combine cold heavy whipping cream, sugar, vanilla, and xanthan (if using) and whip into a stiff peak cream.
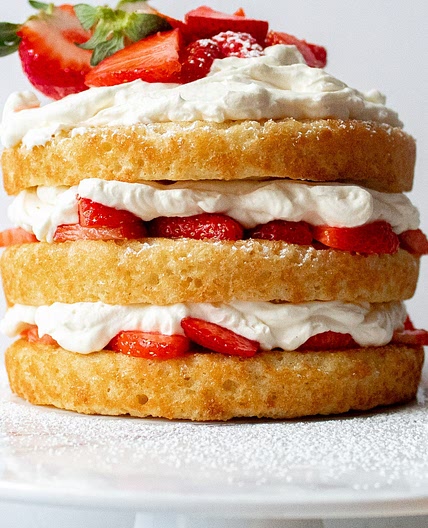
Step 10
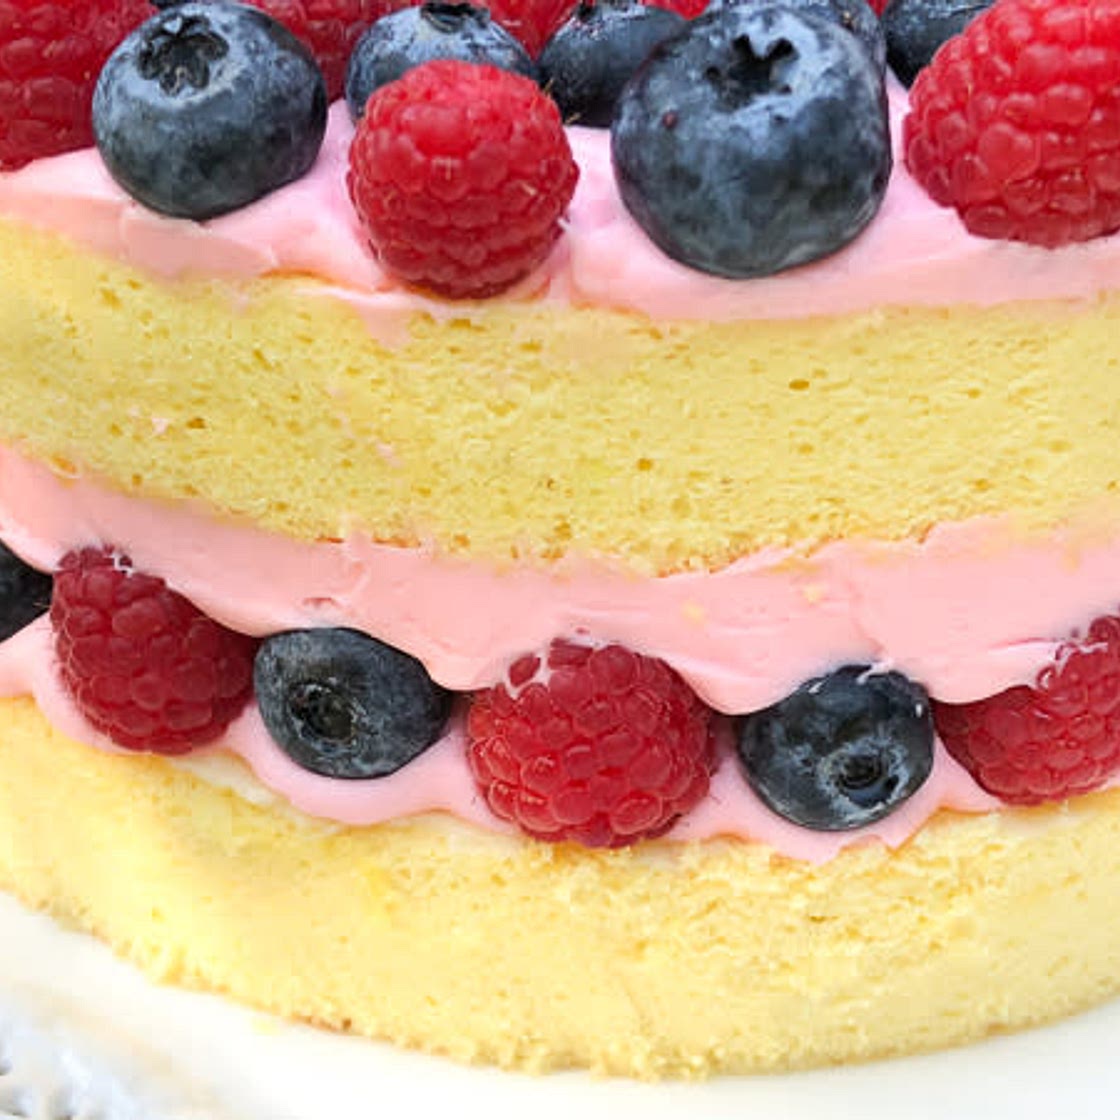
To assemble a cake, place the first layer of the sponge on the base, transfer the cream to fill a pastry bag with a round piping tip, and pipe the cream as shown on the picture to alternate cream and berries circles. Cover with the next layer of the sponge and repeat it.
View on Lyukum Cooking Lab
↑Support creators by visiting their site 😊
Notes
0 liked
0 disliked
There are no notes yet. Be the first to share your experience!