By Gina Dickson
Easy Guide To Pressure Canning Roast Beef; Tender and Juicy
18 steps
Prep:15minCook:1h 30min
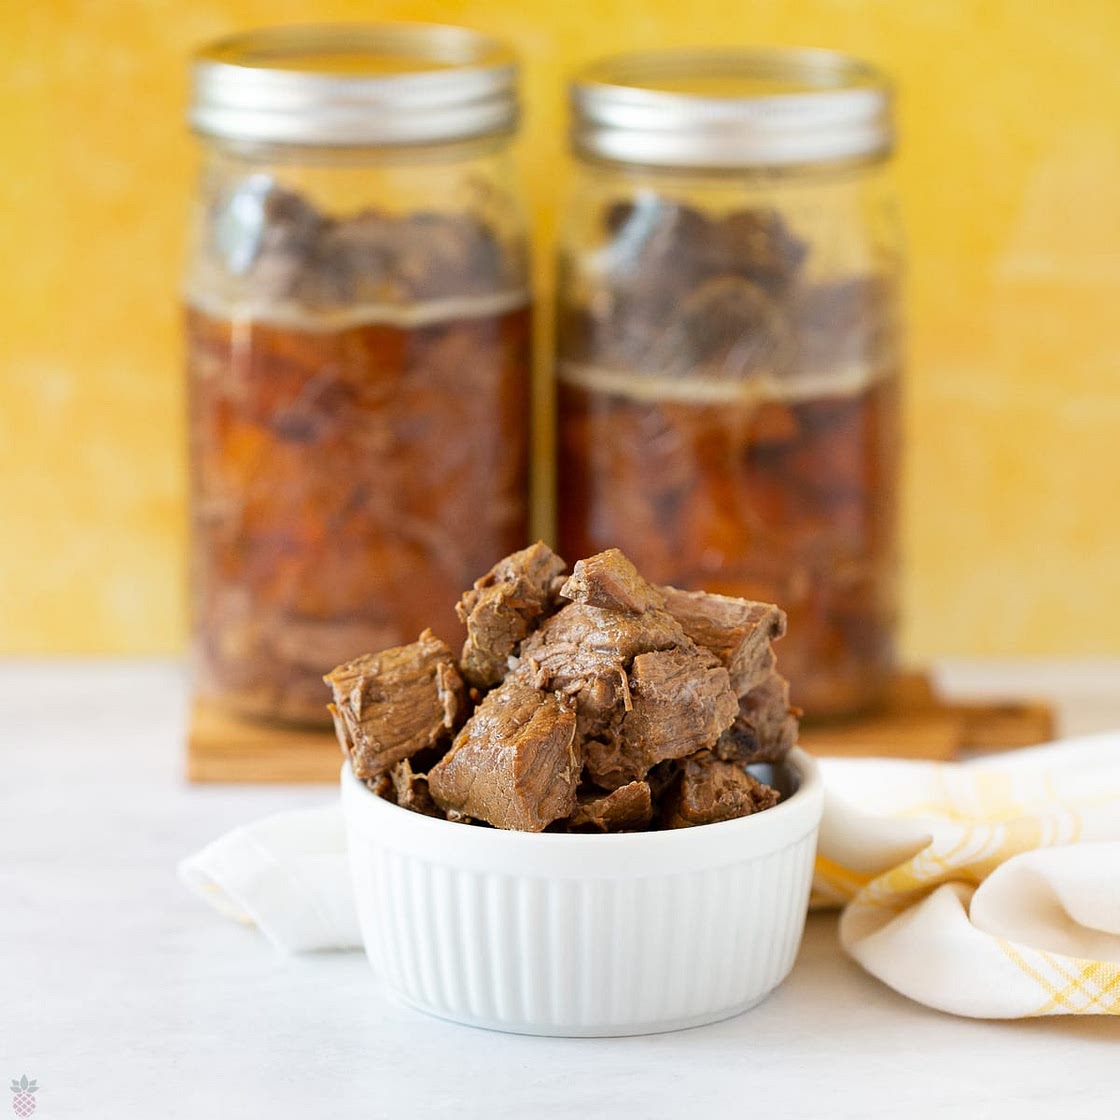
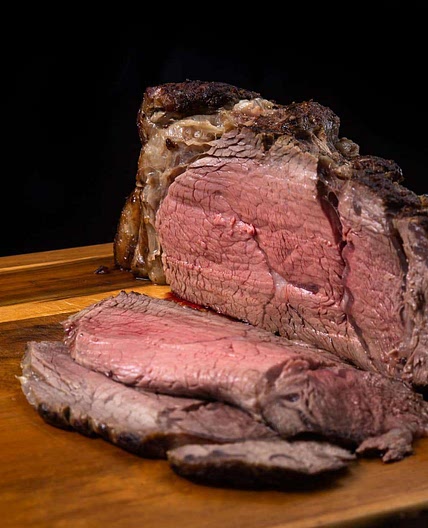
Easy Guide To Pressure Canning Roast Beef that turns out tender and juicy every time. Home canning beef is an excellent way to preserve meat for an extended shelf life. Following this easy-to-understand guideline, you can make easy meals year-round using your ready-to-eat canned roast beef.
Updated at: Thu, 17 Aug 2023 03:46:21 GMT
Nutrition balance score
Unbalanced
Nutrition per serving
Calories1767.1 kcal (88%)
Total Fat87.7 g (125%)
Carbs0 g (0%)
Sugars0 g (0%)
Protein228.6 g (457%)
Sodium5229.3 mg (261%)
Fiber0 (0%)
% Daily Values based on a 2,000 calorie diet
Ingredients
6 servings
Instructions
Prepare Beef For Canning
Step 1
Trim off excess fat from raw meat and cut the beef roast into chunks or slices that fit into the jars. Excess fat can lead to spoilage and affect the quality of the canned beef.
Step 2
Cut the beef into uniform-sized cubes, around 1.5 to 2-inch cubes. This ensures even cooking and consistent results.
Packing Canning Jars
Step 3
Pack Jars: Place a canning funnel in the jar for easy clean packing of the jars. Fill the jars with beef cubes. Push the meat down gently using a small rubber spatula. However, be sure to leave enough room for expansion during the canning process. When filling the jar with meat, make sure to leave a space of 1-inch headspace from the rim.
Step 4
Add Salt: Add 2 teaspoons of salt to quart jars and 1 teaspoon to pint jars. You can sprinkle the salt directly onto the beef cubes or add it to the jar before packing the meat. Note* Avoid adding thickeners or flour, as they will interfere with safe canning practice.
Step 5
Clean Rims: After filling, remove the funnel and wipe the rim of the jar with a clean damp paper towel. This will remove any food particles and ensure that the lids properly seal.
Step 6
Apply lids and bands: Place a new lid on top of each jar, ensuring it is centered. Then, screw on the bands until they are finger-tight. Avoid overtightening, as it can prevent air from escaping during the canning process.
Follow Your Canner's Manufacturing Guidelines For Processing
Step 7
Add water: Begin by adding the appropriate amount of water to your pressure cooker based on the manufacturer's instructions. Typically, you'll need to add about 2 to 3 inches of water to create steam for the canning process.
Step 8
Load the canner and seal the lid: Place the loaded jars in the pressure cooker, following the cooker's guidelines for spacing and capacity. Place the canner lid on and tightly secure it. Turn the stove burner on medium high heat.
Step 9
Wait for a steady flow of steam: Allow the canner to heat until a steady flow of steam is seen coming out of the vent. The steam indicates that the canner is purging the air and achieving a proper internal temperature.
Step 10
Time for steam release: Depending on the size and type of your canner, allow the canner to heat up and produces a steady stream of steam. However, referring to your specific canner's manual for recommended times is important.
Step 11
Add the weight or close the vent: Once the canner has been purged of air and a steady flow of steam is observed for 10 - 15 minutes, you can add the weight or close the vent, depending on the type of pressure canner you're using. This will allow pressure to build up inside the canner.
Step 12
Reach and stabilize at the desired pressure: The canner will take additional time to reach and stabilize at the desired pressure for your recipe. The specific pressure will depend on the altitude and type of canner you have.
Step 13
Process for the required time: Once the pressure is reached, start the timer for the required processing time. The processing time and pounds of pressure will depend on your altitude. Processing time will vary depending on the size of your jars. See the chart in the recipe card.
Cooling, Testing Seals, And Storage Of Canned Beef
Step 14
After the processing time is complete, turn off the heat and allow the canner to depressurize naturally. Do not force-cool or remove the lid prematurely.
Step 15
Once the canner has depressurized, carefully remove the jars using a jar lifter. Be careful, the contents in the jar will still be boiling. Place the jars upright on a folded in half dish towel on your countertop. *Do not remove the rings.
Step 16
Allow the jars to cool undisturbed for 12 to 24 hours.
Step 17
Check the seals by pressing down on the center of each lid. A properly sealed jar will not flex or pop. *(See tips below) If a jar hasn't sealed, refrigerate and consume the contents within a few days.
Step 18
Label the sealed jars with the date and store them in a cool, dark place.
View on intentionalhospitality.com
↑Support creators by visiting their site 😊
Notes
0 liked
0 disliked
There are no notes yet. Be the first to share your experience!
