By Mary Grace Quigley
Undemanding light rye loaf
11 steps
Cook:55min
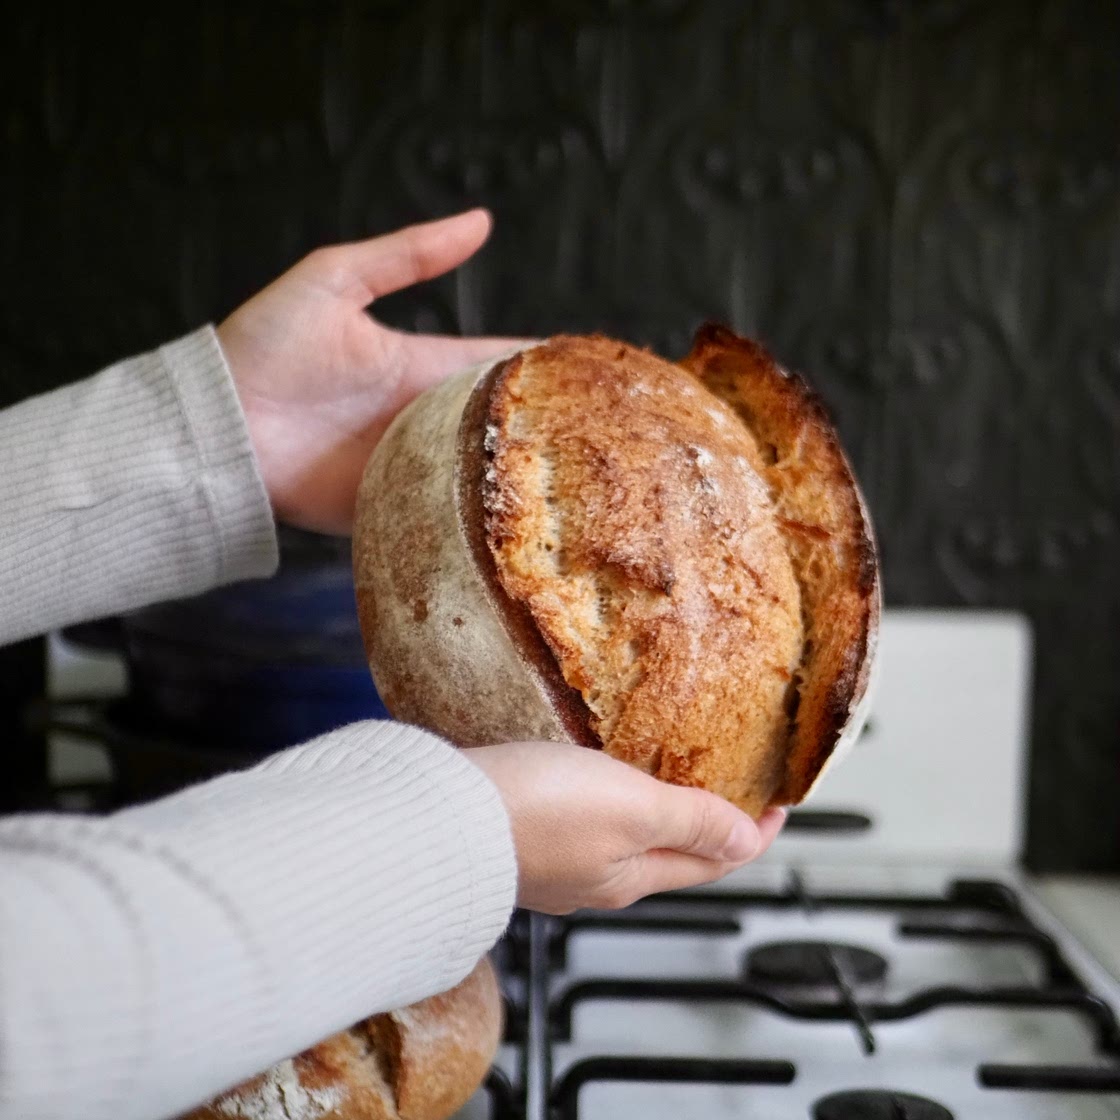
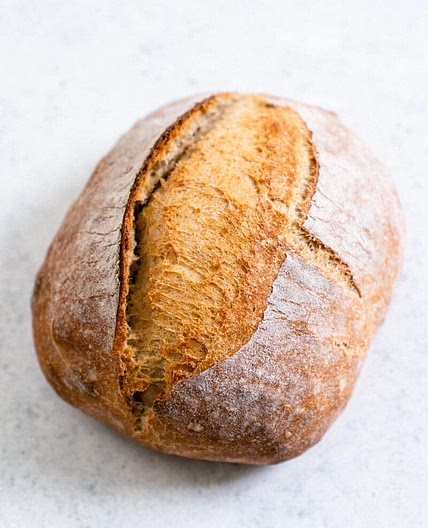
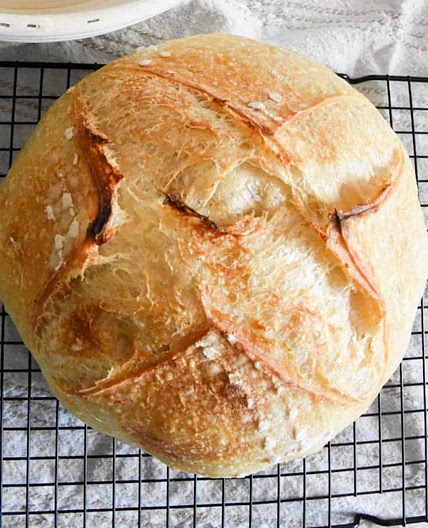
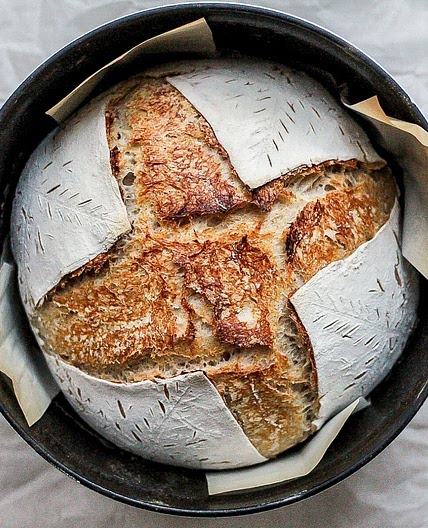
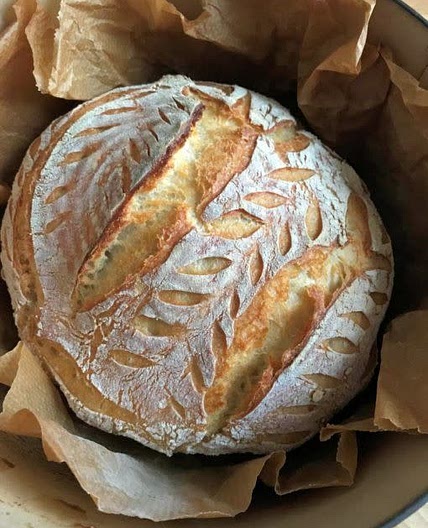
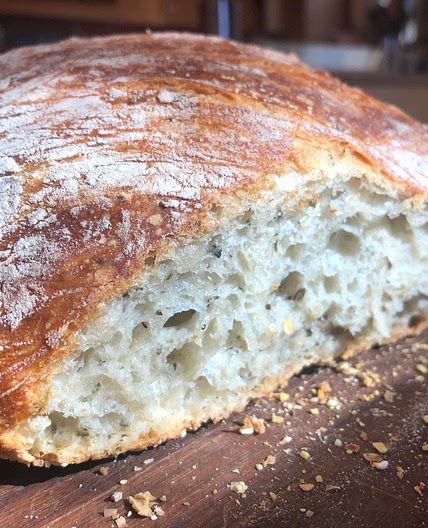
This uninvolved loaf with optional folds (do not feel bad about skipping some of them, or even skipping all of them!) is one I’ve been making variations of on repeat for the last 6 months. It never fails. It is always rustic, cute and delicious. It’s a happy medium between a dark and a light loaf.
You can watch me make two of this exact loaf at the same time on my Instagram story highlights under ‘two loaves’. It will help you to visualise the process. I use a fair bit of rye in this recipe because I love rye but you can also use only white flour or use wholemeal or spelt instead of rye, just make sure the total flour in the recipe adds up to 400g.
If you’re apprehensive about making bread, give this loaf a go and I promise you won’t regret it :)
Updated at: Thu, 17 Aug 2023 00:03:16 GMT
Nutrition balance score
Good
Glycemic Index
71
High
Glycemic Load
238
High
Nutrition per serving
Calories1665.3 kcal (83%)
Total Fat7.9 g (11%)
Carbs336.1 g (129%)
Sugars3.2 g (4%)
Protein55.9 g (112%)
Sodium3108.6 mg (155%)
Fiber34.9 g (125%)
% Daily Values based on a 2,000 calorie diet
Ingredients
1 servings
Instructions
Making the dough
Step 1
In a large mixing bowl, combine sourdough starter, salt and water using a wooden spoon or a dough whisk. Then add the rye and strong white flour and continue to mix. Switch eventually to mixing with wet hands to make sure that everything is well combined and no dry flour is visible.
Step 2
Then leave covered with a wet tea towel for 30 minutes.
Step 3
After 30 minutes, give the dough a fold by using wet hands to pick it up out of the bowl and stretching it out in the air and folding it back in over itself. Repeat this a few times and then return it to the bowl.
Step 4
Leave the dough out on the counter covered with a wet tea towel for a further 4-8 hours (approx. – or longer will also be fine unless it’s a really hot day, adjust the timing according to the weather, e.g. if it’s above 26C, 4 hours should be enough).
Step 5
During this time you can do a few more folds, about one per hour is the maximum, but you don’t have to do any at all. The dough will be great either way. Sometimes I do the folds because they’re fun and it’s nice to see how bubbly the dough is getting but it won’t make a big difference to the final outcome.
Step 6
When your dough is ready, shape it into a round or oval loaf. Round is easiest: simply plop the dough onto a lightly wet workbench. Take a piece of dough from the edge and pull it in towards the centre and go around in a circle until the loaf starts to form a ball shape. Then flip the loaf over and smooth with your hands. This video might help visualise the shaping process. Then coat with flour and place into a bowl lined with a tea towel or a banneton.
Step 7
Leave in the fridge for 6-24 hours.
Baking your loaf
Step 8
When you’re ready to bake the dough, preheat your oven to 240C / 465F with a Dutch oven inside for 45 minutes.
Step 9
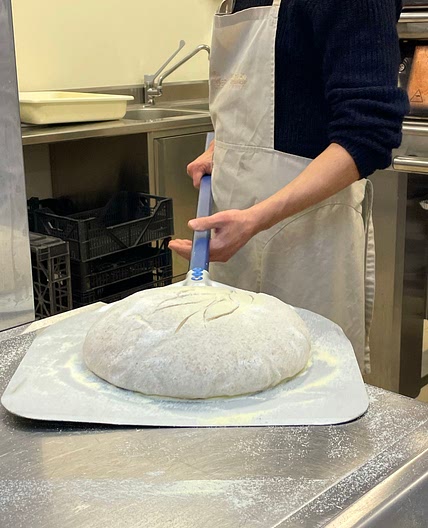
After 45 minutes, remove your dough from the fridge and plop it out of the banneton and onto a piece of parchment paper cut to slightly larger than the size of the loaf. Score the top of the loaf using a bread lame (this one’s my fave, or a very sharp knife if you don’t have one).
Step 10
Carefully remove the Dutch oven from the oven and plop the loaf atop the baking paper inside. Give a few sprays of water using a little water bottle and then replace the Dutch oven lid. Bake at 240C / 465F for 10 minutes and then turn down the oven to 220C / 430F and continue to bake for 25 minutes.
Step 11
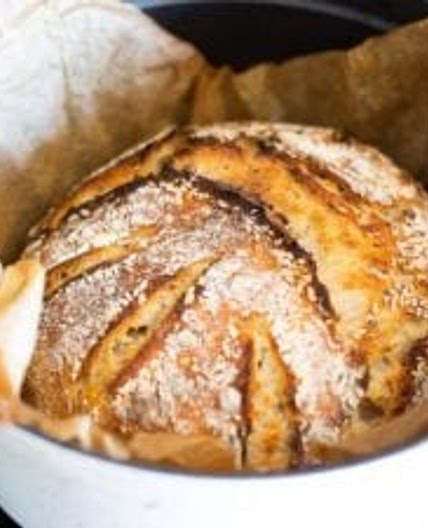
After 25 minutes, remove the lid and continue to bake for 10-15 minutes, or until your loaf is golden brown. Then place on a cooling rack. Allow to cool completely or as close to that as you can before slicing into your delicious loaf.
View on Mary Grace Bread Newsletter
↑Support creators by visiting their site 😊
Notes
0 liked
0 disliked
There are no notes yet. Be the first to share your experience!
