By Stephanie Zabiski
Fig & Hazelnut Dream Cake
23 steps
Prep:1hCook:35min
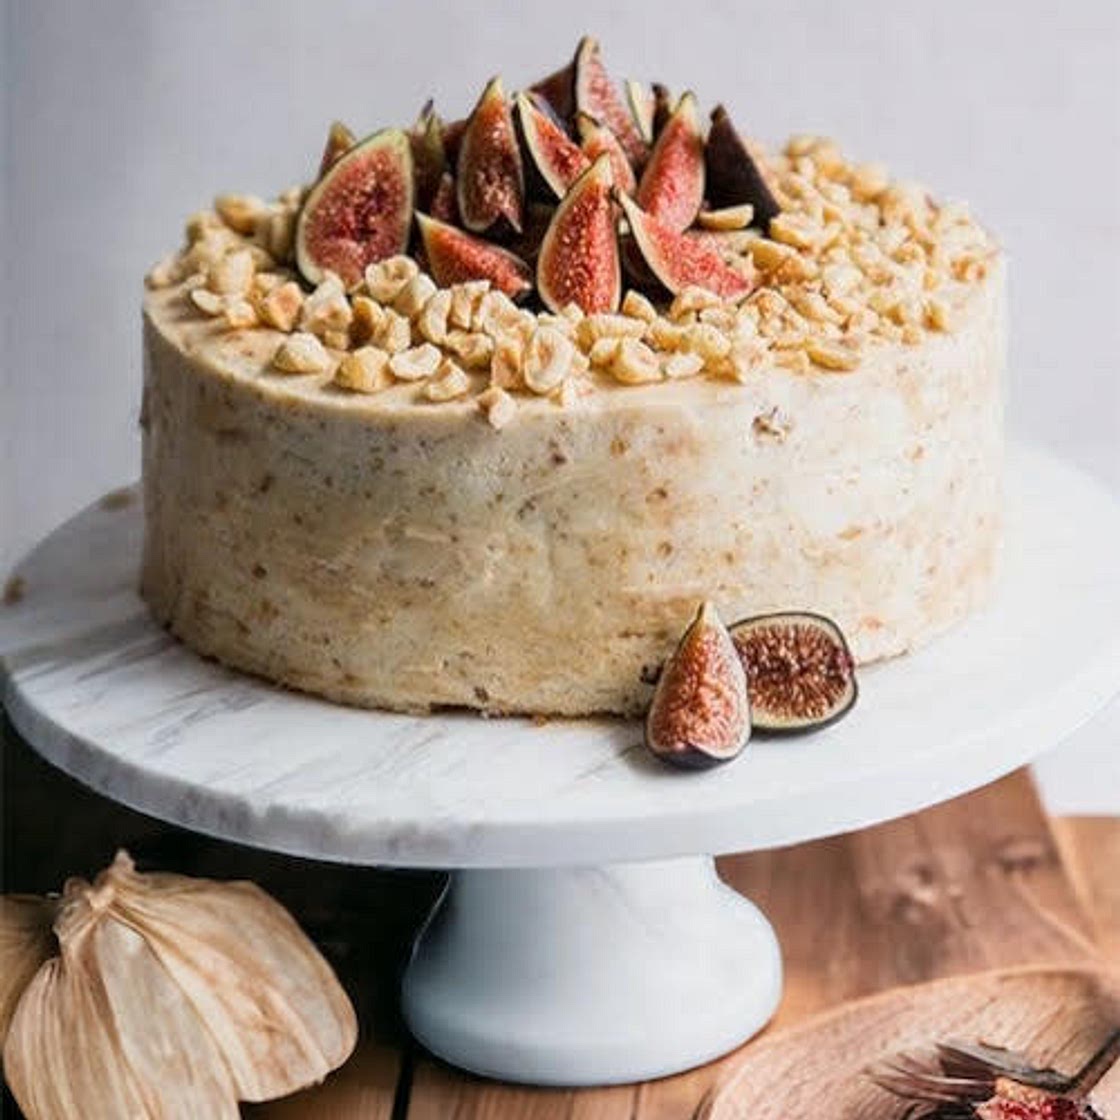
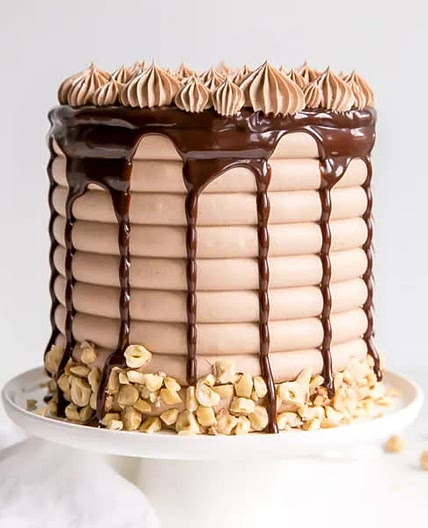
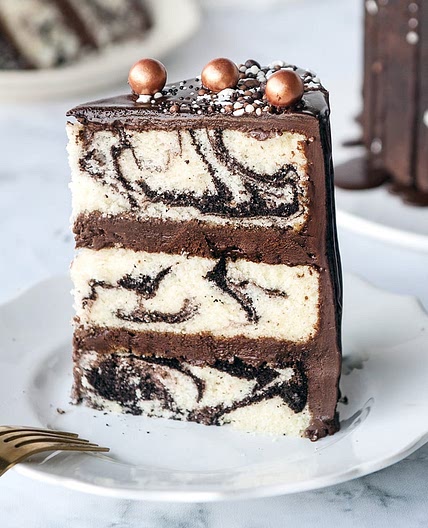
Dreaming of a cake that transports you to a world of flavors and textures? Look no further! Our Fig & Hazelnut Dream Cake is an elegant blend of rich hazelnut layers, lush velvety vanilla bean & citrus buttercream, and a succulent fig jam filling. The nutty hazelnuts and sweet figs, along with the zest of lemon and orange, come together in harmony, creating a symphony of taste. Perfect for a festive gathering or a special family occasion, this cake promises to be the star of the show. (*not my photo)
Updated at: Thu, 17 Aug 2023 10:31:53 GMT
Nutrition balance score
Unbalanced
Glycemic Index
67
Moderate
Glycemic Load
142
High
Nutrition per serving
Calories1590.1 kcal (80%)
Total Fat83.2 g (119%)
Carbs211.7 g (81%)
Sugars181.8 g (202%)
Protein8.3 g (17%)
Sodium536.8 mg (27%)
Fiber3.8 g (14%)
% Daily Values based on a 2,000 calorie diet
Ingredients
10 servings
2 ¼ cupscake flour
¾ cuphazelnuts
finely ground, or hazelnut flour
2 ½ tspbaking powder
1 cupsalted butter
at room temperature
2 cupsgranulated sugar
4eggs
large, at room temperature
2 tspvanilla extract
1 cupwhole milk
at room temperature
1 ½ cupssalted butter
at room temperature
1 ½ cupsunsalted butter
at room temperature
8 cupspowdered sugar
3vanilla beans
Seeds scraped from
1orange
Zest from, large
1lemon
Zest from
¼ cupheavy cream
2 lbsFresh Figs
washed, stemmed, and diced
1 ½ cupsGranulated Sugar
¼ cupLemon Juice
freshly squeezed
1lemon
Lemon Zest, Zest from
½ cupWater
2 TbspPectin
like Sure-Jell
Instructions
Step 1
1. Preparation: Preheat your oven to 325°F (165°C). Grease three 8-inch round cake pans and line the bottoms with parchment paper.
Step 2
2. Dry Ingredients: In a medium-sized bowl, whisk together the cake flour, ground hazelnuts, and baking powder. Set aside.
Step 3
3. Creaming: In a large bowl, beat the butter and sugar together on medium speed until the mixture becomes pale in color and its volume has increased by about half, taking about 5-7 minutes. Scrape down the sides of the bowl with a spatula after mixing.
Step 4
4. Eggs & Vanilla: Add the eggs one at a time, beating well after each addition. Mix in the vanilla extract.
Step 5
5. Alternate Additions: Begin by adding one-third of the flour mixture to the butter mixture and mix just until incorporated. Follow this with half of the milk, another third of the flour mixture, the remaining milk, and finally the remaining flour mixture, ensuring you mix just until combined each time.
Step 6
6. Bake: Divide the batter evenly among the prepared pans. Smooth the tops with a spatula. Bake in the preheated oven for approximately 30-35 minutes, or until a toothpick inserted into the center comes out clean. Start testing for doneness around the 28-minute mark.
Step 7
7. Cool: Remove the cakes from the oven and allow them to cool in the pans for about 10 minutes. Afterward, turn them out onto a wire rack to cool completely.
Step 8
1. Beat Butter: In a large bowl, beat the combined salted and unsalted butter on medium speed until its color changes from yellow to a creamy off-white, which should take about 5 to 7 minutes. This process ensures that the butter is properly aerated, which results in a smoother, fluffier frosting. Periodically scrape down the sides of the bowl to ensure all the butter is well incorporated and without lumps.
Step 9
2. Add Sugar & Flavorings: Gradually mix in the sifted powdered sugar, vanilla bean seeds, and citrus zest. Continue to beat until well combined and creamy.
Step 10
3. Adjust for Consistency: To achieve the ideal frosting consistency, start by adding 1/4 cup of heavy cream, incorporating more as needed. Using heavy cream, due to its high fat content, offers a rich, velvety texture superior to milk or water. This not only improves taste and spreadability on cakes but also ensures the frosting maintains its shape when applied.
Step 11
Preparation: Begin by washing the figs, removing their stems, and dicing them.
Step 12
2. Mix Pectin: Combine the pectin with 1/4 cup of sugar in a separate bowl to prevent it from clumping in the pot.
Step 13
3. Cooking: In a large pot, mix the figs, lemon juice, zest, and water. Add the pectin-sugar mix and stir.
Step 14
4. Heat: Set to medium heat until the mixture boils, stirring consistently.
Step 15
5. Add Sugar: Once boiling, add the remaining sugar, bringing it back to a full rolling boil for one minute while stirring.
Step 16
6. Test for Set: Off the heat, drop jam on a pre-chilled plate. If it wrinkles after a few minutes, it's set; if not, cook for 2-3 more minutes and retest.
Step 17
7. Canning (Optional): For preservation, sterilize jars, fill with jam, and boil filled jars for 10 minutes. Let them cool before storing.
Step 18
8. Cool & Store: Without canning, pour jam into a jar, cool at room temperature, then refrigerate for up to a month.
Step 19
1. Filling & Frosting: Once the cake layers are completely cool, place one layer on a cake stand or platter. Pipe a thick ring of buttercream around the outer edge of the cake layer, then fill in the center with a generous portion of fig jam.
Step 20
2. Building Layers: Repeat with the remaining layers, ensuring that each is well aligned.
Step 21
3. Final Frosting: Coat the entire cake with the remaining buttercream, using a spatula to create a smooth or textured finish as desired.
Step 22
4. Garnish: Decorate with whole or sliced fresh figs, a sprinkle of chopped hazelnuts, or even a drizzle of honey for that extra touch of sweetness.
Step 23
5. Chill: Allow the cake to chill in the refrigerator for at least 2 hours to set before serving.
Notes
0 liked
0 disliked
There are no notes yet. Be the first to share your experience!
