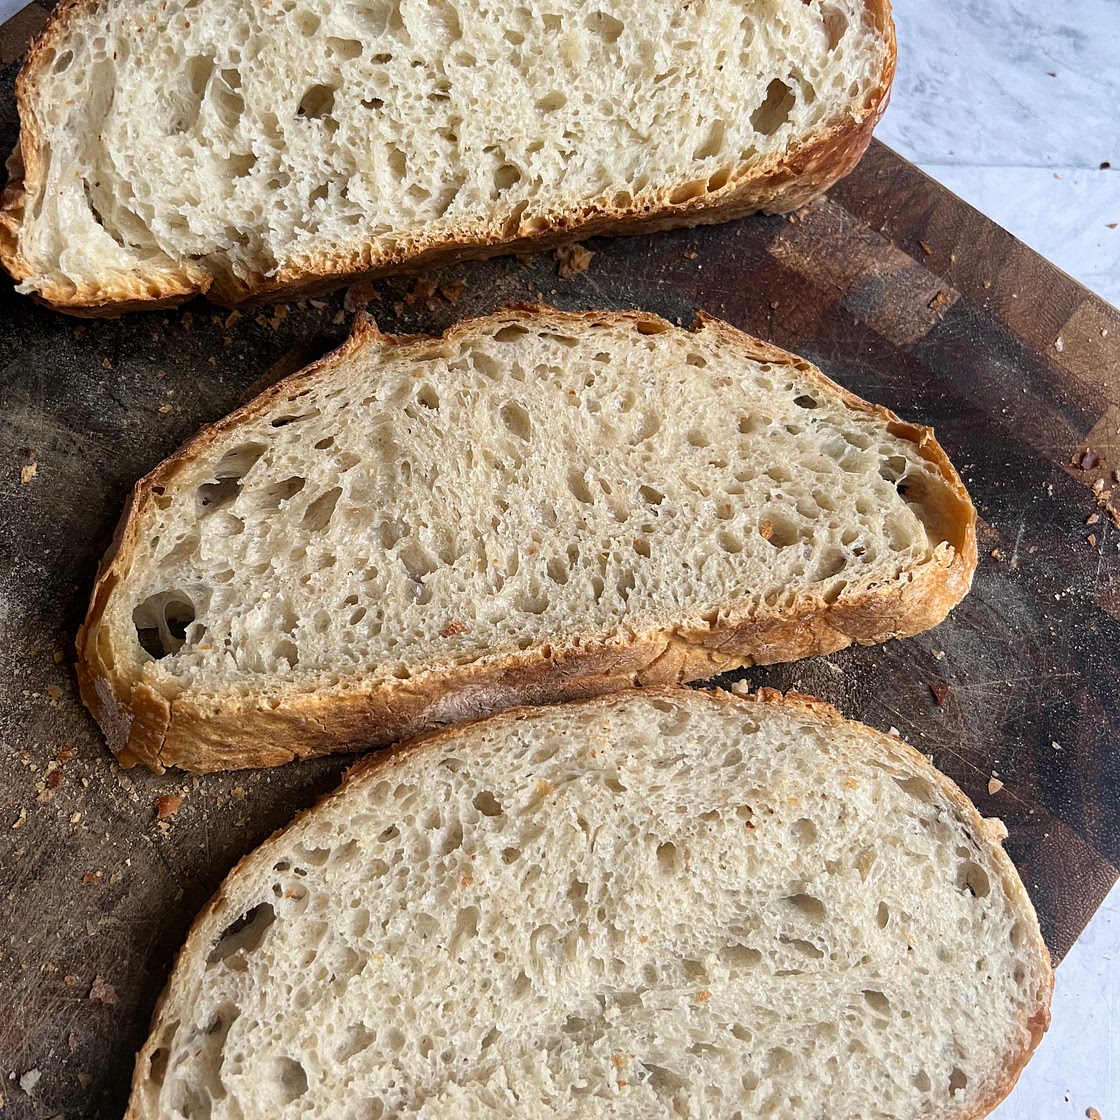
1/10
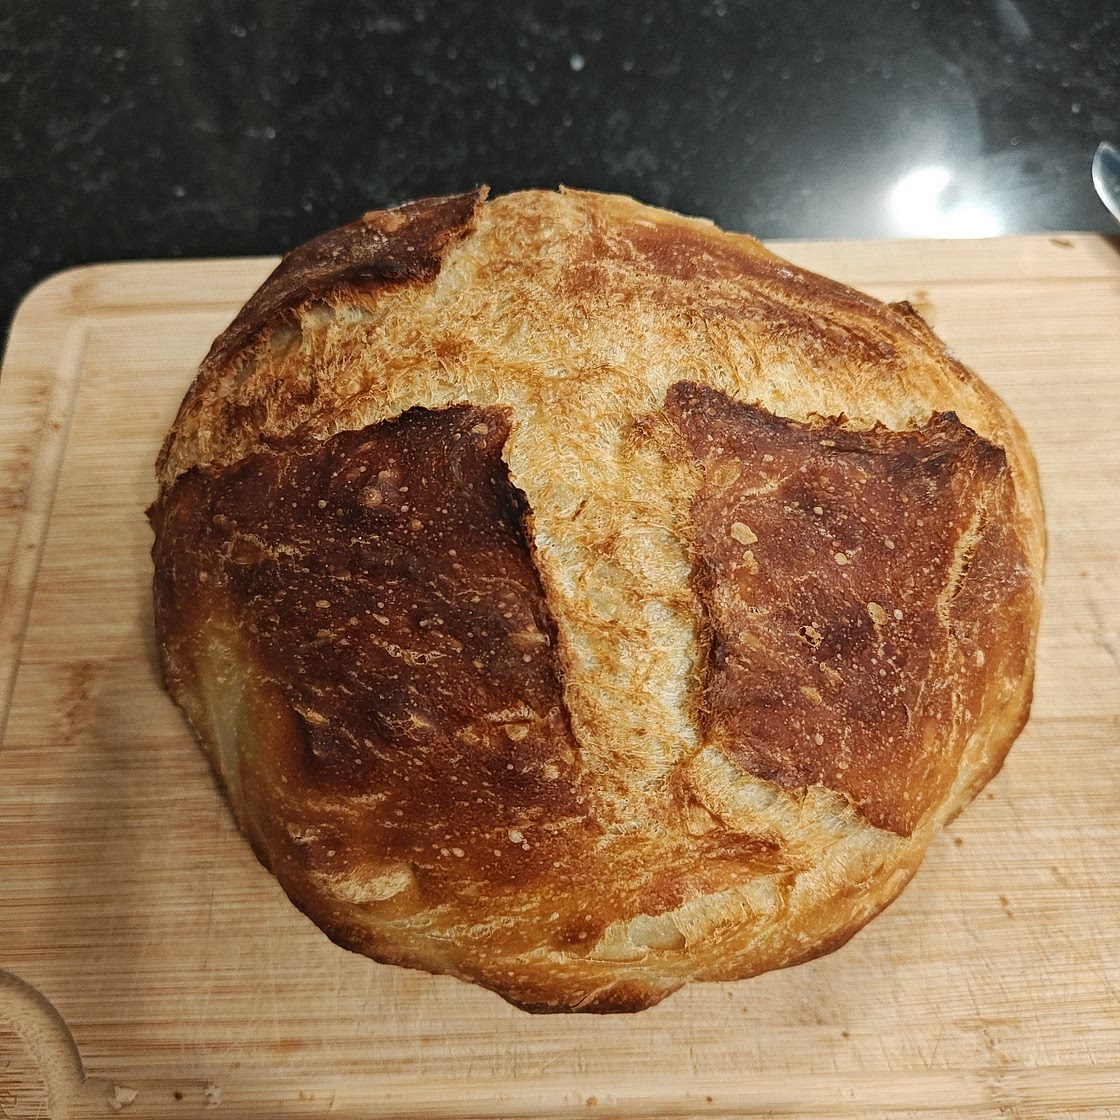
2/10
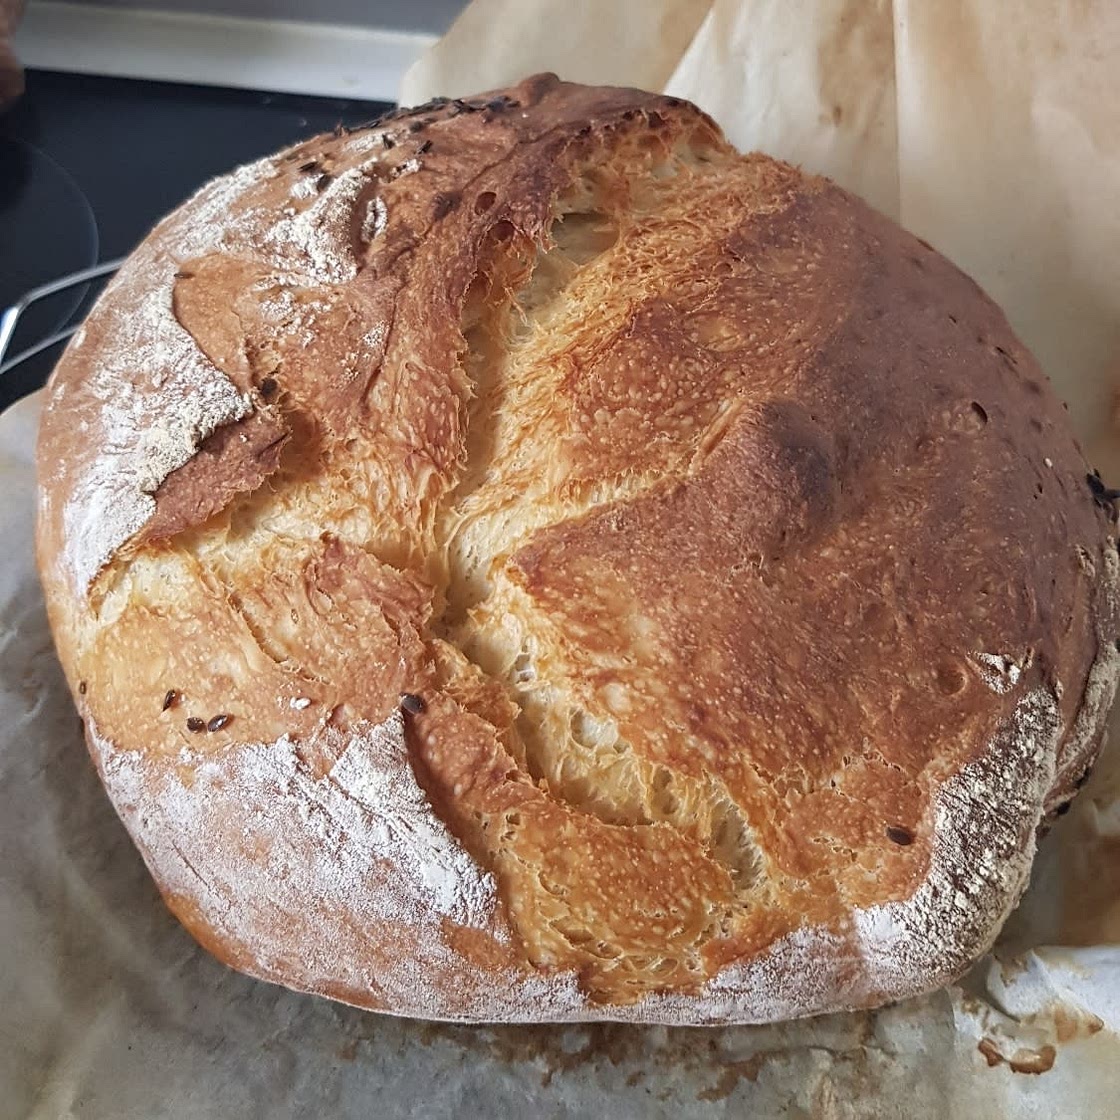
3/10
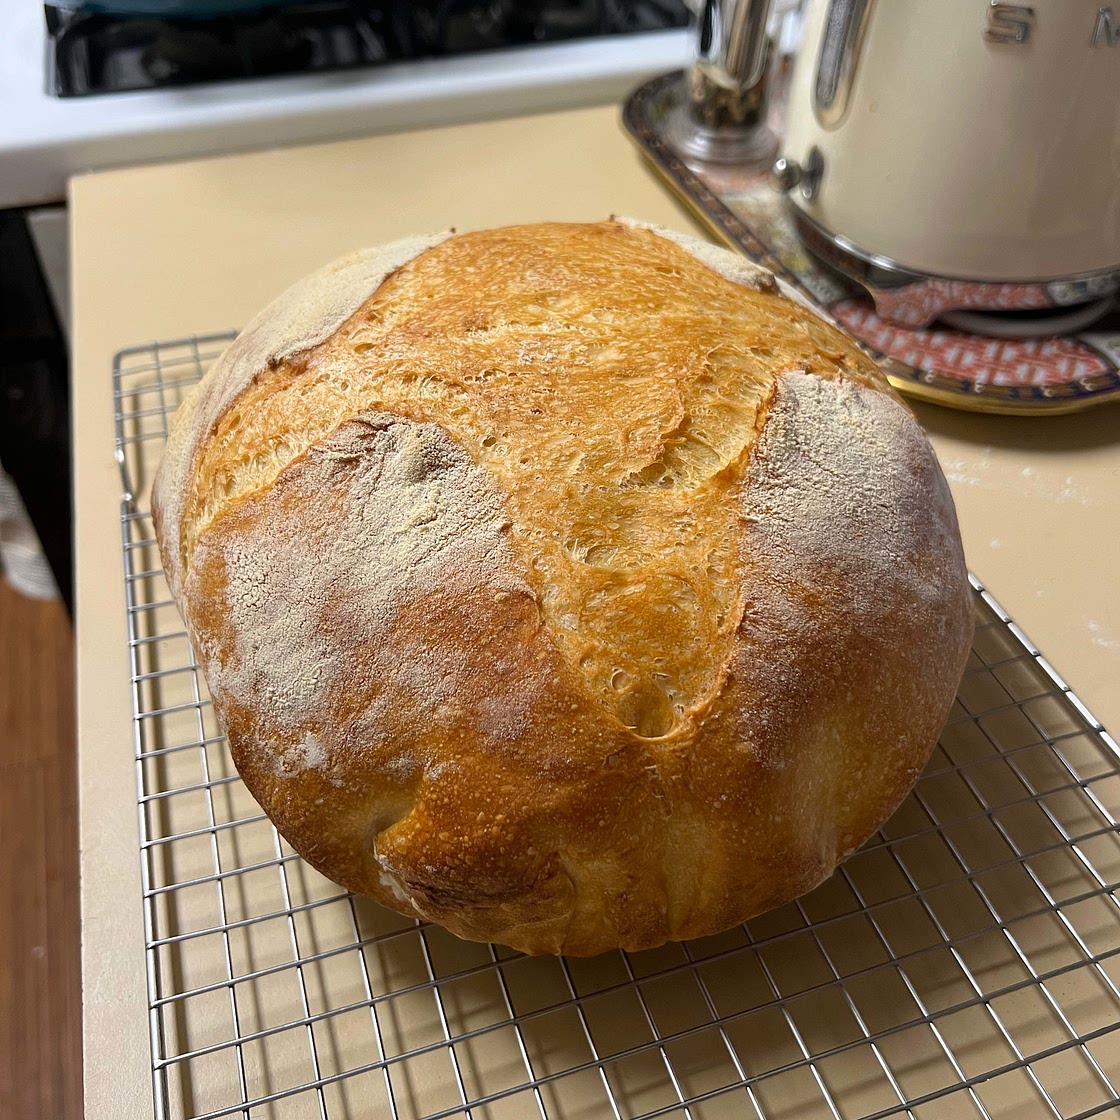
4/10
5/10
6/10
7/10
8/10
9/10
10/10
98%
30
By Lacey (Lace Bakes)
Crusty Artisan Bread
17 steps
Prep:2h 30minCook:43min
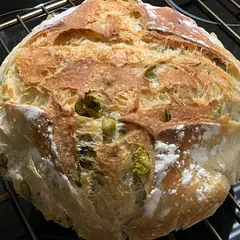
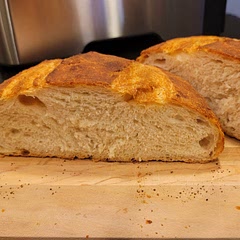
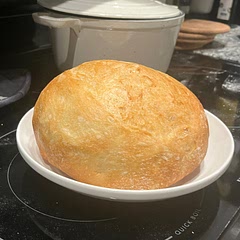
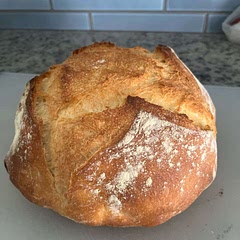
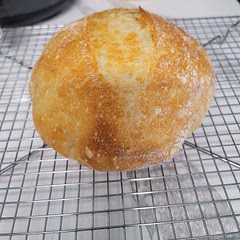
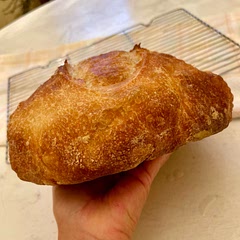
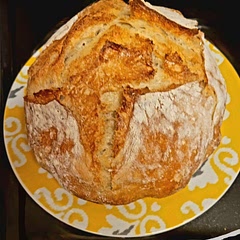
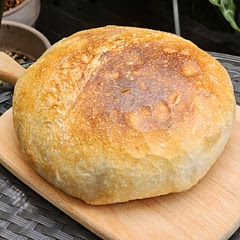
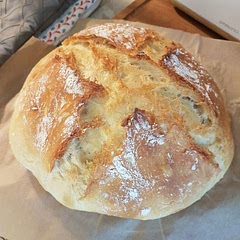
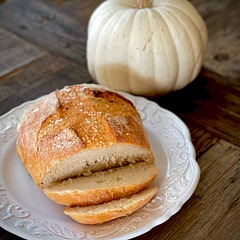
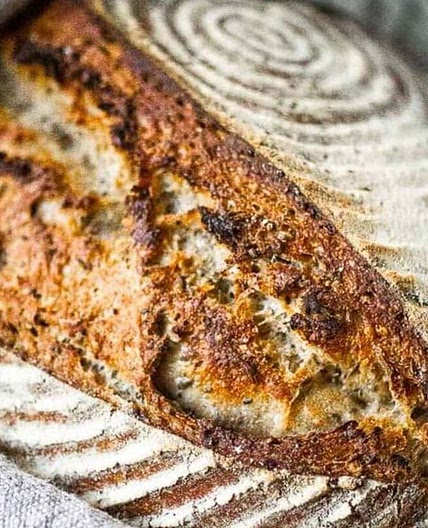
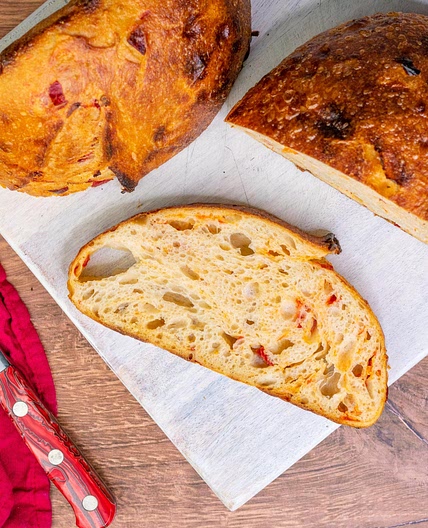
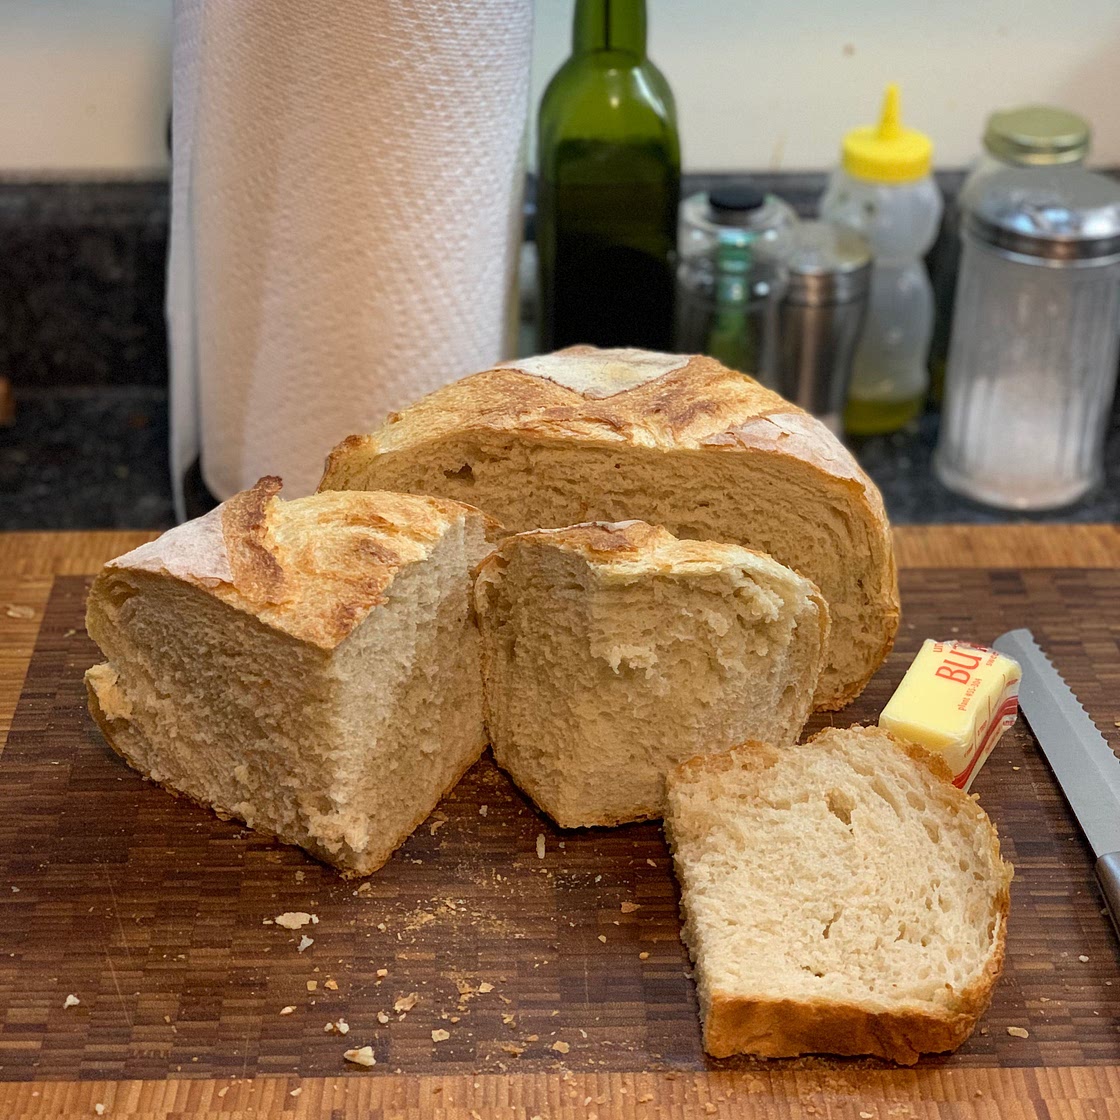
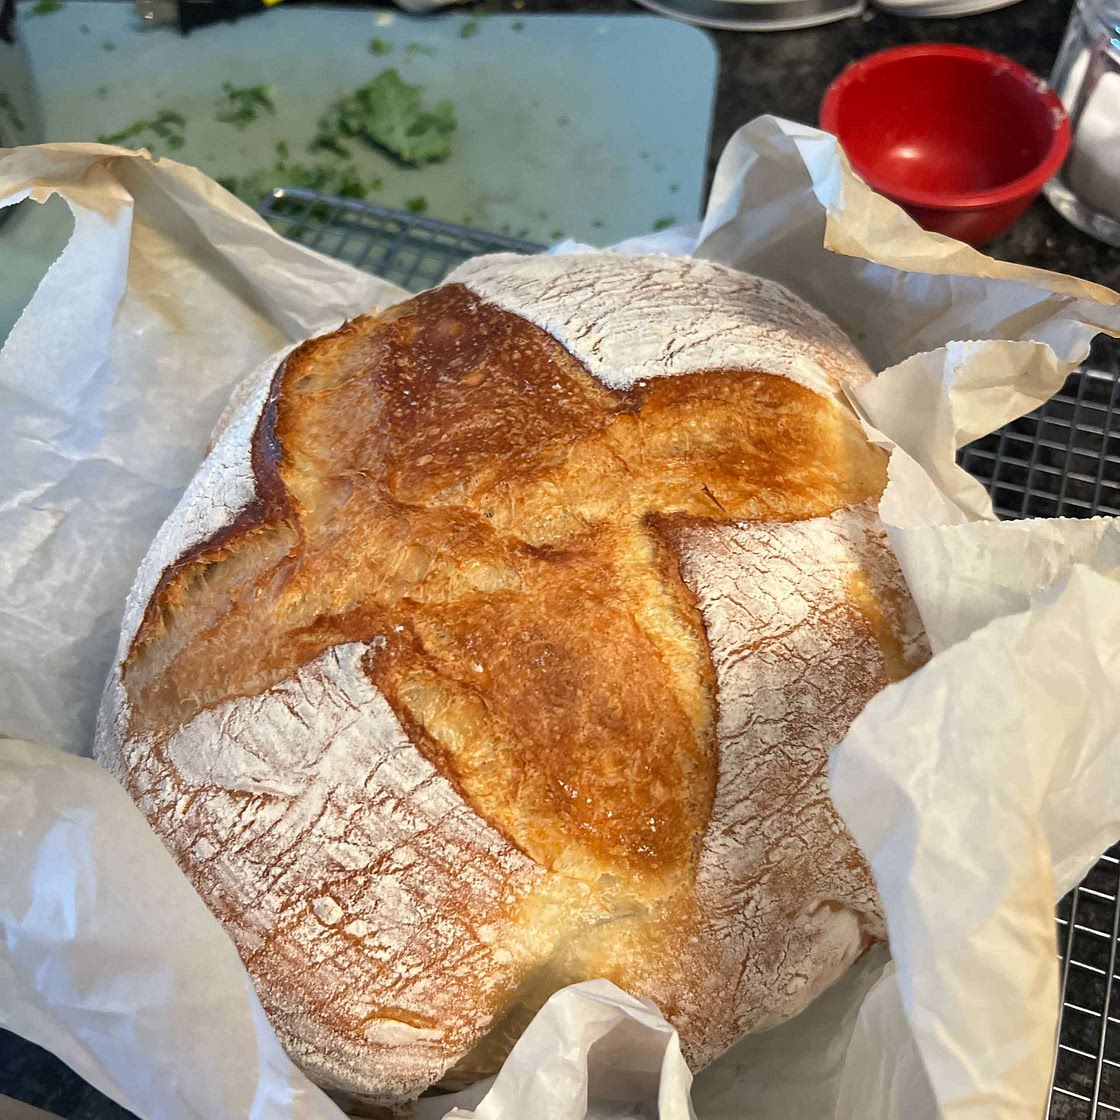
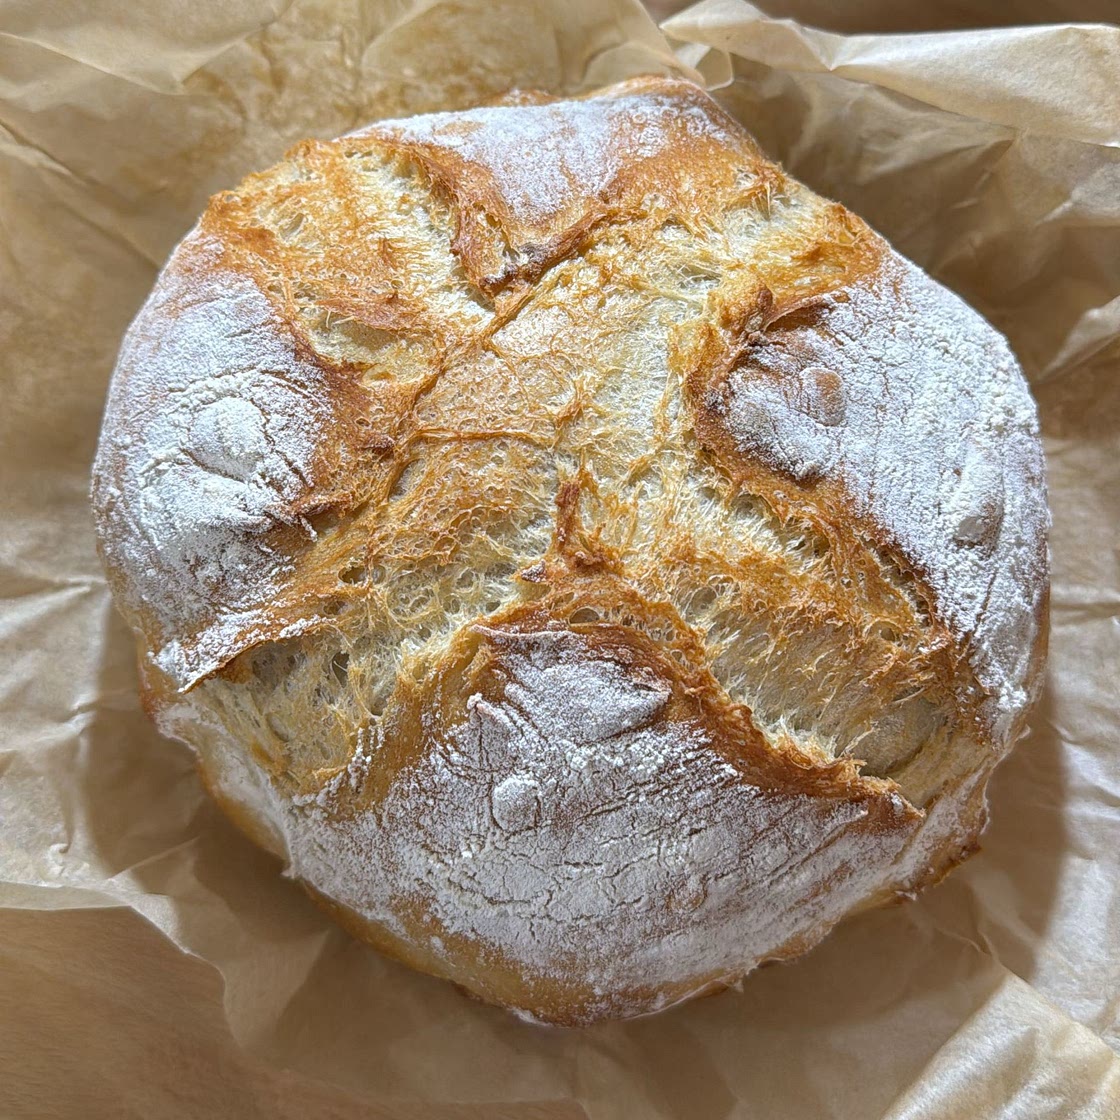
Here, I will show you how to turn a batch of focaccia dough into a crusty artisan loaf of bread. The secret is a Dutch Oven or cast iron pot; baking the bread in this type of vessel ensures that the bread has a steamy environment to bake in, and this allows the loaf to rise to its full potential. The end result is a soft and squidgy loaf of bread with a crispy and chewy crust, very similar to a loaf you’d find in a bakery. This is ideal bread for toasting or for making cold of grilled sandwiches. Or simply rip into this loaf while still warm from the oven and slather it with some good salted butter.
Updated at: Fri, 03 Nov 2023 17:17:30 GMT
Nutrition balance score
Unbalanced
Glycemic Index
75
High
Glycemic Load
2
Low
Nutrition per serving
Calories17.2 kcal (1%)
Total Fat0.2 g (0%)
Carbs3.3 g (1%)
Sugars0.4 g (0%)
Protein0.5 g (1%)
Sodium32 mg (2%)
Fiber0.1 g (0%)
% Daily Values based on a 2,000 calorie diet
Ingredients
12 servings
Equipment
Instructions
Step 1
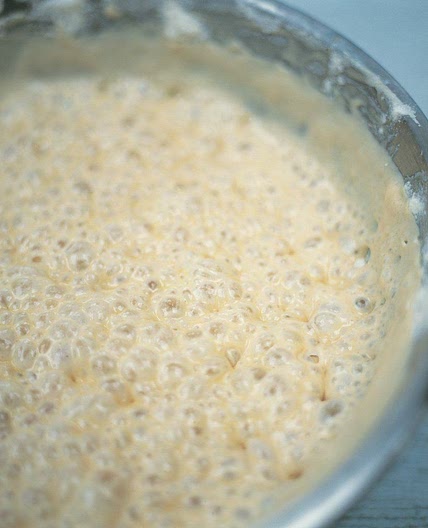
Prepare the Same-Day Focaccia dough as instructed in my recipe - you can find this recipe by searching for "Easy Same-Day Focaccia" on Samsung Food. If you’ve made the Same-Day Focaccia recipe in the past and have noticed the dough is particularly wet or soupy, reduce the water in the dough by 30ml (2 Tablespoons). Some bread flours absorb less water than others and while this doesn’t matter as much when baking focaccia, it can make shaping this particular loaf a little tricker if the dough is super wet.
Step 2
Once the focaccia dough has finished proofing in the bowl, place the Dutch oven or cast iron pot into the oven and preheat to 255C/490F (non fan/non convection). If your oven doesn’t go this hot, just put it on the highest setting and expect to add some additional minutes of bake time at the end.
Step 3
Now it’s time to shape the loaf. The dough will be very sticky and wet - flour is your friend here. Liberally flour your work surface and tip the dough from the bowl onto the flour. Flour your fingers and with both hands, grab the top (12 o’clock) quarter of the bread and pull it over about 2/3 of the way towards the bottom (6 o’clock). With both hands, grab the bottom quarter (6 o’clock) and pull it up and over the portion of dough you just pulled down. Repeat this pulling over motion with the right hand side (3 o’clock) and the left hand side (9 o’clock). The dough should have tightened up into a more ball-like shape. Remember you can flour your fingers between each pulling motion to help prevent sticking.
Step 4
Flip the ball upside down, ensuring there isn’t too much flour on the work surface beneath it. The smooth side of the dough should now be on the top. Dust a little bit of flour over the top of the bread and then cup your hands around the dough and slowly start pulling it around in a slow, circular shape. You’ll notice that with this gentle coaxing around in a circular motion, the ball of dough will tighten up and start to look smoother around the edges. Repeat this motion until the dough ball feels slightly taut. This shaping step is important for creating tension in the dough. More tension in the dough ensures a better rise or ‘oven spring’ as breadfolk call it.
Step 5
Once the dough has been shaped, measure out a piece of nonstick parchment paper big enough for the dough to sit in the middle with about 3 inches of extra space on at least two sides of it. The extra space (or ‘handles’) on the parchment paper is important because you need to have something to hold onto while lowering the bread into the hot pot.
Step 6
Place the shaped dough onto the middle of the parchment paper, and then flip the mixing bowl over the top of dough to cover it while it proofs for 30 minutes. The pot in the oven will continue preheating while the dough proofs under the bowl.
Step 7
After 30 minutes, it’s time to remove the mixing bowl and score the bread for baking. This is quite a wet dough, and while you can try to use a bread lame (a razor with a fancy wooden holder) for this step, I find that using a sharp serrated knife really does a good job here. No fancy equipment needed!
Step 8
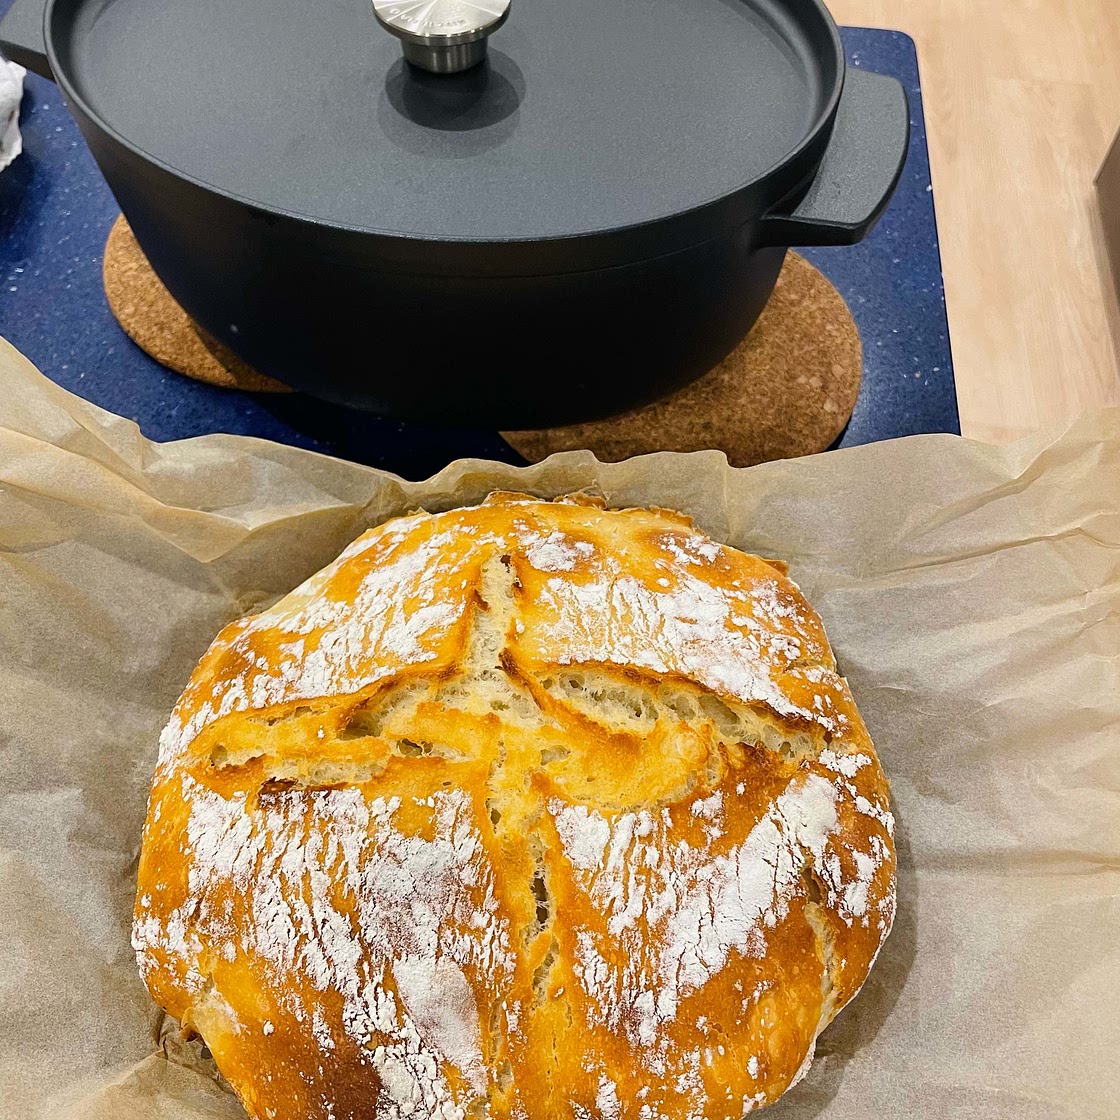
With a quick and decisive swipe, make a cut in the dough from the top to bottom. If you’d like, you can make another score in the opposite direction from left to right, but one score will be enough. Scoring the dough will encourage the dough to expand in a more controlled way. Without scoring, the bread will naturally expand and burst in sporadic places, but it could potentially rise a bit less than it would with a controlled score.
Step 9
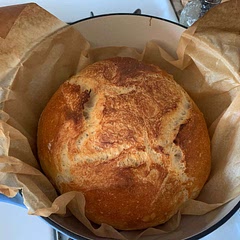
It’s now time to transfer the dough into the Dutch Oven or cast iron pot. Using heavy duty oven gloves, remove the pot from the oven and place it on to your stovetop/hob, then remove the lid from the pot and set it to the side. Carefully lift up the sides of the parchment paper and lower the bread into the pot. Be very careful not to burn your hands while making this transfer. Place the lid back on and return the pot back to the oven. Set a timer for 40 minutes.
Step 10
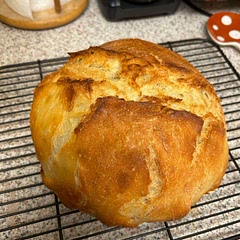
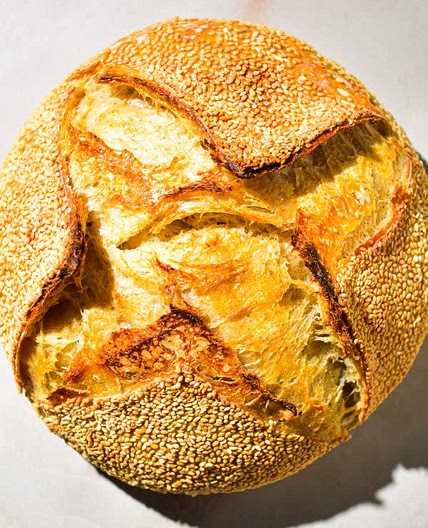
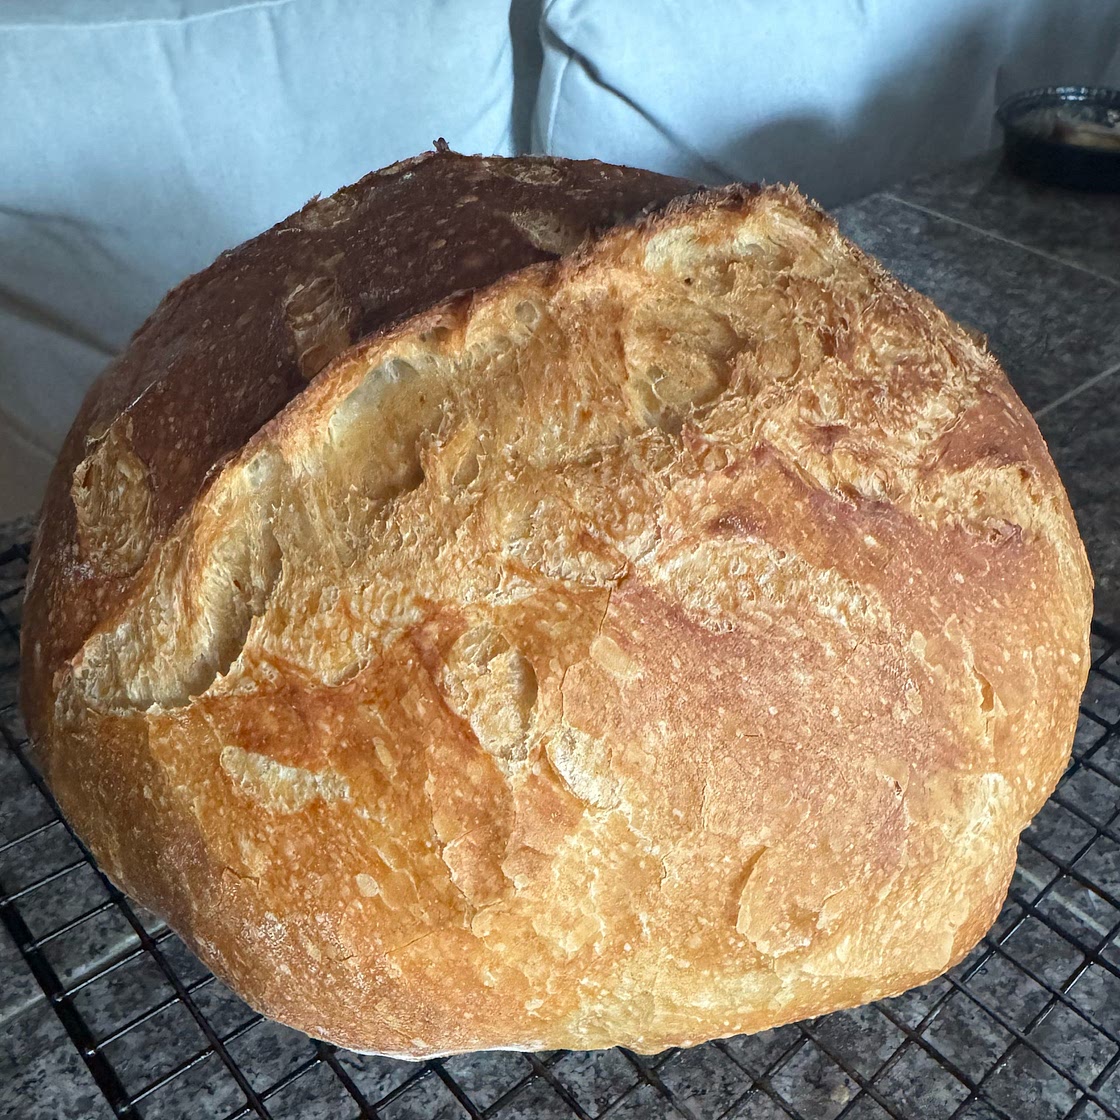
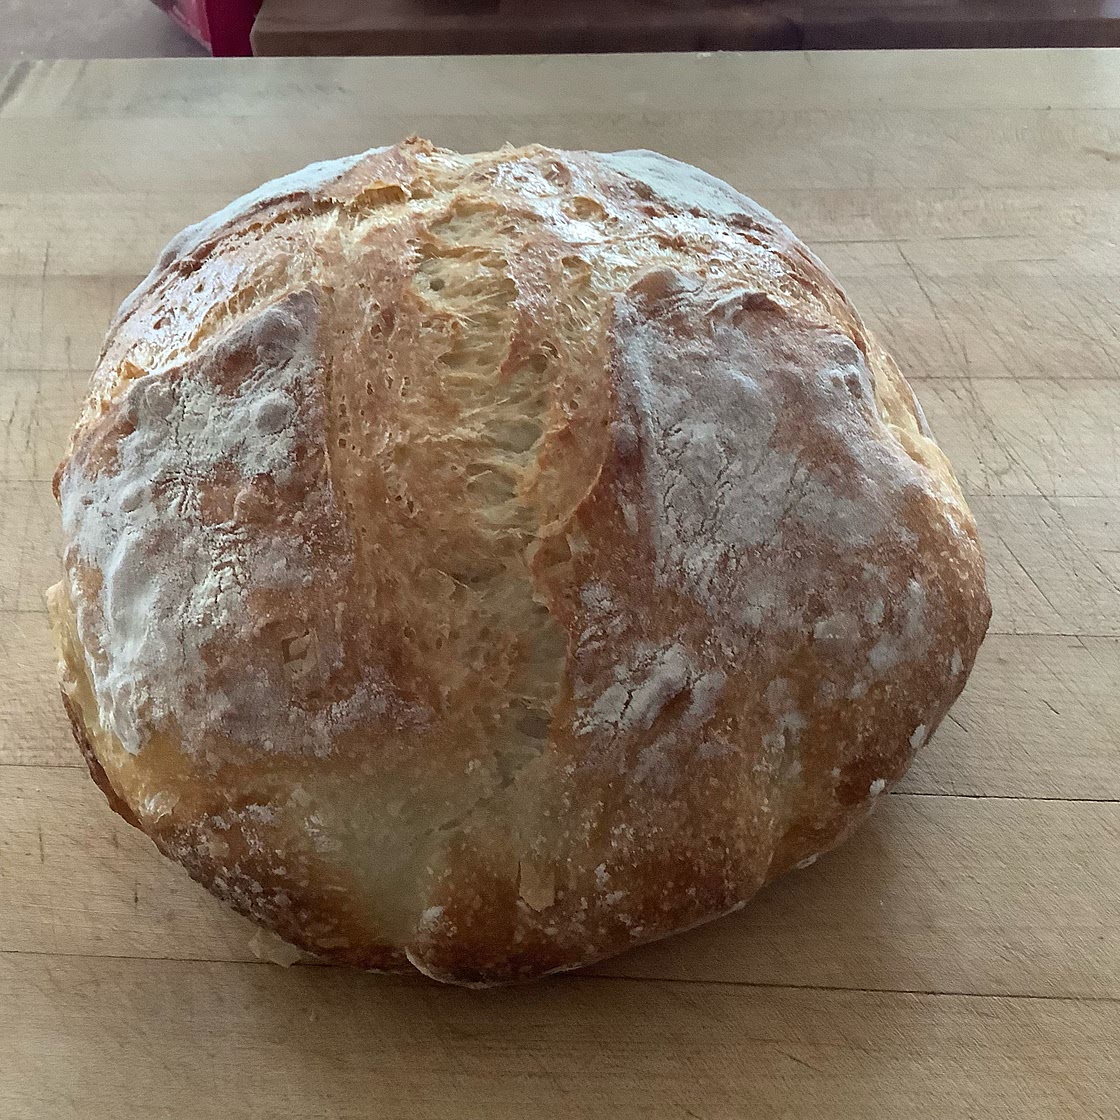
After 40 minutes, remove the lid to check on the colour of the bread. It will be a deep golden brown colour when it has finished baking and it should sound hollow when you tap the bottom of it. Replace the lid if you think the bread needs a few more minutes baking. My oven typically takes 43 minutes, but it could take a few minutes less or up to ten minutes longer depending on the strength of your oven - sometimes the temperature gauges are a bit off! You can always remove the lid for those last few minutes so it can crisp up a bit quicker from the direct heat of the oven.
Step 11
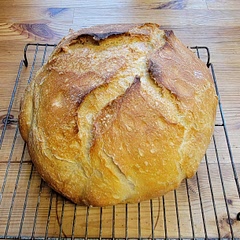
Once the bread has finished baking, remove the pot from the oven using heavy duty oven gloves and then transfer the bread to a cooling rack. It’s best to wait at least 30 minutes to cut into your bread. Enjoy!
Storing and Freezing Your Bread
Step 12
You should expect that the crust of the bread will naturally soften a bit over time. Because of the water content in the focaccia dough recipe, the interior of this loaf should remain moist and soft for at least 2-3 days. You can store it in a linen bread bag, wrap it in a large beeswax wrap or store it in a large 6L plastic zip top bag (the crust will soften a bit more with this option).
Step 13
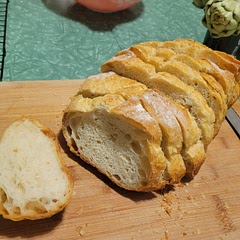
This makes quite a large loaf, so I will often slice half of the bread and freeze the slices in a large plastic zip top freezer bag. This way I have lovely homemade slices of bread that can be toasted from frozen on demand.
Step 14
You can also freeze the entire loaf of bread. Wait for it to cool completely and then wrap it well in aluminium foil. Then wrap the loaf in plastic wrap or slide it into a large 6L freezer bag and place it into the freezer. When you’d like to reheat it, remove it from the plastic wrap/bag but leave the foil on it. Place the foil-wrapped bread into a 175C/350F oven for 20-30 minutes. Remove the foil and let the crust crisp up for an additional 3-5 minutes. The bread should be as good as new!
What if I don’t have a Dutch Oven or cast iron pot?
Step 15
You can bake this bread without a pot. The main concern when baking a loaf of bread is that the oven is steamy enough to allow the bread to rise nicely before the crust forms. So if you plan to bake the bread on a tray, be sure to put a baking dish with hot water in the bottom of the oven as it preheats. Additionally, you can get a spray bottle and spray a few good pumps of water into the oven before closing the door for the bread to bake. If you have a big enough ovenproof stock pot, you can also try inverting this over the bread on the tray to create a mock Dutch Oven.
Step 16
Without a Dutch Oven, I suggest baking the bread at 230C/450F for 30 minutes and then turn the temperature down to 210C/410F and carefully remove the hot water/steam source from the oven. Continue baking for another 10-15 minutes or until the bread is golden brown and sounds hollow when you tap the bottom of it.
Can I use different flours in this loaf?
Step 17
You can incorporate different flours into this bread, but I’d recommend keeping at least 300g of it white bread flour just to maintain the structural integrity of the bread. Whole grain flours will absorb more water, so use my focaccia video tutorial as a reference for what the consistency of the dough should look like and slowly add in additional water if you think it’s needed. The more whole grains you add into the dough, the denser and less springy the loaf will be.
Notes
54 liked
1 disliked
Go-to
Delicious
Easy
Fresh
Crispy


