By Jessica Porter
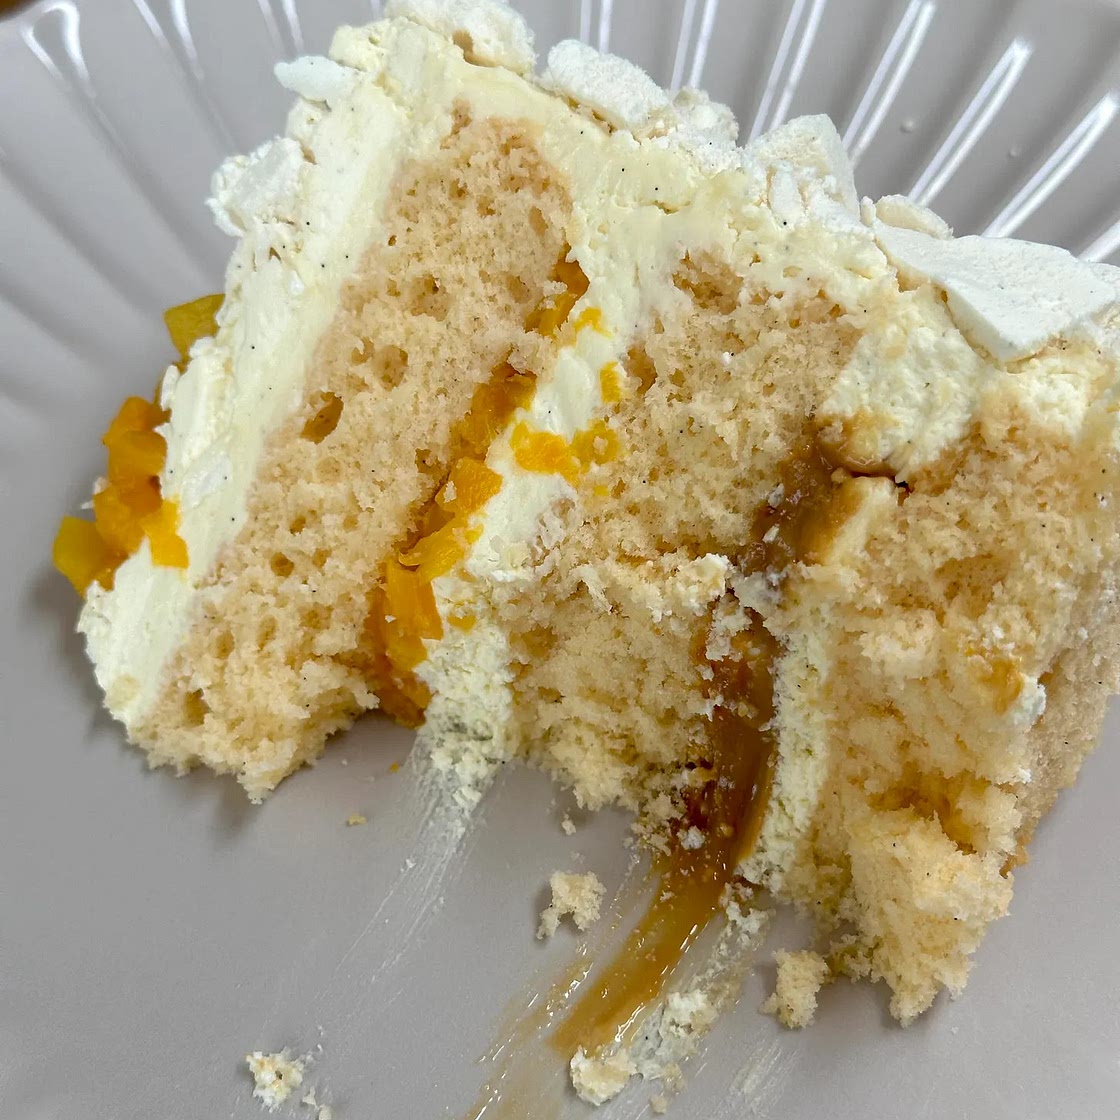
Uruguayan Chaja Cake
Makes 3 x 18cm/7 inch cakes
Updated at: Tue, 28 May 2024 14:37:51 GMT
Nutrition balance score
Unbalanced
Glycemic Index
62
Moderate
Glycemic Load
53
High
Nutrition per serving
Calories806 kcal (40%)
Total Fat46.1 g (66%)
Carbs84.4 g (32%)
Sugars69.9 g (78%)
Protein8.9 g (18%)
Sodium223.5 mg (11%)
Fiber1 g (4%)
% Daily Values based on a 2,000 calorie diet
Ingredients
10 servings
Meringue
Sponge
4eggs
large
180gcaster sugar
20mlvegetable oil
150gplain flour
25gcornflour
1 tspbaking powder
salt
1 tspvanilla bean paste
Whipped Cream
Filling
Instructions
Meringue
Step 1
Add the egg whites and salt to a stand mixer bowl and use the whisk attachment to mix on a medium speed until the whites begin to foam.
Step 2
Begin to add the caster sugar 1 tbsp at a time, giving each addition ample time to mix and dissolve. Once all the sugar has been added, continue mixing until you reach stiff peaks.
Step 3
Add the vanilla bean paste and the icing sugar to the bowl and mix until combined.
Step 4
Scoop the meringue onto the baking trays and use a palette knife to spread over a nice even, thin layer.
Step 5
Place the trays on the bottom shelves of the oven (to prevent browning) and leave to bake for 2.5 hours.
Step 6
Once the time is up, don’t open the oven, just leave the meringue to cool for at least an hour (preferably overnight) to completely dry out.
Step 7
Remove from the oven, break up the meringue and store in a sealed container until needed.
Dulce de Leche
Step 8
Grab a saucepan and fill with water. Submerge the condensed milk tin until fully covered, pop the lid on and place over a medium heat.
Step 9
Bring to a boil and reduce the heat to a simmer. Let it do it’s thing for 2.5 hours. Take a look every so often and keep topping up the pan with more water to ensure the tin is always covered.
Step 10
Once done, drain the water and allow the tin to completely cool. Once cooled, remove contents and transfer half to a piping bag – the other half you can save to make my chocolate banana bread OR to drizzle on top of ice cream, add to cake batters, buttercreams or sandwiching shortbread biscuits.
Sponge
Step 11
Preheat the oven to 150°C Fan/340°F/Gas Mark 4.
Step 12
Start by adding the eggs and sugar to a stand mixer bowl. Use the whisk attachment to mix the eggs for 8 minutes on a high speed, until light, fluffy and doubled in volume.
Step 13
After 8 minutes, reduce the speed to the lowest setting and slowly and carefully pour in the oil down the side of the bowl. Don’t get sad when the volume reduces slightly.
Step 14
Into a separate bowl, add the flour, cornflour, salt and baking powder. Give that a mixy mix before adding the flour into the main bowl in thirds. Gently fold the flour in after each addition, adding the vanilla bean paste to the last.
Step 15
Scrape the sides and bottom to ensure there are no flour pockets before evenly distributing the batter between the 3 tins.
Step 16
Pop into the oven and bake for 22 minutes, or until the tops are golden and the sides of the sponge have come away from the tin.
Step 17
Allow the sponges to sit for a few minutes before turning them out and loosely wrapping in clingfilm/saran wrap. Leave to completely cool. If your sponges have domed tops, flip the sponges over whilst they are cooling to help level out or use a serrated knife once cooled for an even top.
Peach Filling
Step 18
Drain the tinned peaches, making sure you reserve the juice.
Don’t let that sweet goodness go down the drain! Finely dice the peach slices, pop back
into a sieve and leave to one side (they will continue to let out juice and we don’t want a
sloppy cake).
Whipped Vanilla Cream
Step 19
I opted for a stabilized whipped vanilla cream for a bit more longevity so pop the mascarpone (our stabilizer) into a bowl, alongside the icing sugar and vanilla bean paste.
Step 20
Using a whisk attachment, mix until smooth. Pour in the double cream and mix on a low to med speed to ensure you don’t overmix. Once the cream hits medium peak (i.e holds a soft peak) STOP. The cream will become stiff and overworked super quickly and will continue to stiffen whilst you smush it around the cake.
Construction
Step 21
Add a tiny bit of cream to the base of your serving plate. This will act like a glue to prevent any slipping cakes. Grab a pastry brush and your reserved peach syrup. Generously brush the syrup over the tops of each sponge.
Step 22
Place a sponge onto your serving plate. Add a thin layer of whipped cream on top and level out using an offset palette knife. Pop some cream into a piping bag and pipe a line of cream around the edge to create a dam.
Step 23
Pipe the dulce de leche into the middle and use the back of a spoon to smooth over. Grab your meringue and crunch up to small pieces. Generously sprinkle some over the top of the dulce de leche, creating a nice even layer.
Step 24
Place the second sponge on top. Repeat the cream and dam process. This time fill the middle with half of your diced peaches.
Step 25
Place the final sponge on top and use half of the remaining cream to crumb coat before popping in the fridge to set for 30 minutes.
Step 26
Use any remaining cream for the final coating before popping back in until serving.
Step 27
Just before serving, crunch up the meringue (to whatever size tickles your pickle but for slicing purposes, I went small) and use your hand to press the meringue into the sides. Generously coat the sides and top.
Step 28
Add the remaining diced peach on top and a few sprigs of fresh mint (optional). Use a hot knife to slice and serve.
Notes
1 liked
0 disliked