By mamagourmand.com
Easy Copycat Gluten-Free Ice Cream Sandwiches
10 steps
Prep:1hCook:12min
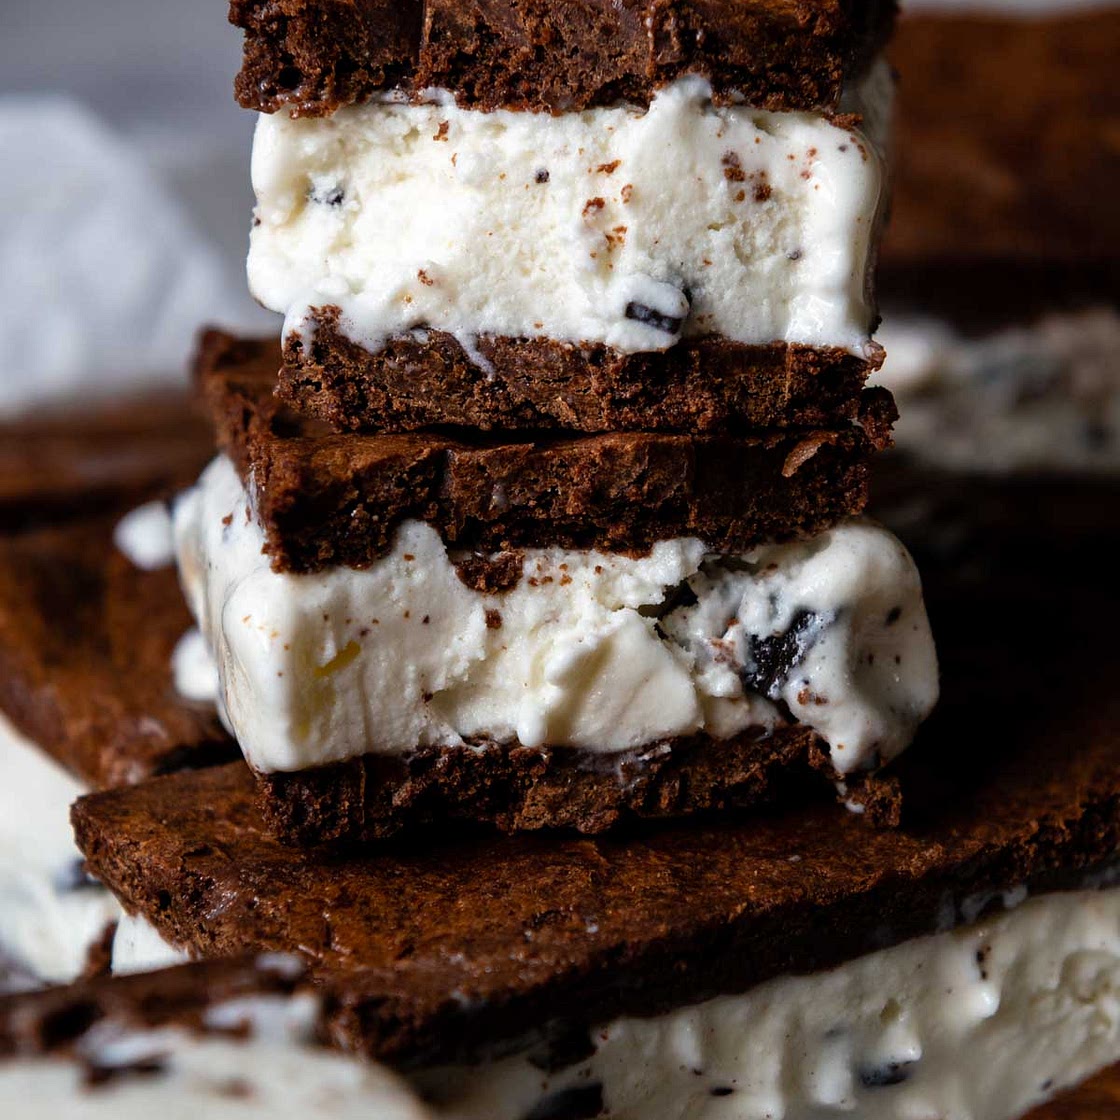
Not only can you learn how to make gluten-free ice cream sandwiches with this easy homemade recipe, but experience a tasty frozen treat better than any GF store brands available! Prepare the thick chocolate cookie wafer in minutes with this one-bowl recipe, and then press into a baking sheet. No rolling, cutting, or expert gluten-free baking experience is required to make 12 creamy and decadent ice cream bars!
Updated at: Thu, 17 Jul 2025 17:07:51 GMT
Nutrition balance score
Uh-oh! We're unable to calculate nutrition for this recipe because some ingredients aren't recognized.
Ingredients
12 servings
8 tablespoonsunsalted butter
1 cupsemi-sweet chocolate chips
2eggs
large, room temperature
⅓ cuplight brown sugar
⅓ cupgranulated sugar
1 teaspoonvanilla extract
1 ½ cupgluten free all purpose flour
I use and gluten-free flour
½ cupunsweetened cocoa powder
½ teaspoonbaking powder
¼ teaspoonsalt
1.5 quartgluten-free ice cream
any preferred flavor
Instructions
Step 1
Preheat the oven to 350ºF. Crumble a large piece of parchment paper, unfold, and then press it into 13"X18" baking sheet. Crumbling makes it lay flatter. You may also want to fold the edges so the paper fits snuggly in the pan.
Step 2
In a medium saucepan melt together the butter and chocolate chips over low heat. Once they are about 80% melted, remove from the heat and stir until fully melted. This will prevent accidentally over-heating the mixture.
Step 3
Let the mixture cool slightly, about 10 minutes. Whisk in the eggs, granulated sugar, brown sugar, and vanilla extract.
Step 4
To the saucepan add the gluten-free flour, unsweetened cocoa, baking powder, and salt. Stir to combine. The mixture will be very thick.
Step 5
Dollop the batter all over the baking sheet. Use an offset spatula to spread as best as you can. The mixture is very thick, so after it is spread out some, use your fingers to press the mixture evenly in the pan, going all the way to the edges. Make sure it's an even layer so you have uniform thickness throughout.
Step 6
Before you place the bars in the oven, move the ice cream from the freezer to the fridge to soften. Bake the bars for 12-13 minutes, rotating pan halfway through. It is done when a toothpick inserted in the middle comes out clean and it loses its shininess on top.
Step 7
Cool the bars (leaving in the pan) for 20 minutes on a wire rack. Cut exactly halfway down the middle so you have two halves that are 9"X13" (see image in post). Place the pan in the freezer to freeze until solid, about 30 minutes
Step 8
Remove the ice cream from the refrigerator and transfer to a large bowl. Stir until it's an uniform softened mixture. This will make it easier to spread evenly on the bars.
Step 9
Take the bars from the freezer. Flip one half over so the top is now facing down. Evenly spread the ice cream on using the offset spatula, going all the way to the edge. Place the second half on top. Return to the freeze for 1-2 hours, or until the ice cream is solid again.
Step 10
Use a large sharp knife to score the slices before cutting through. You should have twelve 4-inch by 1.75-inch bars. Once you have the bars scored evenly, slice through. For easier slicing run the knife through very hot water, wipe dry and then cut through. Repeat as needed. If not serving immediately, wrap individual bars in plastic wrap and place in a gallon ziplock freezer bag to store.
View on mamagourmand.com
↑Support creators by visiting their site 😊
Notes
2 liked
0 disliked
Moist
Sweet
Bland
Crispy
Kid-friendly
