By mamagourmand.com
Gluten-Free Grilled Pizza (Easy Tips, Best Results)
13 steps
Prep:10min
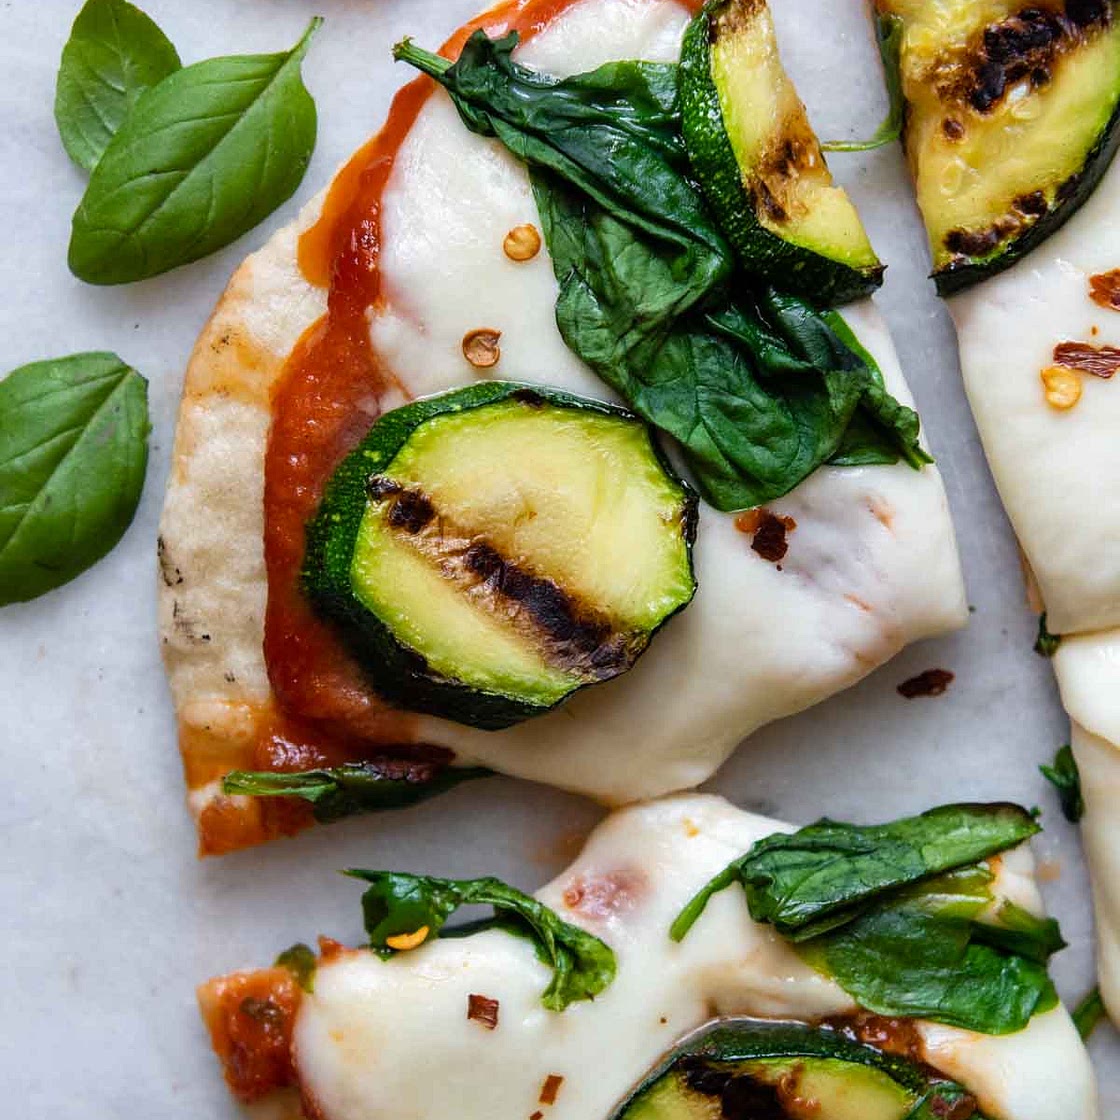
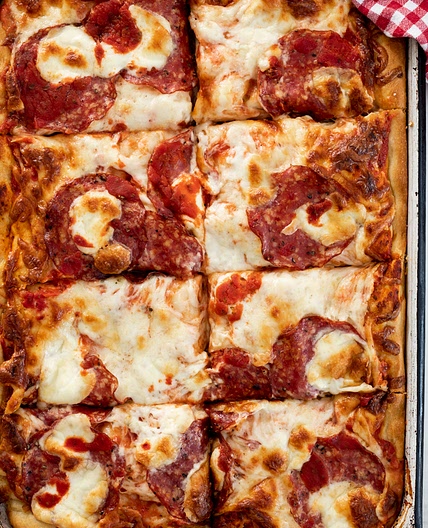
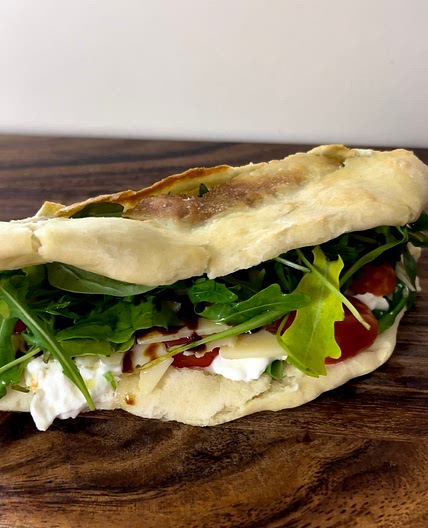
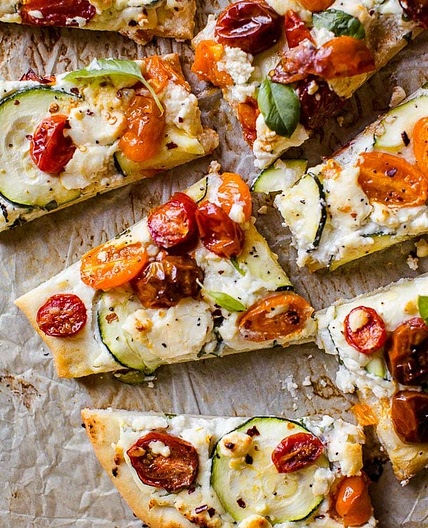
Tired of missing out grilled pizza with gooey cheese, smoky flavor, and a golden, slightly charred crust? It's time to enjoy this delicious, quick dinner again with an effortless gluten-free grilled pizza recipe! As an experienced gluten-free cook and baker, I have perfected the process of making gluten-free pizza on the grill with easy tips for making a soft, fluffy GF crust, which toppings work best, and how to achieve perfectly grilled results every time!
Updated at: Fri, 30 Jan 2026 07:08:43 GMT
Nutrition balance score
Good
Glycemic Index
71
High
Glycemic Load
29
High
Nutrition per serving
Calories328.3 kcal (16%)
Total Fat16.5 g (24%)
Carbs40.3 g (16%)
Sugars5.2 g (6%)
Protein12.1 g (24%)
Sodium596.6 mg (30%)
Fiber4.2 g (15%)
% Daily Values based on a 2,000 calorie diet
Ingredients
5 servings
¾ cupwater
warm, heated to 110°F
1 teaspoonactive dry yeast
1 teaspoongranulated sugar
1 ⅓ cupgluten free all purpose flour
flour, see recipe notes for other flours
3 tablespoonspotato starch
2 teaspoonspsyllium husk powder
¾ teaspoonbaking powder
½ teaspoonsalt
1 tablespoonolive oil
and more for shaping and rolling
pizza sauce
or olive oil
2 cupsmozzarella cheese
freshly grated, or sliced buffalo mozzarella
toppings
see recipe notes for best results
Instructions
Gluten-Free Pizza Dough
Step 1
Begin by making the flatbread crust. This can either be done right before assembling and grilling pizzas or make a batch, cool completely, securely wrap, to store at room temp one day or freeze up to 2 months.
Step 2
Begin by heating the oven to 150ºF. Once it reaches temperature, turn it off. This will serve as an extra warm place for the dough to rise.
Step 3
In a small bowl combine the warm water, yeast, and sugar. Whisk and set aside for 5 minutes to activate. When ready it will be frothy on top.
Step 4
In a large bowl of stand mixture with paddle attachment, combine the gluten-free flour, potato starch, psyllium husk, salt, and baking powder. Mix on on speed.
Step 5
Add in the yeast / water mixture and oil. Mix on medium speed for 3 minutes. If you do not have a stand mixer, mix with a wooden spoon to combine well.
Step 6
Scrape the dough into the middle of the bowl. Cover with plastic wrap and place in the warm oven, leaving the door slightly ajar for 5-10 minutes before closing. Let rise for 45 minutes.
Step 7
When read to shape, pour a little additional olive oil to dip your fingers in if the dough sticks. Place a large sheet of parchment paper on a workspace. Use slightly greased fingers to divide the dough into 5 equal-sized balls. Cover with plastic wrap and let rest for 10 minutes. Meanwhile, heat a dry nonstick skillet over medium heat.
Step 8
Move the balls to the side, keeping covered. On the parchment spread a very, very light sheen of olive oil. Place one ball in the middle and flatten into a thick disc. Use a rolling pin to shape into a 6½-inch circle, rotating quarter turns as you roll to maintain a round shape.
Step 9
Use a spatula to lift the flatbread onto the hot skillet. Cook, undisturbed, for 1½ - 2 minutes, flip, and cook for an additional 1½ - 2 minutes. Make sure to cook just as long on second side, or they will be dense and not as fluffy (even if they look "done.") As the flatbread cooks, roll out the next one.
Step 10
Transfer to a cooling rack and cook remaining flatbreads before assembling the pizzas and warming the grill.
Assembling and Grilling Pizzas
Step 11
When ready to grill, preheat a gas or charcoal grill to medium-low. Once it is heated, place the crusts directly on the grill grate and cook one side only for 90 seconds. This will slightly char the crust.
Step 12
Move the pre-charred crusts to a baking sheet or pizza peel to assemble the pizzas. Make sure the grill marks are facing up, which is where the toppings will be added.
Step 13
Spread on a thin layer of sauce, sprinkle with toppings (see recipe notes), and top with cheese. Return to the grill, placing directly on the grate. Close the lid and cook for 2-3 minutes, checking after 2 minutes to make sure the bottom isn't burning. If the crust becomes too scorched before the cheese has melted, turn off the grill and let the residual heat finish melting the cheese. Use a long spatula to remove and serve immediately.
View on mamagourmand.com
↑Support creators by visiting their site 😊
Notes
0 liked
0 disliked
There are no notes yet. Be the first to share your experience!
