By Caroline Olivo
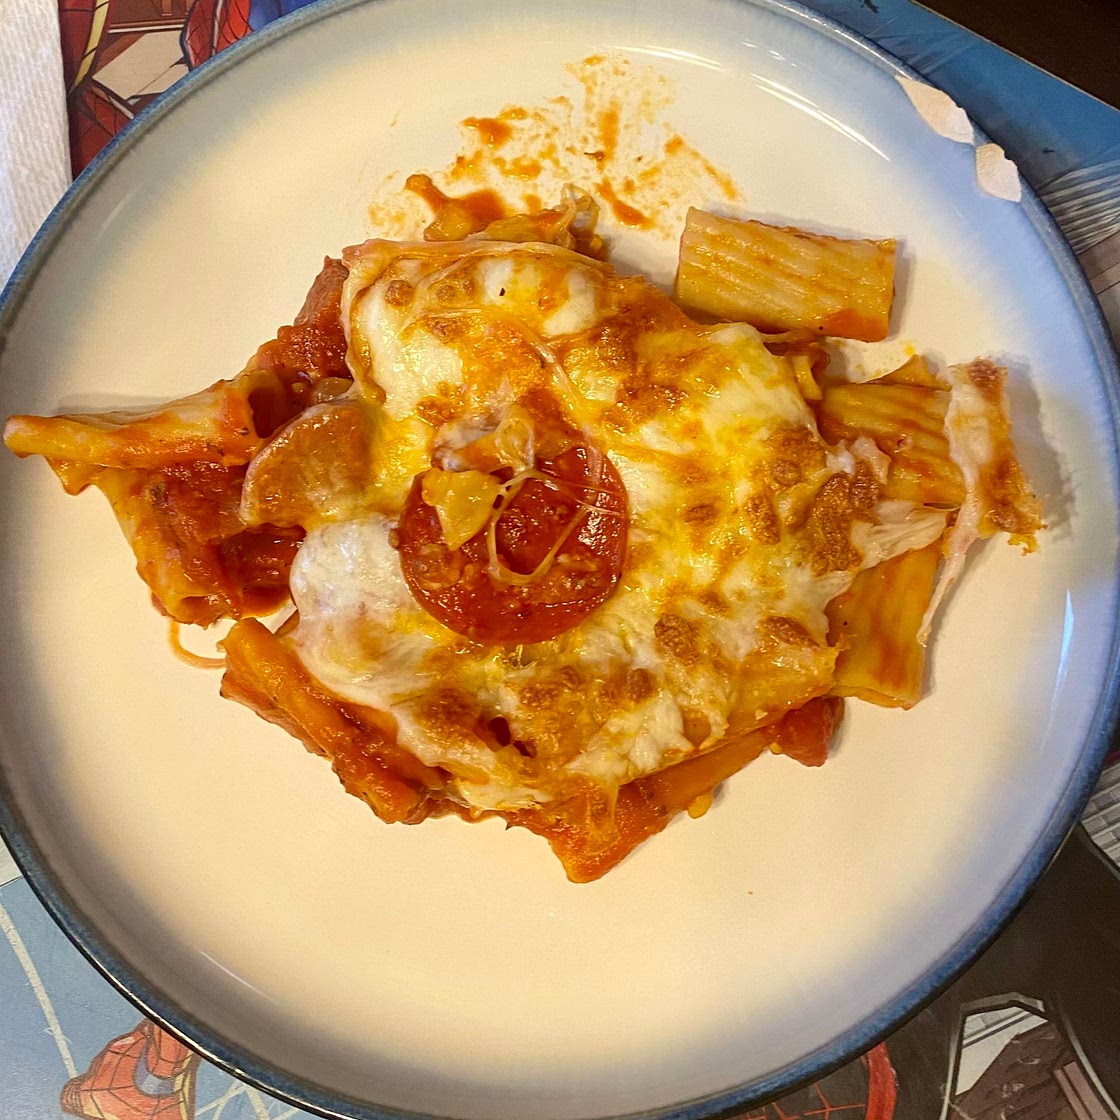
Pepperoni pizza pasta bake
9 steps
Prep:10minCook:30min
Updated at: Thu, 17 Aug 2023 04:05:27 GMT
Nutrition balance score
Unbalanced
Glycemic Index
48
Low
Glycemic Load
38
High
Nutrition per serving
Calories980.4 kcal (49%)
Total Fat49.8 g (71%)
Carbs80 g (31%)
Sugars14.1 g (16%)
Protein44.2 g (88%)
Sodium1911.4 mg (96%)
Fiber7.2 g (26%)
% Daily Values based on a 2,000 calorie diet
Ingredients
6 servings
1onion
large, peeled, cut in half, sliced in half-moon shapes
2 tablespoonsextra virgin olive oil
1 teaspoonkosher salt
½ teaspoondried oregano
½ teaspoondried basil
¼ teaspoonground black pepper
¼ teaspooncrushed red pepper
6 clovesgarlic
large, peeled, minced
1 x 28 ouncescan peeled San Marzano tomatoes
1 x 28 ouncescan San Marzano tomato puree
1 cupred wine
2 cupschicken stock
1pepperoni sausage
about 8 inches, cut in small pieces
16 ouncesrigatoni pasta
dry
4 cupsshredded mozzarella cheese
divided
1 x 6 ouncespepperoni
thin-sliced
Instructions
Step 1
Select SEAR/SAUTE and set to MD:HI. Select START/STOP to begin. Allow to preheat for 5 minutes.
Step 2
After 5 minutes, place onion and olive oil into the pot. Cook for 2 minutes, then add salt, oregano, basil, black pepper, and crushed red pepper. Continue cooking, stirring occasionally, until onions are lightly browned and translucent about 5 minutes.
Step 3
Add remaining ingredients, except mozzarella and pepperoni slices, to pot. Assemble pressure lid, making sure the pressure release valve is in the SEAL position.
Step 4
Select PRESSURE and set to HIGH. Set time to 6 minutes. Select START/STOP to begin.
Step 5
When pressure cooking is complete, allow pressure to natural release for 10 minutes. After 10 minutes, quick release remaining pressure by moving the pressure release valve to the VENT position. Carefully remove lid when unit has finished releasing pressure.
Step 6
Stir the sauce with a wooden spoon, crushing tomatoes in the process.
Step 7
Cover pasta mixture evenly with 3 cups shredded mozzarella. Lay pepperoni slices across mozzarella. Sprinkle remaining mozzarella over pepperoni slices.
Step 8
Close crisping lid, Select AIR CRISP, set temperature to 400°F, and set time to 5 minutes. Select START/STOP to begin
Step 9
When cooking is complete, serve immediately
Notes
1 liked
0 disliked
There are no notes yet. Be the first to share your experience!
