Samsung Food
Log in
Use App
Log in
By Darrin Pouliot

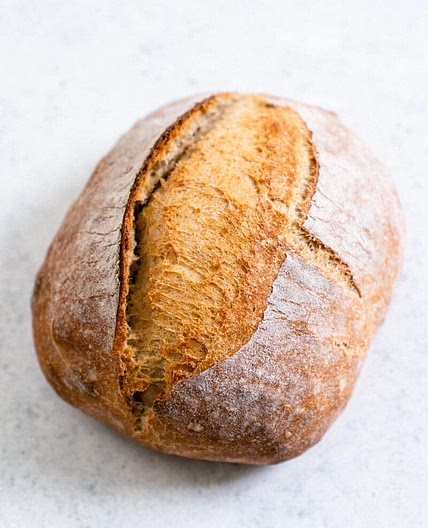
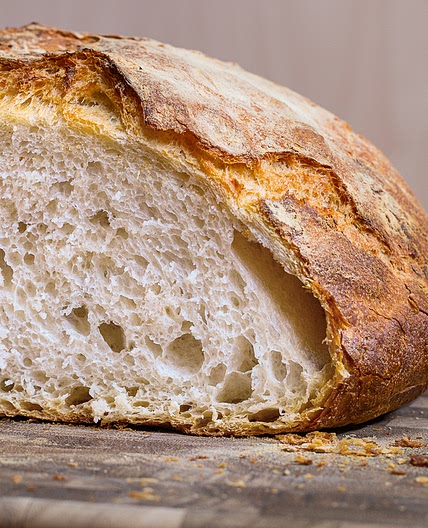
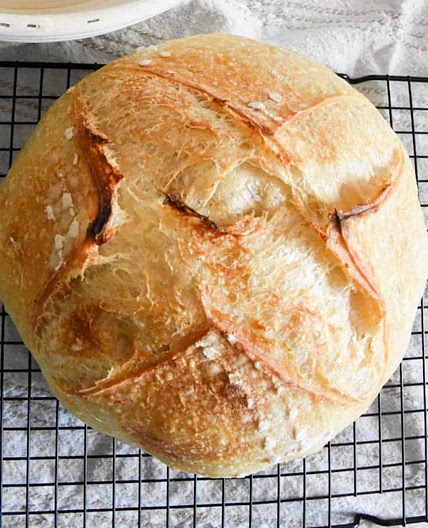
Sourdough Bread Recipe

9 steps
Cook:45min
Updated at: Tue, 15 Oct 2024 11:47:48 GMT

Nutrition balance score

Good
Glycemic Index
74
High
Glycemic Load
292
High

Nutrition per serving

Calories1959.3 kcal (98%)
Total Fat9 g (13%)
Carbs393.4 g (151%)
Sugars1.7 g (2%)
Protein64.8 g (130%)
Sodium3885.8 mg (194%)
Fiber16.6 g (59%)
% Daily Values based on a 2,000 calorie diet

Instructions

Step 1
Sour Dough Schedule 10 AM Feeding 9 Hours at 76 degrees, 7 PM Autolyse 30 minutes, 7:30 PM Mixing 10 minutes, 7:40 PM Bulk Fermentation First Fold, 8:00 PM Fold, 8:30 PM Fold, 9:00 PM Final Fold Cover with plastic wrap. Leave on the counter and check at 7 AM the next day 10 hours later.
Step 2
Feed Your Sour Dough Starter: Use 1:2:2 Ratio, 50 grams of starter, 90 Grams of bread flour, 10 grams wheat flour and 100 Grams of Water—place ingredients in a jar with a loosely covered lid. Put a rubber band around the jar to chart progress. It should take 8 to 9 hours to double in size and pass the float test.
Mason JarMason Jar
Step 3
Make sure the starter is ready to use (perform a float test). When the bubbles on the surface appear, drop about a teaspoon of starter into a small bowl of room-temperature water. If it floats, the starter is full of gas and ready to use (ripe). If it sinks, let it sit, checking every 30 minutes, until you see even more activity, and then try the test again.
GlassGlass
Step 4
Autolyse. After the starter passes the float test it's time to start the Autolyse. Do not add salt. Add water first and then 1/3 of the flour and mix. Slowly add the remaining flour until fully incorporated. Cover with a damp dish towel and sit for at least 30 minutes while you wait until your starter is ready.
BowlBowl
Step 5
Mix the Dough. Hand mixing should take about 5 minutes. Combine the autolyse and starter. Add 100 grams of ripe starter to the bowl with the flour-water mixture. Pinching with your thumb, forefinger, and middle finger on one hand and rotating the bowl with the other, mix until the starter is completely incorporated.
BowlBowl
Step 6
Add salt. At this point, the dough should be wet but also extremely extensible (having the ability to stretch without snapping back). Sprinkle 10 grams of salt and 10 grams of water across the dough, and pinch, as before, to incorporate.
Step 7
Bulk Fermentation and Fold. Bulk fermentation begins after a preferment (starter or levain) is added to bread dough and lasts until it’s divided and preshaped. For overnight levain doughs do 3 to 4 folds. Each fold takes about 1 minute. Do a round of “stretch and fold” – with wet hands to prevent sticking. Gently lift one side of the dough and stretch it upwards (avoid tearing the dough), and then fold it over onto itself. 30 minutes after the first round, do 3 more rounds of stretch and folds every 30 minutes. Make sure the last stretch in the fold is not done in the last hour of Bulk Fermentation. After 4 folds cover and let sit on the counter for the remaining Bulk Fermentation process. At this point, we are about 2 hours into the bulk fermentation process. If it's warmer the process should take about 12 hours but if it's cooler in the winter, then closer to 15 hours.
Step 8
Shape and Proof. Turn the dough out onto a lightly floured surface. With floured hands, gently stretch out the dough then shape the dough to match the shape of your Banneton breadbasket. Turn the dough seam-side down, cover it with a towel, and let it proof for 4 hours.
Step 9
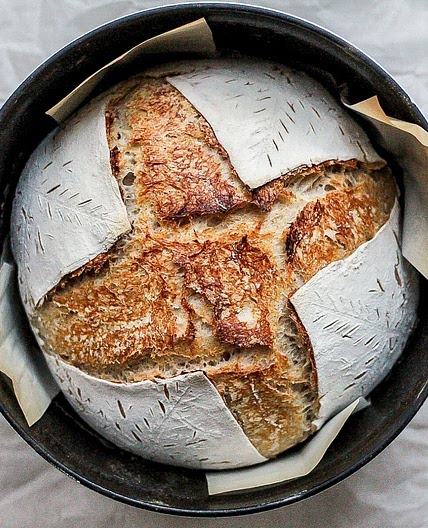
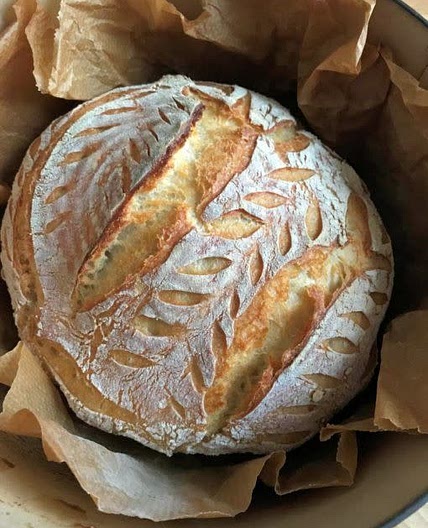
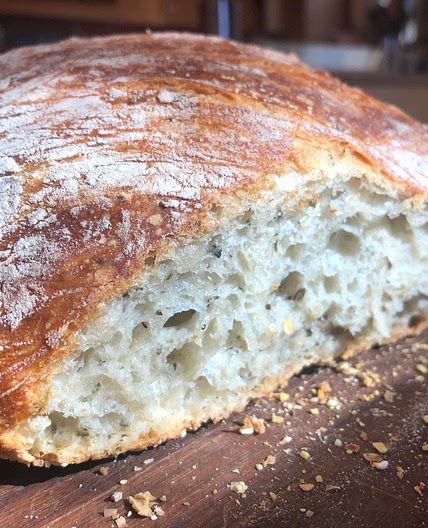
Bake the bread. Preheat the Oven for at least 30 minutes at 450 with a Dutch oven and lid on. Add dough to parchment paper, remove Dutch oven, and place bread in Dutch oven with the lid on and cook for 30 minutes. Turn up the tempature to 475, remove the lid and brown for 15 minutes or until it reaches your desired color.
Dutch OvenDutch Oven