By Raja Singh
5-Step Baked Chicken Recipes for Tender, Juicy Chicken Every Time - Baked Chicken Recipes
19 steps
Prep:10minCook:30min
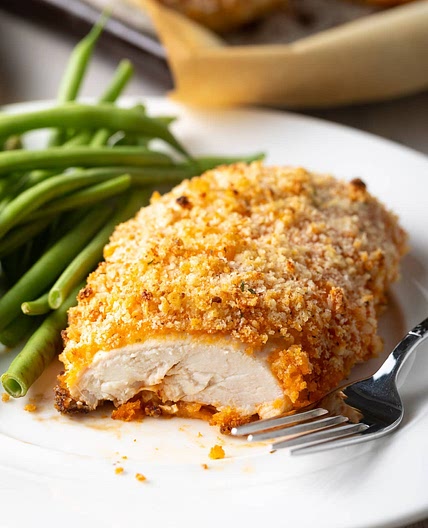
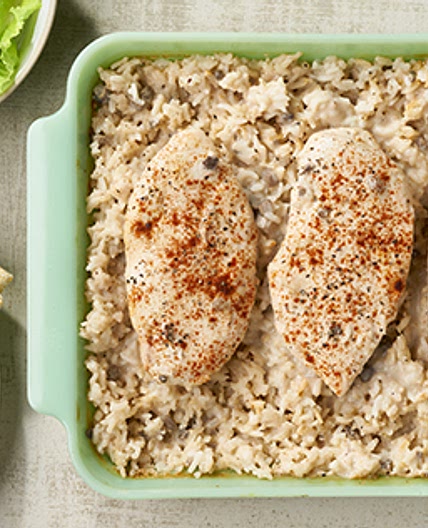
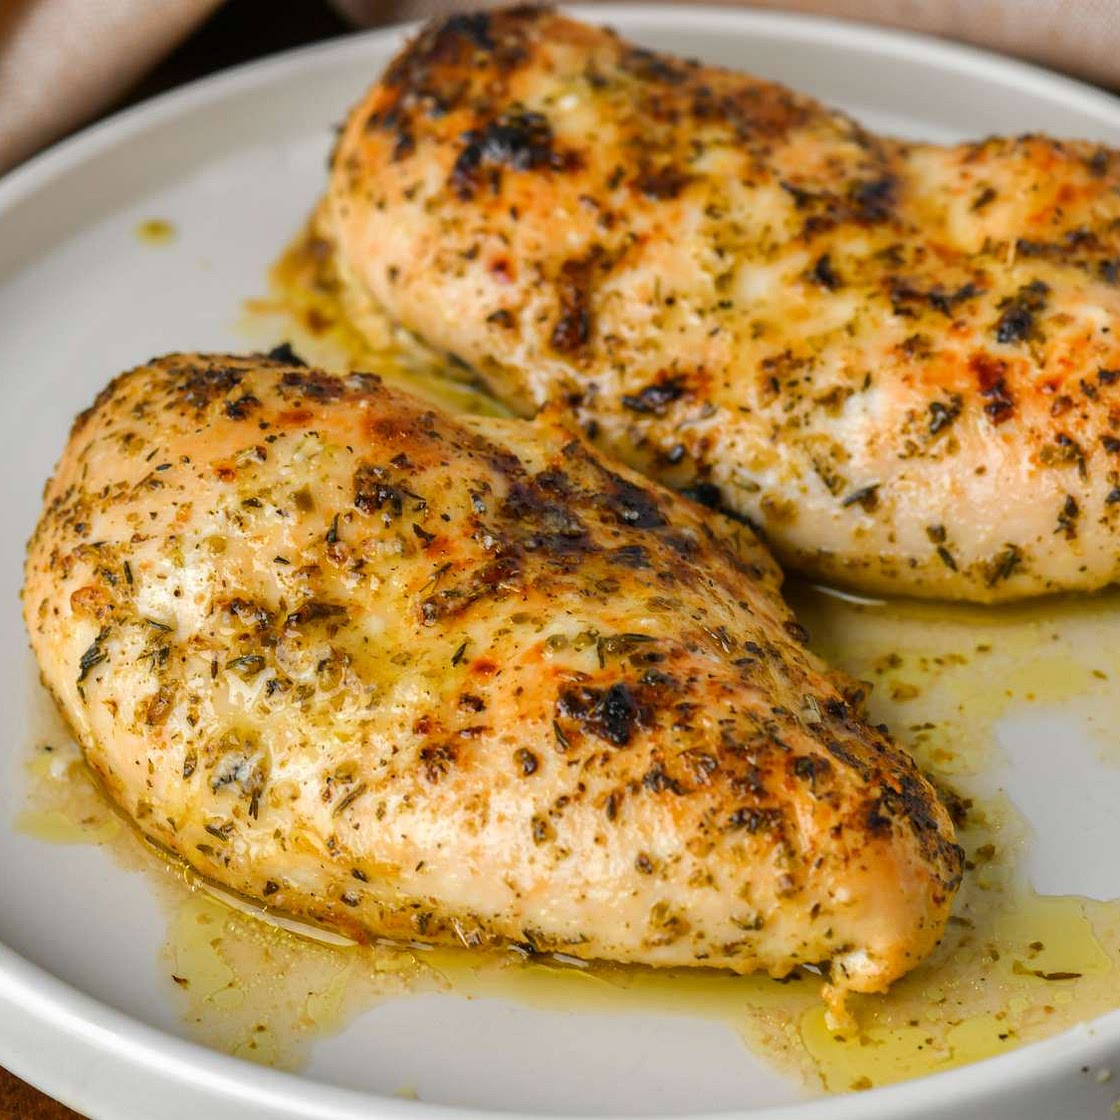
My Favorite Oven-Baked Chicken Recipe (Chicken Breasts Recipe) This recipe never lets me down! Thanks to a simple 5-step method, it’s easy to prepare and customize with your favorite seasonings for a delicious meal.
Updated at: Wed, 13 Aug 2025 07:58:05 GMT
Nutrition balance score
Uh-oh! We're unable to calculate nutrition for this recipe because some ingredients aren't recognized.
Instructions
Step 1
Brine (Step 1)
Step 2
Brining is an essential step when baking chicken breasts in the oven. It’s simple, quick, and makes your chicken extra juicy—best of all, it only takes about 15 minutes!
Step 3
To brine the chicken, start by filling a large bowl halfway with lukewarm water. Stir in a handful of salt until it mostly dissolves. Next, add ice cubes or cold water to cool the brine until it feels cool to the touch. Place your chicken breasts into the saltwater and let them soak for at least 15 minutes.
Step 4
If you plan ahead, you can cover the bowl and refrigerate it for up to 6 hours. Avoid brining for much longer than that to keep the best texture.
Step 5
When ready, remove the chicken from the brine, rinse it well under cold water to wash away excess salt, and pat it dry thoroughly with paper towels. And just like that—your chicken is perfectly brined!
Step 6
Don’t skip this step—it truly makes a huge difference in the juiciness and flavor of your chicken.
Step 7
Note: Some store-bought chicken breasts come pre-brined. So, check the packaging before starting. If your chicken is already pre-brined, you can skip this step and jump straight to Step 2. 🙂
Step 8
Brush (Step 2)
Step 9
Brush the chicken breasts generously with melted butter. I highly recommend using butter because it adds wonderful flavor and helps create a beautiful golden crust on the outside. If you prefer, you can substitute olive oil or any other cooking oil of your choice.
Step 10
Make sure to coat both sides of the chicken breasts well. This not only prevents the chicken from sticking to the pan but also helps the seasonings adhere better. After brushing, place the chicken breasts in a large baking dish or roasting pan.
Step 11
Rub (Step 3)
Step 12
If you want to keep things very simple, you can just season the chicken breasts with salt and pepper. However, chicken readily absorbs the flavors of whatever you add, so even for a basic dish, I recommend using a straightforward seasoning blend.
Step 13
My go-to simple chicken seasoning includes salt, pepper, garlic powder, and smoked paprika. This mix adds plenty of flavor without overpowering the natural taste of the chicken.
Step 14
I prefer roasting my chicken breasts at a high temperature.
Step 15
Depending on the thickness and size of your chicken breasts, roasting them at 450°F usually takes about 15 to 18 minutes. This method is quick and simple, but what I especially love is how the high heat creates a crispy, golden crust on the outside. This crust helps seal in the juices, keeping the chicken perfectly tender and moist inside. It truly gives you the best of both worlds—crispy on the outside and juicy within.
Step 16
I strongly recommend using a small instant-read cooking thermometer to check the internal temperature, so you know exactly when your chicken is done. The FDA advises that chicken should reach a safe internal temperature of 165°F. Using a thermometer is much better than cutting into the meat and letting those precious juices escape. Personally, I use an instant-read thermometer that provides an accurate temperature reading in just seconds.
Step 17
Rest (Step 5)
Step 18
This step is absolutely crucial—don’t skip it! Always allow your perfectly baked chicken breasts to rest for a few minutes before slicing. This advice applies to all cooked meats. Cutting into the chicken immediately causes the flavorful juices to spill out, leaving the meat drier and less tender than desired. Letting your chicken rest lets it finish cooking gently and seals in those precious juices, giving you tender, juicy, and delicious results every time.
Step 19
I suggest loosely covering the pan with a sheet of aluminum foil to retain the heat while the chicken rests. After 5 to 10 minutes, your perfectly cooked chicken breasts will be ready to serve and enjoy.
View on bakedchickenrecipes.org
↑Support creators by visiting their site 😊
Notes
1 liked
0 disliked
Delicious
Easy
Fresh
Spicy
Sweet
There are no notes yet. Be the first to share your experience!