Nutrition balance score
Good
Nutrition per serving
Calories109.5 kcal (5%)
Total Fat6.8 g (10%)
Carbs0 g (0%)
Sugars0 g (0%)
Protein11.2 g (22%)
Sodium29.2 mg (1%)
Fiber0 (0%)
% Daily Values based on a 2,000 calorie diet
Instructions
Step 1
Place meat in the freezer for a few minutes. Partially freezing the meat will will make it easier to slice.
Step 2
Slice the meat into strips about the size of your index finger. The finished jerky ends up being about 1/3 the size of what you started with.
Step 3
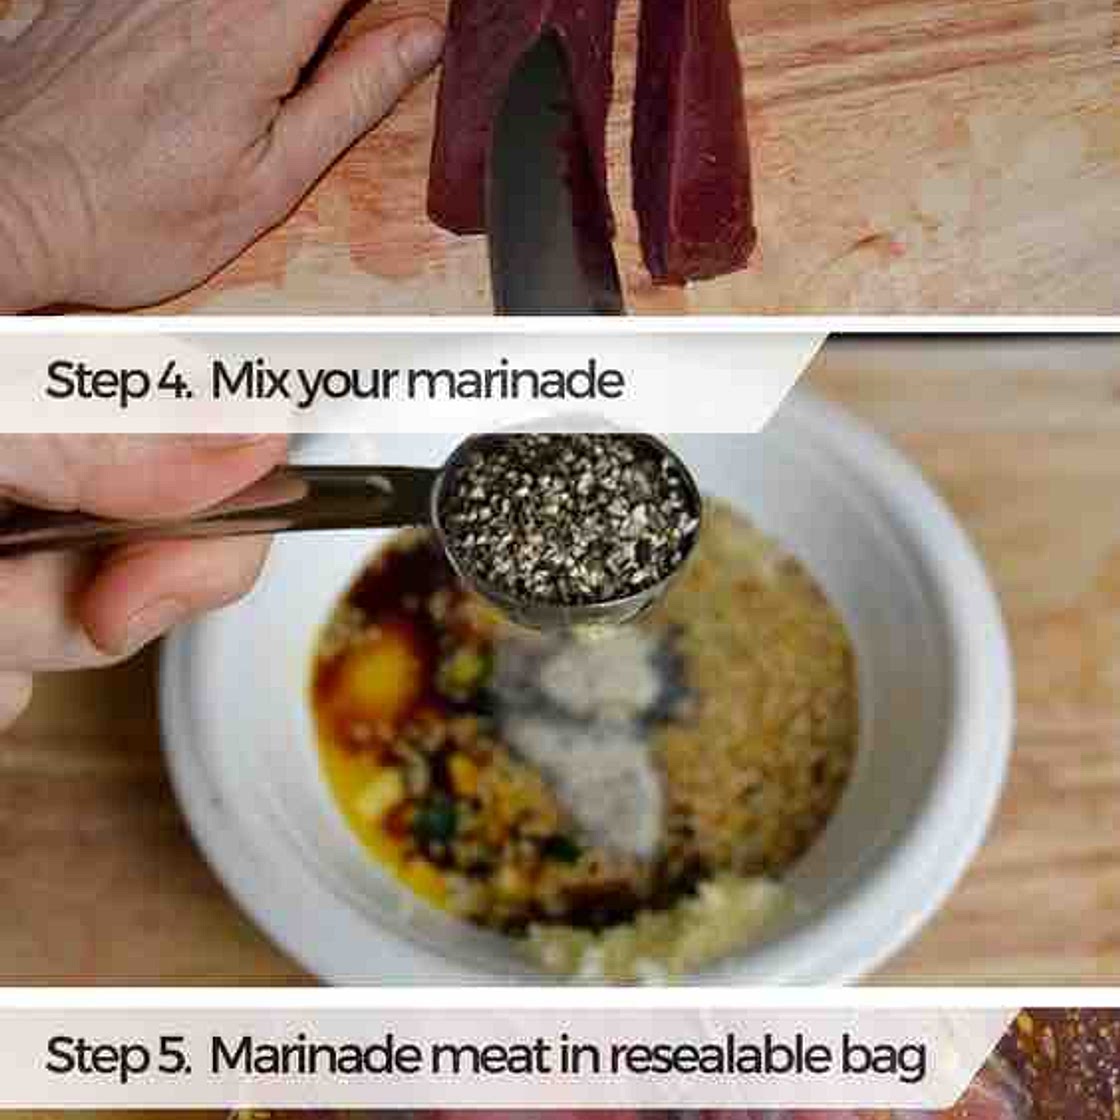
Make marinade.
Step 4
Place marinade and meat inside a ziploc type of bag and lete it sit for at least 4 hours. For best results, leave the meat in the marinade overnight.
Step 5
Line oven with foil and arrange the meat in the oven rack. Arrange meat strips so that they do not touch one another.
Step 6
Set oven to 200 degrees and arrange meat in the oven rack. Place a little vent in the oven door to allow moisture to escape. Cook meat for 7 hours.
Step 7
How to check for doneness: Check for doneness at the 7 hour point. The meat is done once the jerky bends like a green twig. Otherwise, you need to keep cooking until it does. Getting this right is crucial if you want your jerky to last long. The rule of thumb is the drier your meat is, the longer it will store.
Step 8
Remove jerky and cool. Let your jerky cool for at least an hour before you package it.
Step 9
Package and seal. It is important to package your meat for longer shelf life. You can use an airtight container like a ziploc bag or an airtight resealable plastic container. But if you to preserve your meat as long as possible, use a vacuum sealer.
Notes
0 liked
0 disliked
There are no notes yet. Be the first to share your experience!