1/7
2/7
3/7
4/7
5/7
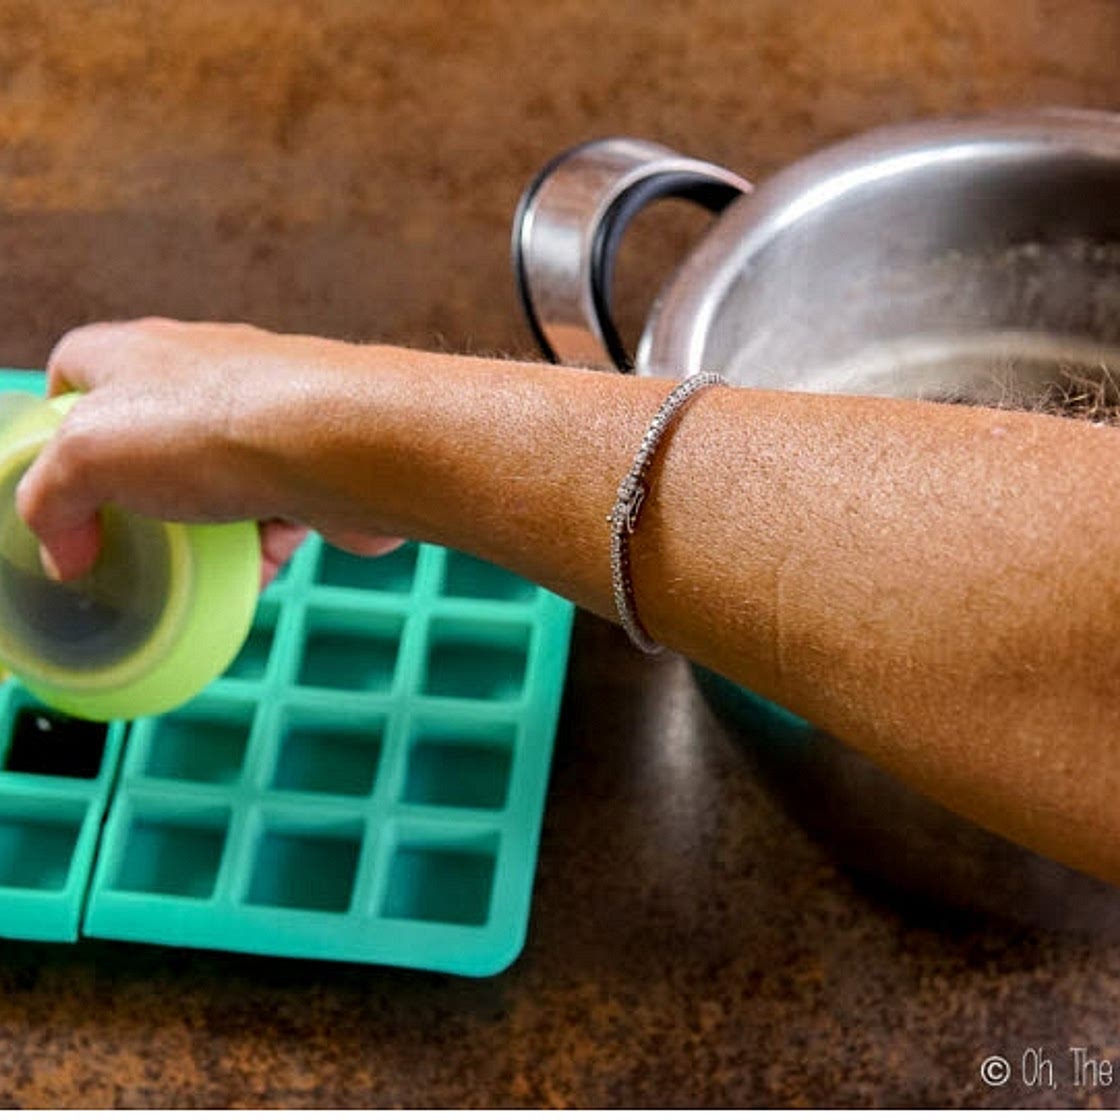
6/7
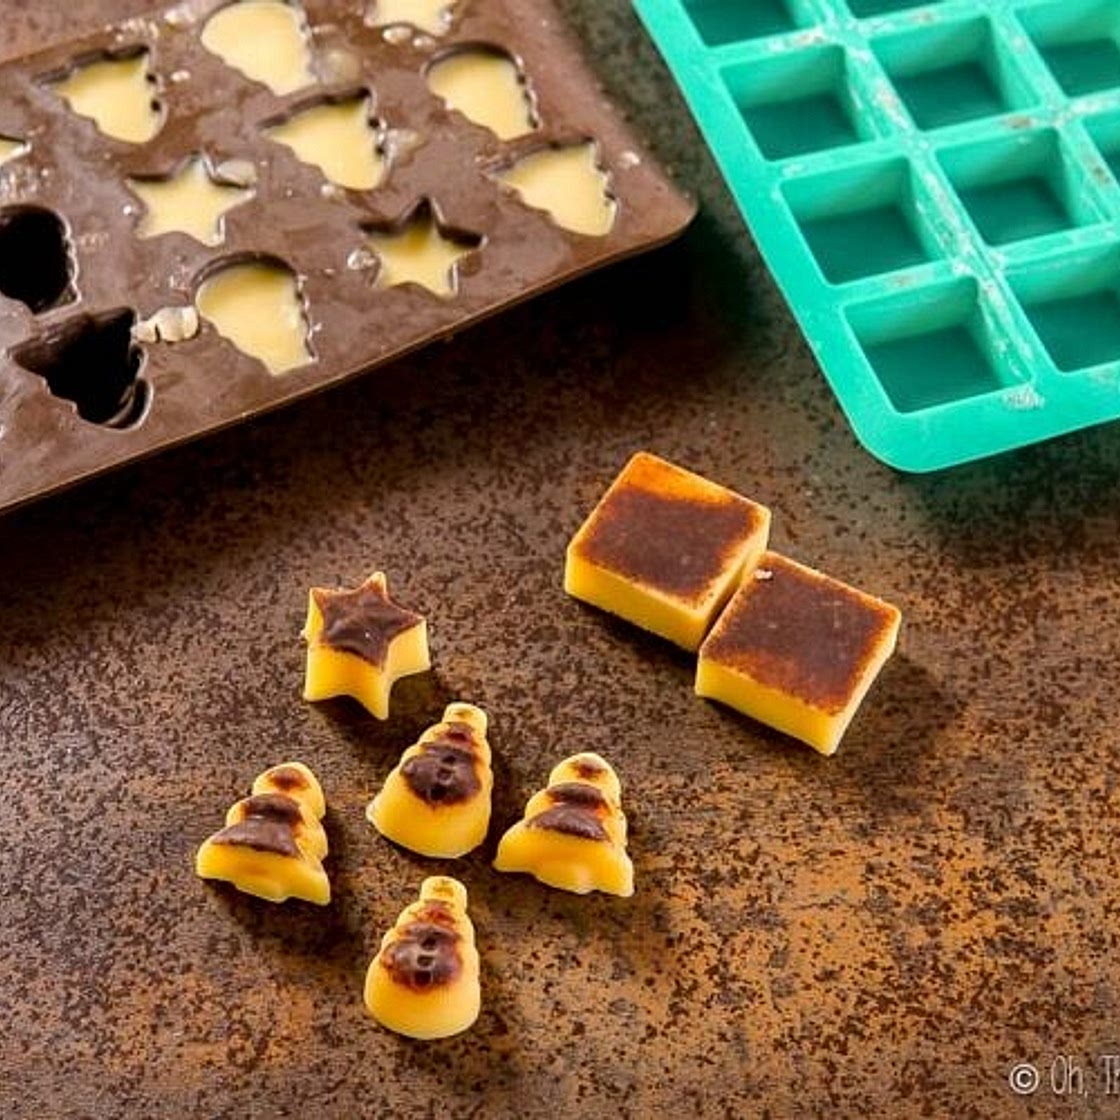
7/7
100%
1
By Pamela Rice
Carni Browned Butter Bites - 2 ways
18 steps
Prep:5minCook:20min
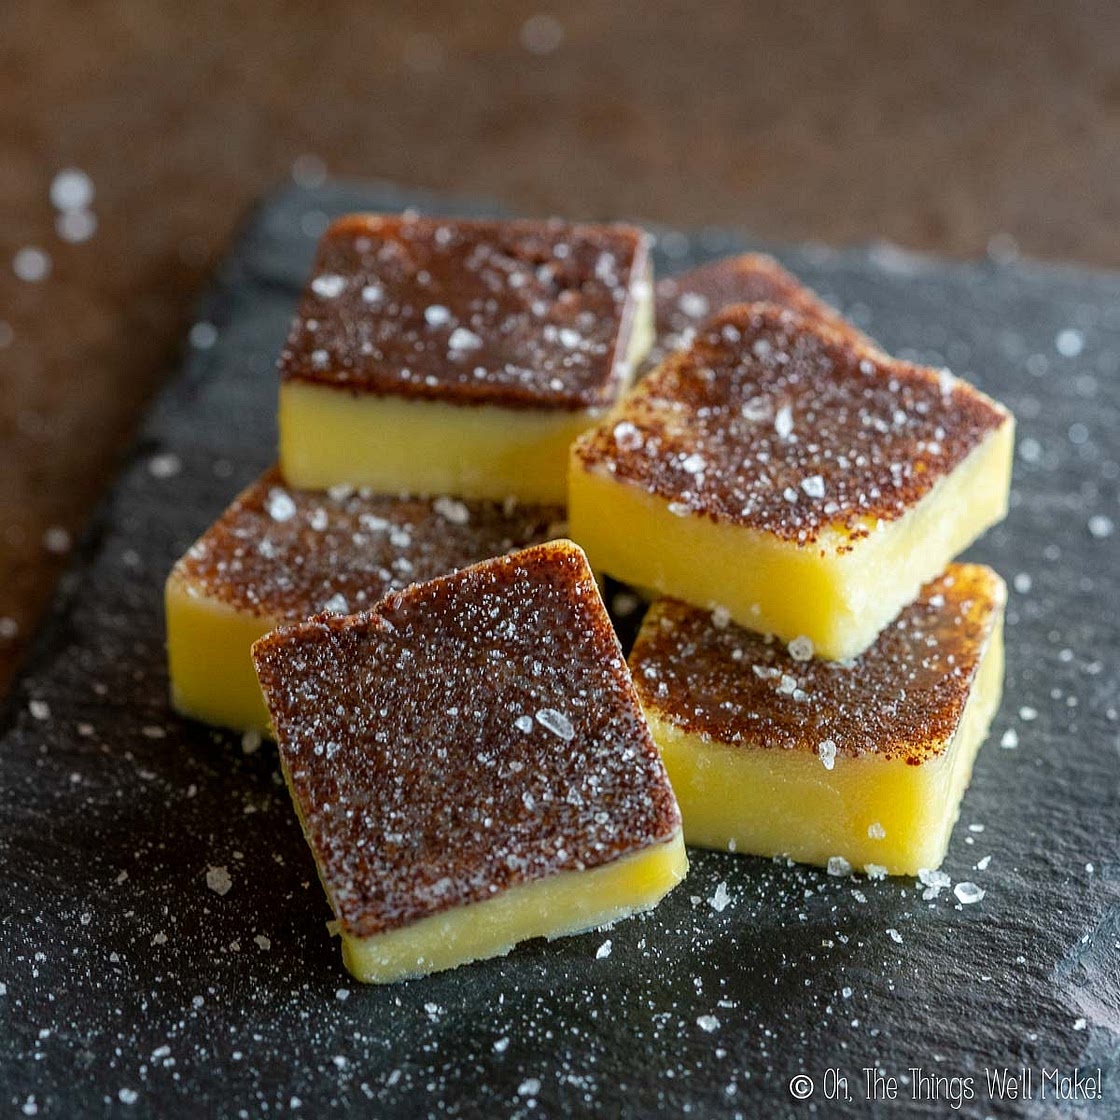
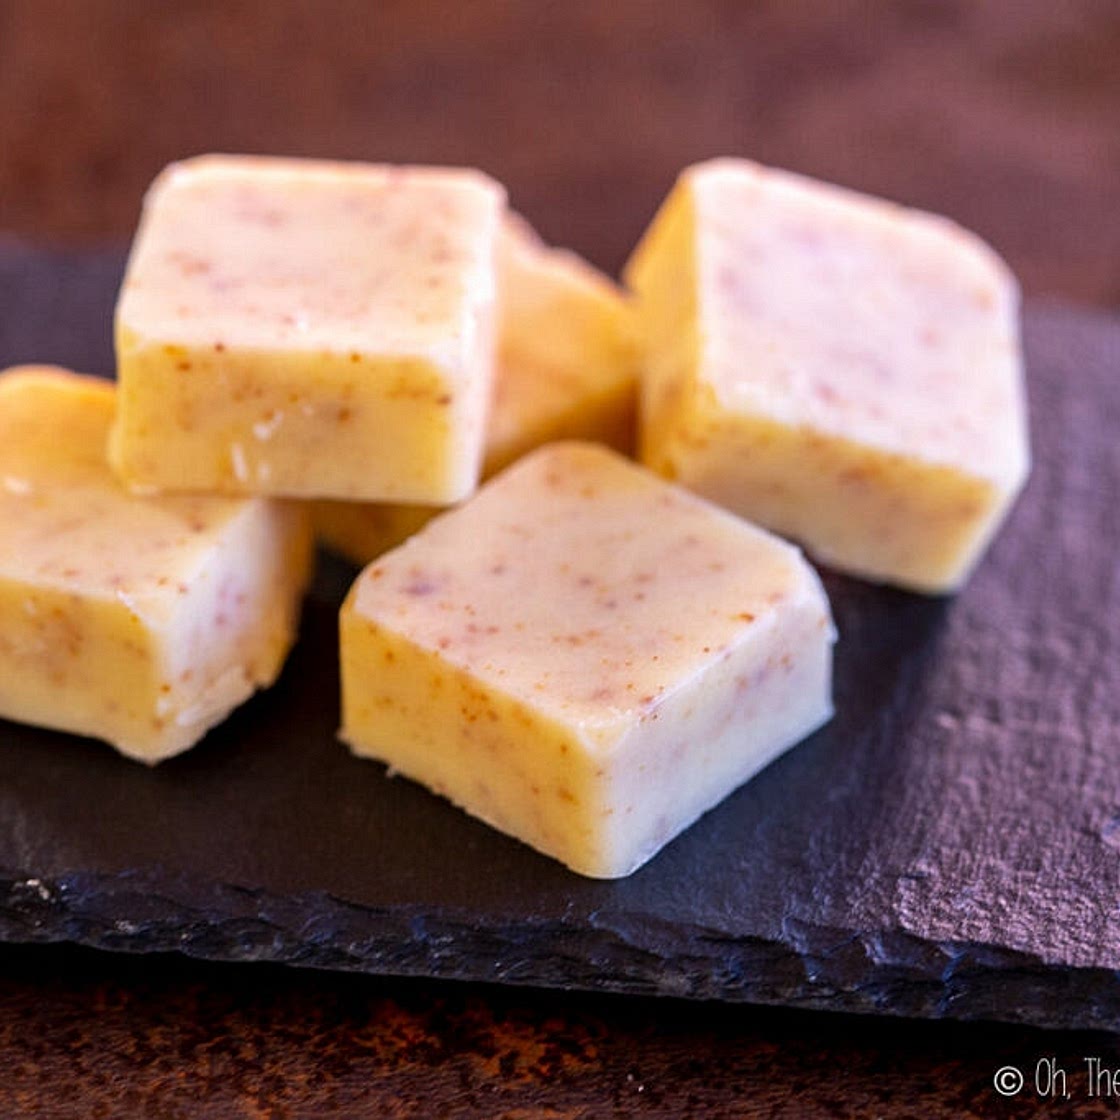
Low in carbs, high in healthy fats, and packed with flavor, brown butter bites are a satisfying snack that can be stored in the fridge or freezer for whenever you want a tasty treat that will help keep your cravings under control. Easy to make, these fat bombs are a simple, guilt-free indulgence that's perfect for those on a carnivore or ketogenic diet.
The second way is to create "Whipped Browned Butter Bites - by whipping the cooled browned butter, we create a light, airy texture that’s truly delightful.
https://thethingswellmake.com/easy-keto-brown-butter-bites/
https://ketoandeat.com/carnivore-whipped-brown-butter-bites/
Updated at: Sat, 08 Aug 2026 22:43:15 GMT
Nutrition balance score
Uh-oh! We're unable to calculate nutrition for this recipe because some ingredients aren't recognized.
Ingredients
80 servings

OPTIONAL:


Instructions
MAKE THE BROWNED BUTTER:
Step 1
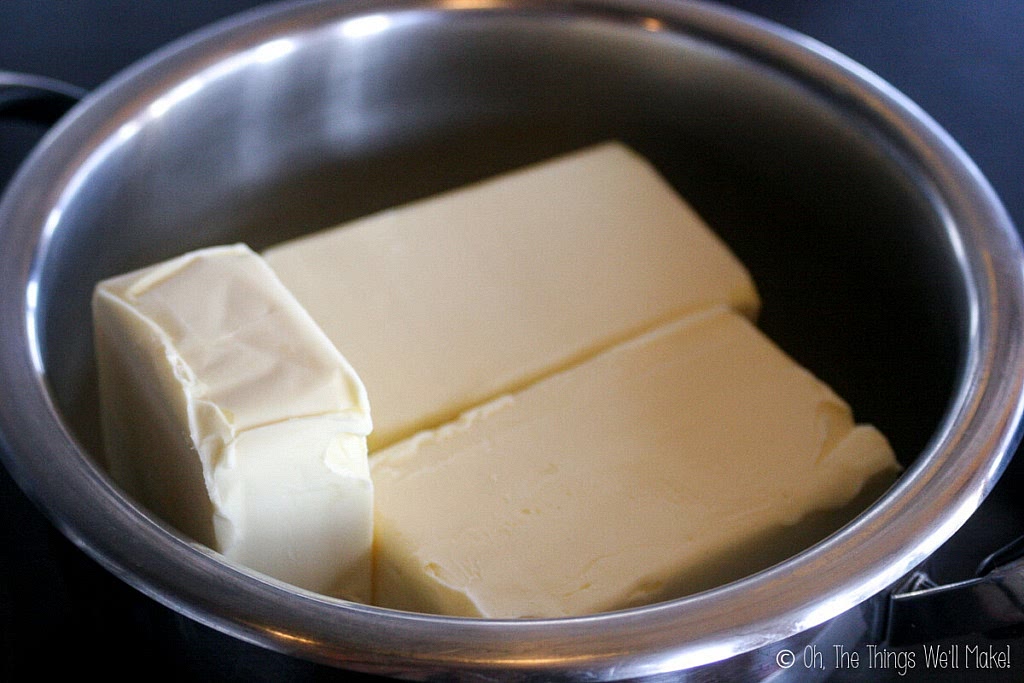
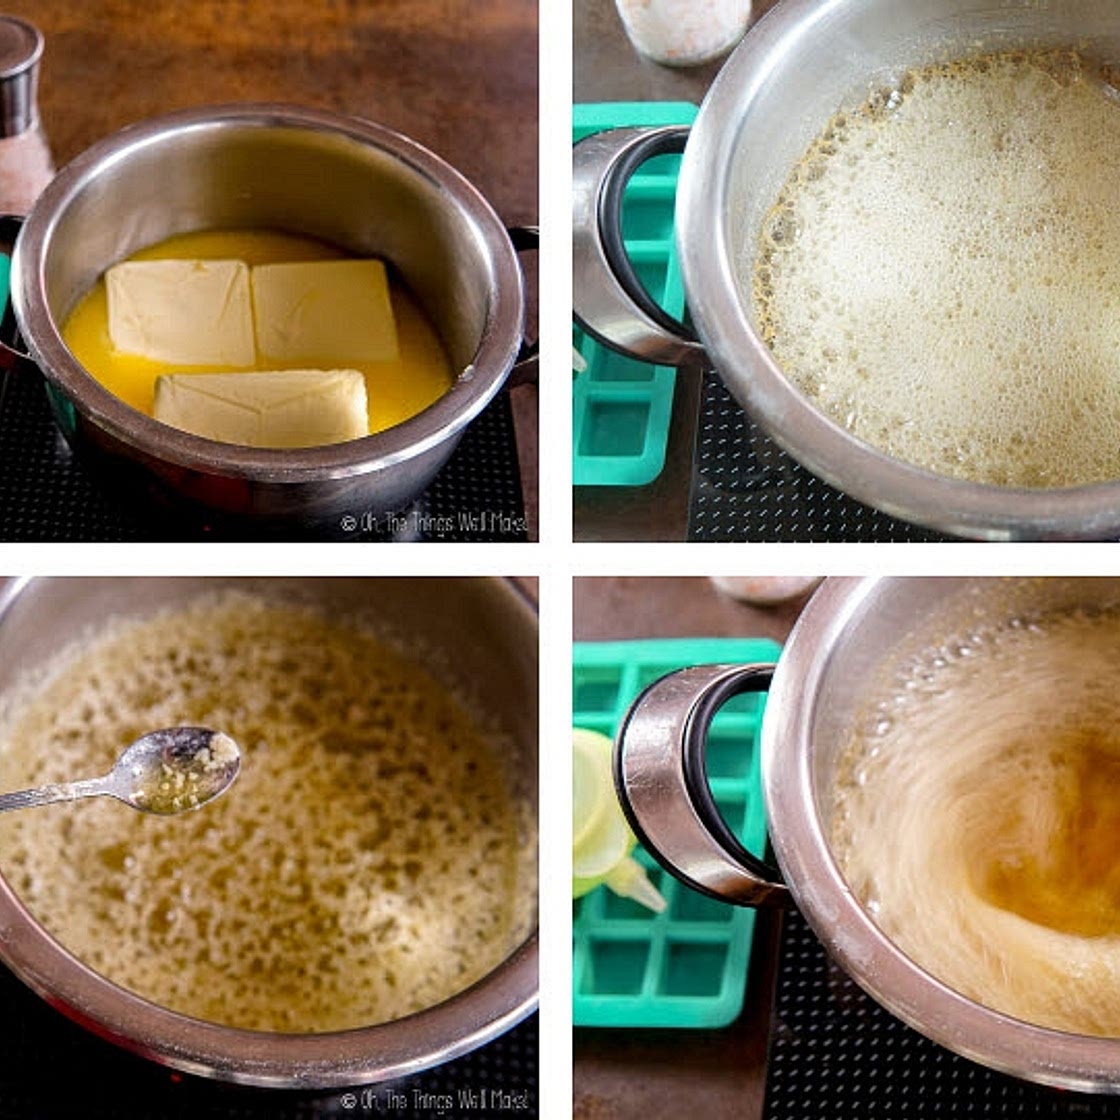
Place the butter in the pan and melt it over medium-high heat. Stir the butter occasionally as it melts.
Step 2
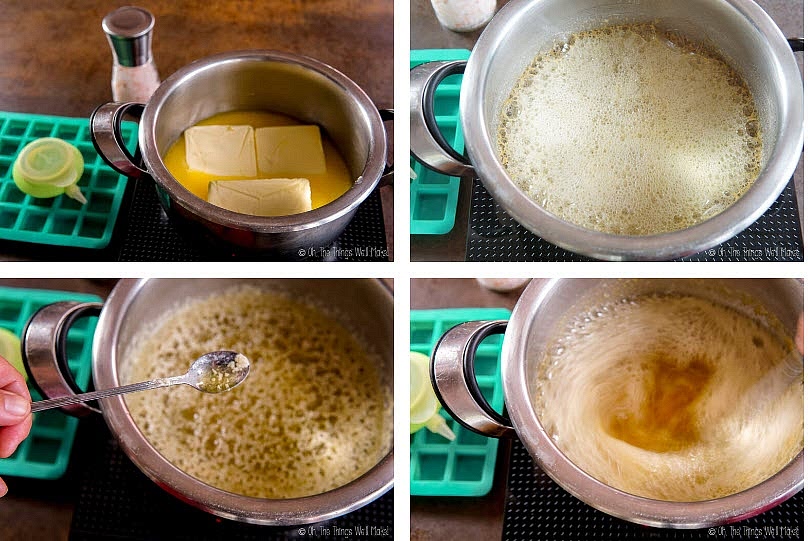
As the butter melts, it will start to foam. This is the water in the butter evaporating. Keep stirring the butter occasionally to prevent it from burning.
Step 3
After several minutes, the foam will start to subside and the milk solids will start to fall to the bottom of the pan. At this point, lower the heat to medium low. Keep stirring, scraping the bottom of the pan to prevent the solids from sticking and burning.
Step 4
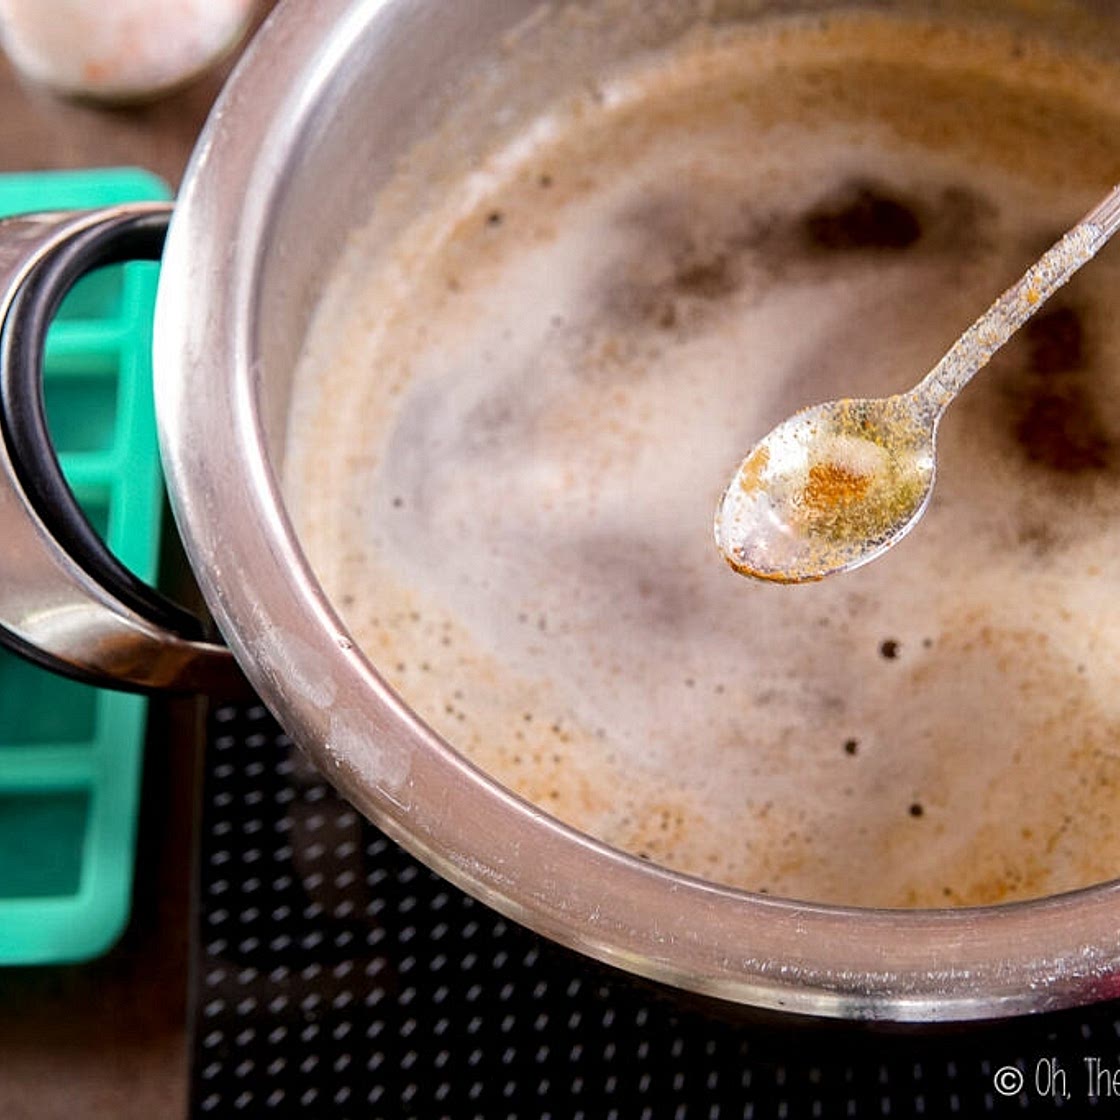
Keep checking the color of the milk solids at the bottom of the pan by spooning them up and looking at them. (It will likely begin to foam again.)
Step 5
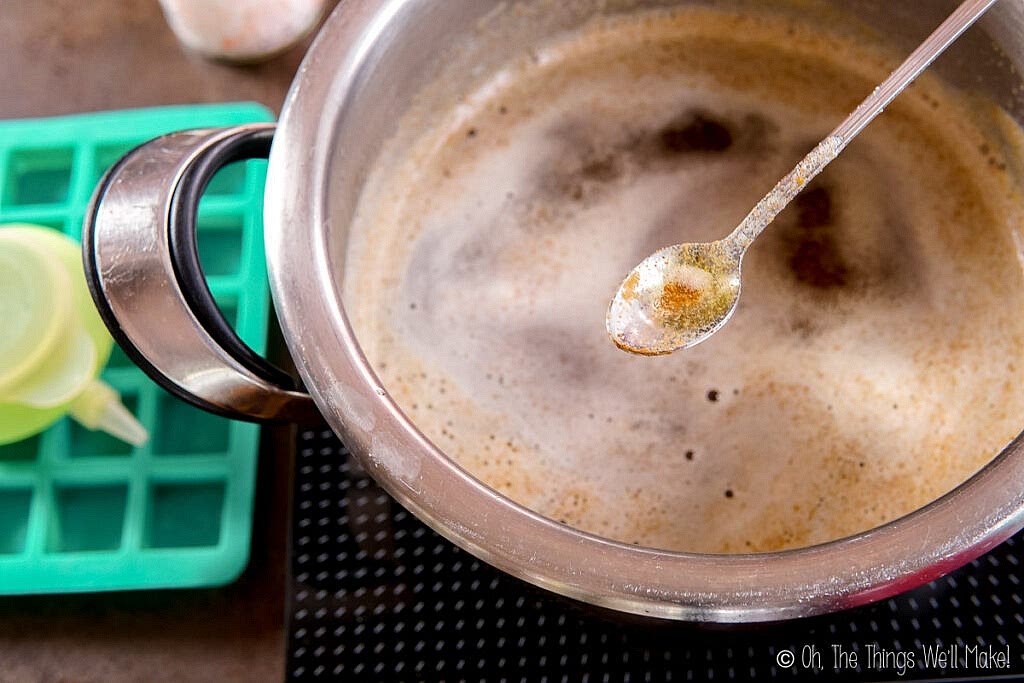
Once the milk solids have browned, remove the butter from the heat source. The residual heat in the pan will continue to cook the butter, so it's important to remove it from the heat as soon as it's done.
Step 6
Allow the brown butter to cool slightly and add salt, to taste, if desired.
MAKING THE BROWNED BUTTER BITES:
Step 7
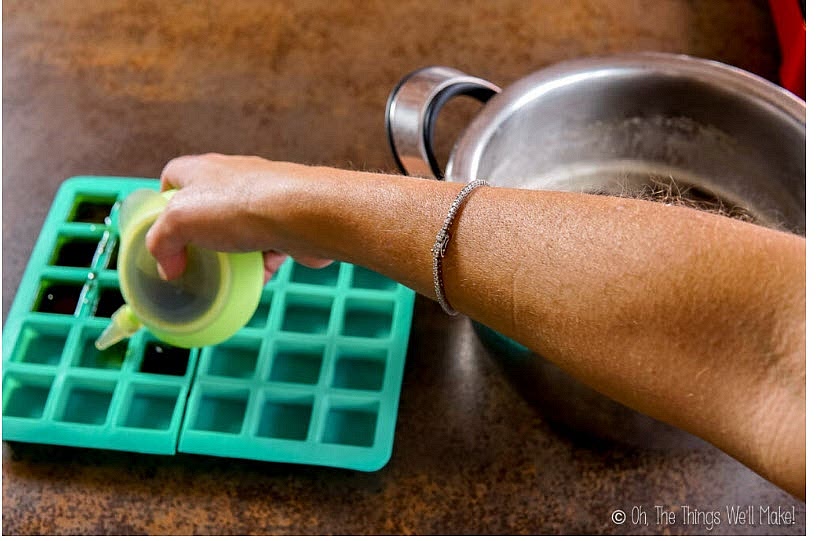
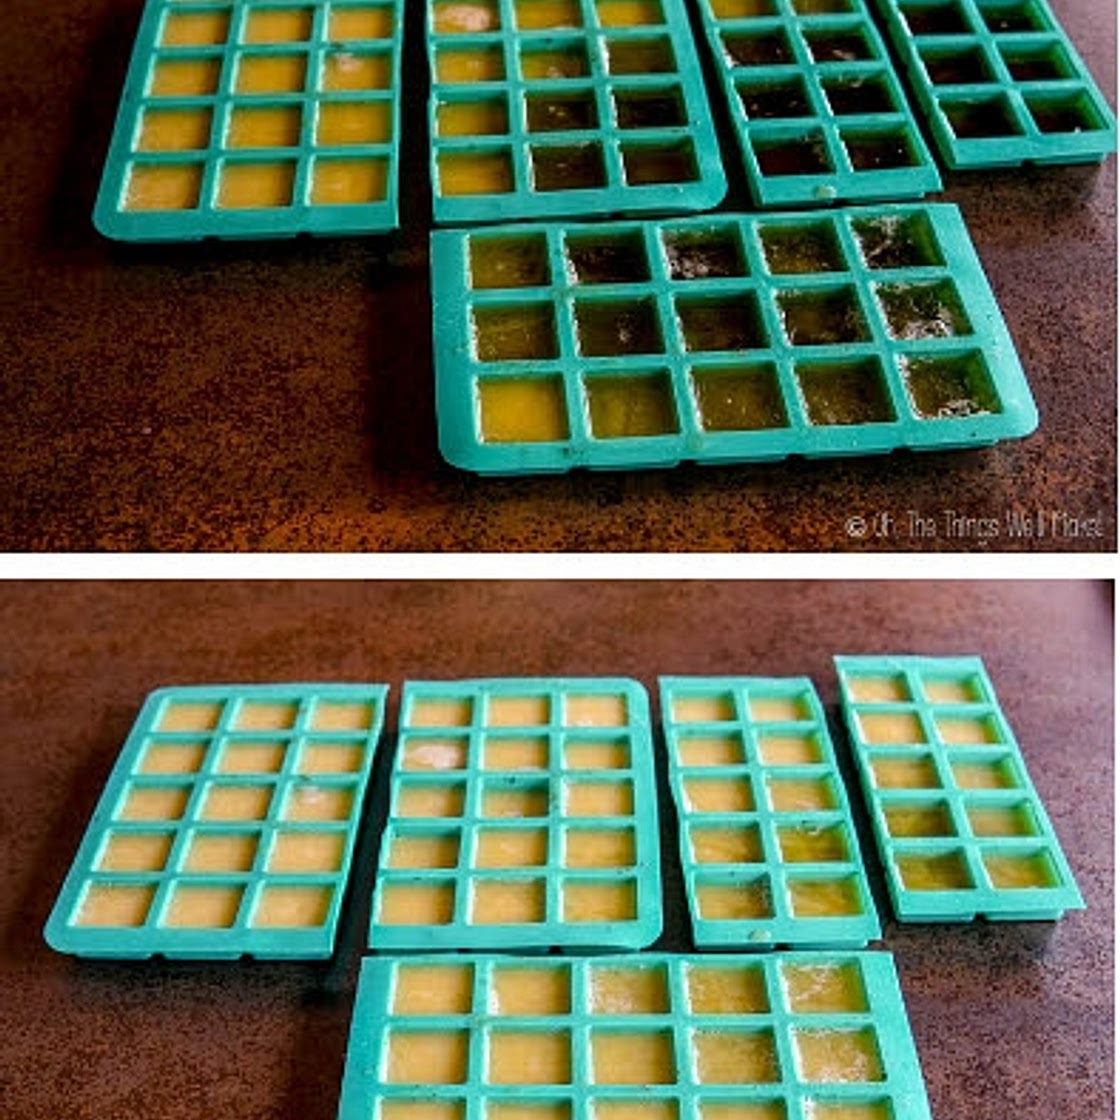
Add the brown butter to the silicone candy molds. For best results evenly distribute the brown bits amongst the candy mold openings.
Step 8
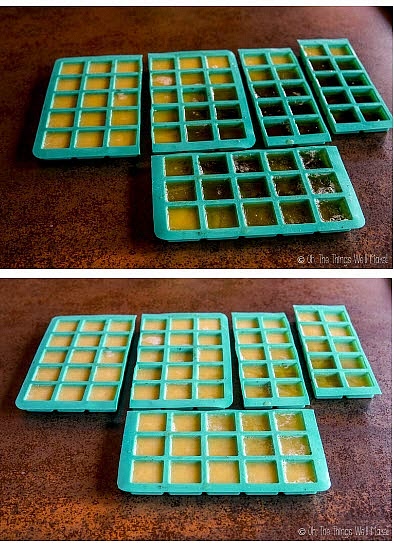
Place the trays in the fridge or freezer until solid.
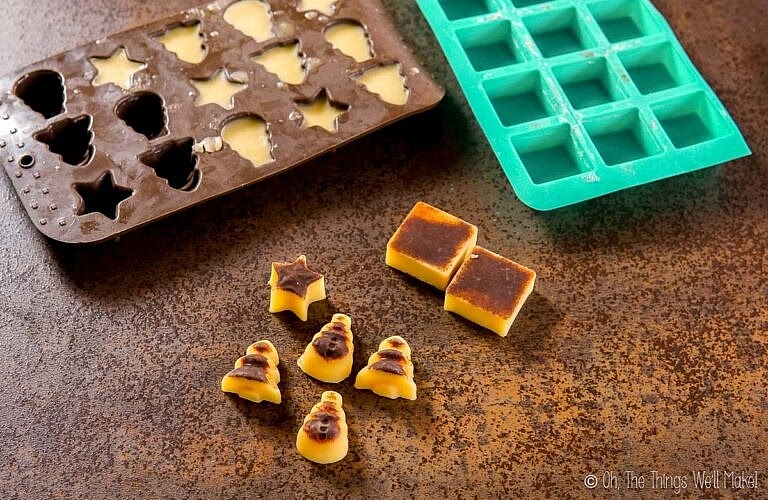
- Remove the brown butter bites from the molds.
MAKING WHIPPED BROWNED BUTTER BITES:
Step 9
Pour the brown butter into a bowl and allow it to cool until solid yet soft.
Step 10
Whip the brown butter with an electric beater or an immersion blender.
Step 11
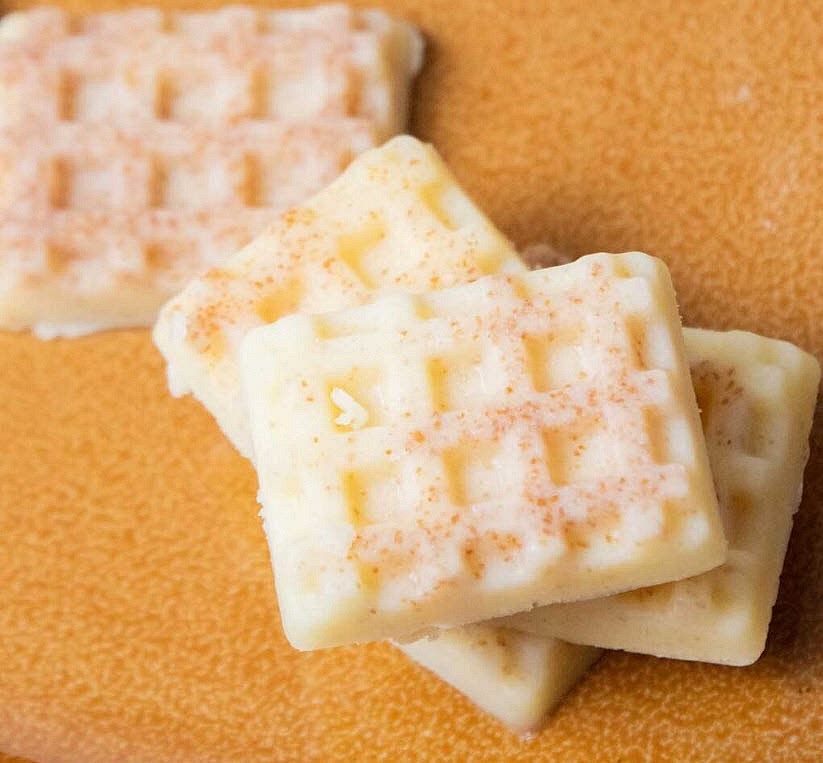
Place the glass cup in the fridge for 15 minutes. Whip the butter using a hand mixer until creamy (about 2-3 minutes).
Step 12
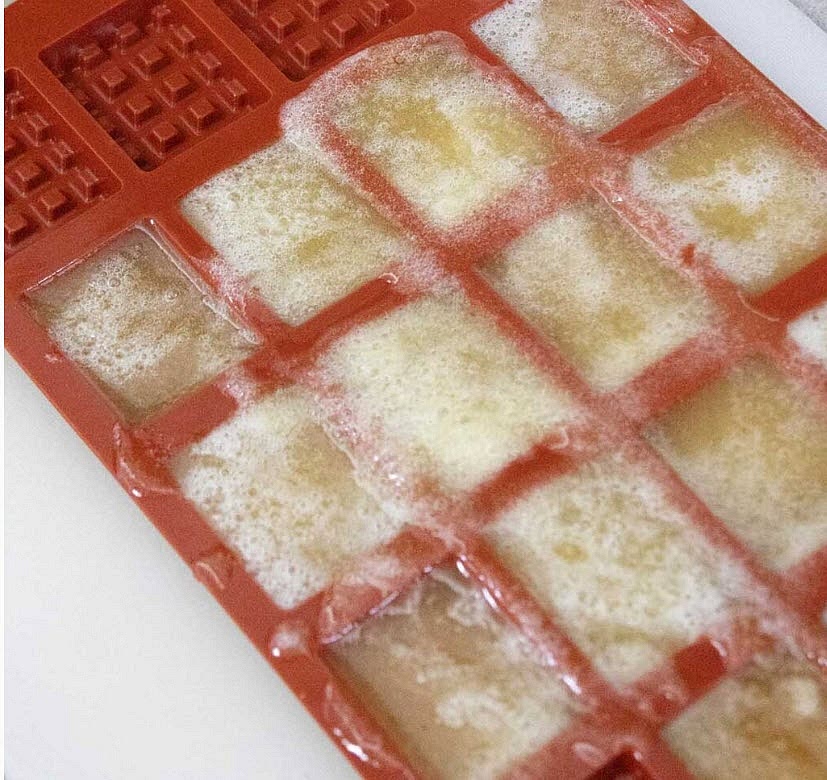
Whip the butter using a hand mixer until creamy (about 2-3 minutes). - don't overwhip, butter will separate. Then, fill silicone molds with the butter and place them in the fridge for an hour. Enjoy!
Step 13
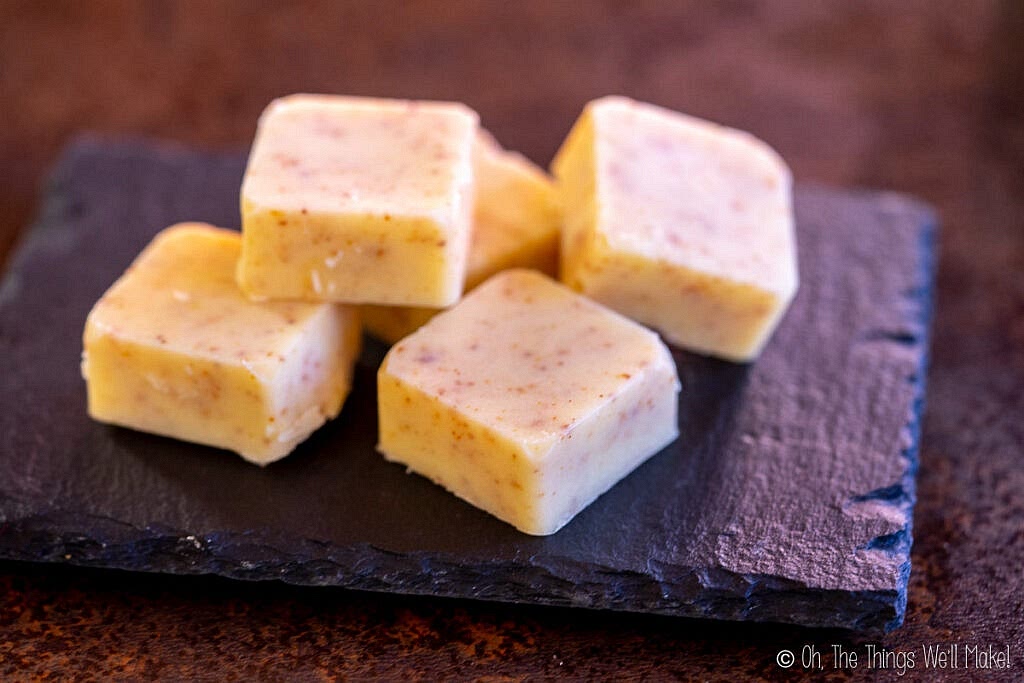
Add the whipped brown butter to candy molds and freeze or refrigerate until solid.
- Unmold the solid bites from the molds.
NOTES:
Step 14
When making numerous trays of brown butter bites, cover each tray with parchment paper (OR LIDS) to stack the trays.
Step 15
Once solidified, remove the bites from the molds and serve immediately or store for later in an airtight container in the fridge or freezer.
Step 16
Add cooked bacon bits to your brown butter bites for a flavor variation.
Step 17
Salted Butter? You can use salted butter if that’s what you have, but I’d recommend sticking with unsalted if possible. When I’ve tried it with salted butter, the salt tends to settle at the bottom of the pan, so the browned bits (the most flavorful part) end up much saltier than expected, especially with saltier brands. Since you can’t really scrape that part off to “fix” it, the result can taste overly salty. Unsalted butter gives you much better control over the final flavor.
Step 18
What Kind of Pan Works Best? A light-colored stainless steel or aluminum pan works best because you can easily see the butter changing color. Dark or non-stick pans make it harder to monitor the browning process.
Notes
1 liked
0 disliked
Bland
Easy