By Alesia
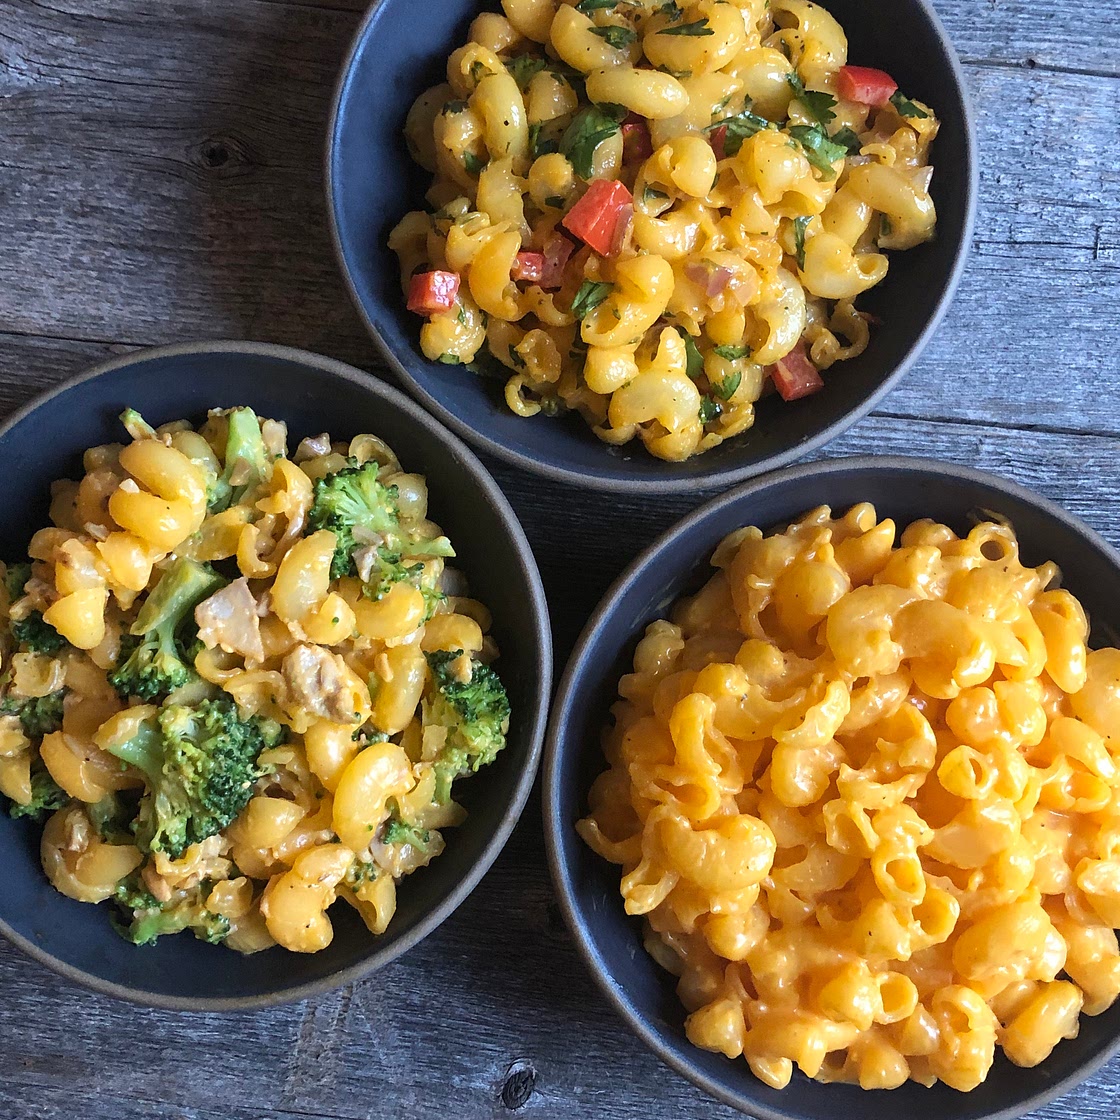
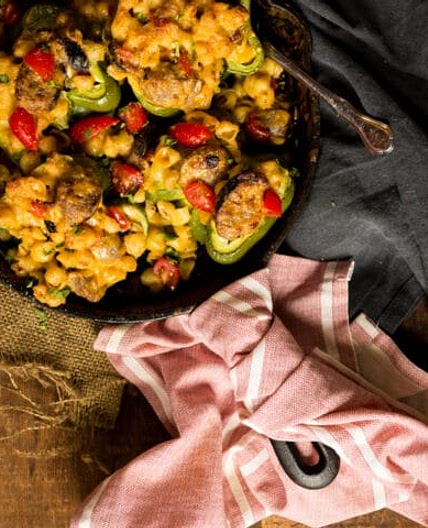
Macaroni & Cheese (3 ways!)
Macaroni and cheese is a weakness of mine; it’s the ultimate comfort food. I think I’ve finally landed on a recipe that is creamy, ooey-gooey and packed with cheese flavor—without the protein! And I’ve adapted it into a few different versions of varying flavor, phe content, and sustenance. I wish i
Updated at: Thu, 17 Aug 2023 02:34:53 GMT
Nutrition balance score
Uh-oh! We're unable to calculate nutrition for this recipe because some ingredients aren't recognized.
Ingredients
4 servings
Classic Macaroni & Cheese
1 x 250gmacaroni
box, Lowprofin, or your fav alternative
4 Tbspunsalted butter
2 ½ Tbspvegan cream cheese
“better than cream cheese”
1 ¼ ccoconut milk
112gshredded cheddar
2 TbspCheese powder
low protein, such as Mac, or Mac Yourself
salt
to taste
pepper
to taste
Southwestern Green Chile version
1 Tbspcanola oil
9ggarlic cloves
0.5 Cchopped green chiles canned
40gred onion
74gred bell pepper
4gcilantro
“Chicken” & Broccoli version
Instructions
Step 1
Start by cooking your macaroni in a large pot (according to package instructions). Strain and set aside when done.
Step 2
Using the same pot, melt the butter over medium heat until completely melted.
Step 3
Then, add 1 C of your So Delicious coconut milk and your vegan cream cheese to the pot and whisk until the cheese melts and everything is combined into one liquid.
Step 4
Add your cheddar shreds and whisk again, until it they melt completely.
Step 5
Note: This will take longer than it did with the cream cheese. I like So Delicious cheeses best because they will melt completely in a sauce. If you use another non-dairy cheese, it may not melt completely into a ‘homogenous liquid’, but make sure it softens as much as possible and is mixed thoroughly.
Step 6
Then, add your Big Daddy Mac Mix powder and remaining ¼ C of coconut milk. The powdered cheese mix will add a lot of flavor to your sauce, but does tend to clump when first added, so whisk vigorously until it dissolves completely into the sauce.
Step 7
Finish by adding your cooked pasta to the pot and gently mix it all together, careful not to break your noodles. You should have enough sauce to not only coat the macaroni, but make it an ooey, gooey (cheesy) texture upon serving.
Southwestern Green Chile version
Step 8
While your pasta is cooking, chop the veggies you’ll need. Finely dice the garlic and onion, strain the green chiles from the can, and chop the bell pepper into a larger, ¼” dice.
Step 9
Coat the bottom of a medium-sized skillet with canola oil and heat over medium heat. When the pan is hot, add the garlic and onion and saute for 2-3 minutes until they begin to soften. Stir continuously so they don’t burn.
Step 10
Then, add the green chiles and mix to combine all ingredients. Continue to stir until everything is well-mixed and heated through. Then, add the bell pepper and do the same.
Step 11
Set your veggies aside and complete the macaroni and cheese recipe above. At the end, simply stir in the veggie/pepper medley.
Step 12
Then, coarsely chop the cilantro and add it as a final ingredient.
“Chicken” & Broccoli version
Step 13
While your pasta is cooking, start preparing the jackfruit. Drain the liquid from the can and coarsley chop so there are no pieces larger than ¼” or so.
Step 14
Coat the bottom of a large skillet with canola oil and heat until the pan is hot. Add the chopped jackfruit and stir until it’s heated through. Then, add the mustard and garlic powder and mix until evenly distributed.
Step 15
Next, add the “Better than Bouillon” and vegetable broth and stir again until mixed evenly. Continue to cook until jackfruit has a dry, meat-like texture (like chicken!).
Step 16
Add your steamed broccoli to the same skillet and set aside.
Step 17
Continue to cook the macaroni and cheese recipe above and when complete, add the skillet of veggies and gently stir to combine all ingredients.
Notes
Step 18
Be careful not to overcook your broccoli or it will far apart as you stir. Not terrible if it does, but better to have it stay in tact for additional texture.
Step 19
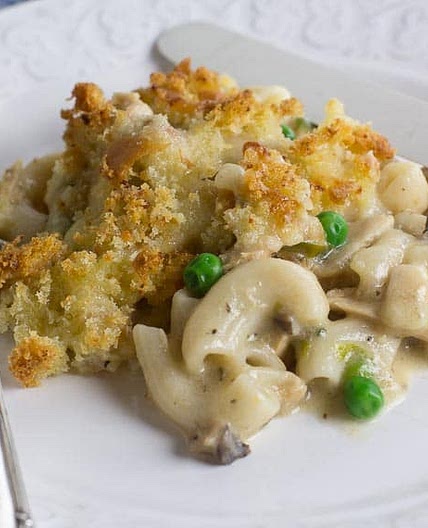
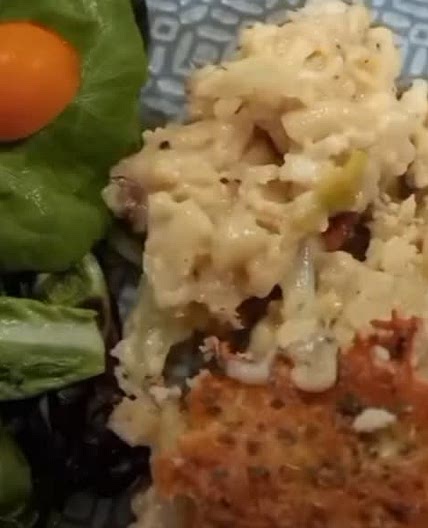
Sometimes I like to put the finished mac & cheese into a greased baking dish and top it with extra “cheese” and low-protein breadcrumbs. Broil for 4-5 minutes until the topping is browned, but watch to ensure it doesn’t burn. This gives it a nice crisp texture on top (and prettier presentation), but can also dry out the dish so isn’t as creamy. Keep it in just long enough to brown.
View on PKU for Life
↑Support creators by visiting their site 😊
Notes
0 liked
0 disliked
There are no notes yet. Be the first to share your experience!
