Multi seed white sourdough
100%
0
By Hilary Abernathy
Multi seed white sourdough
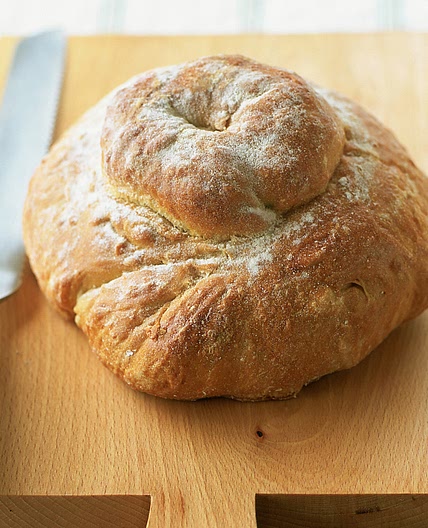
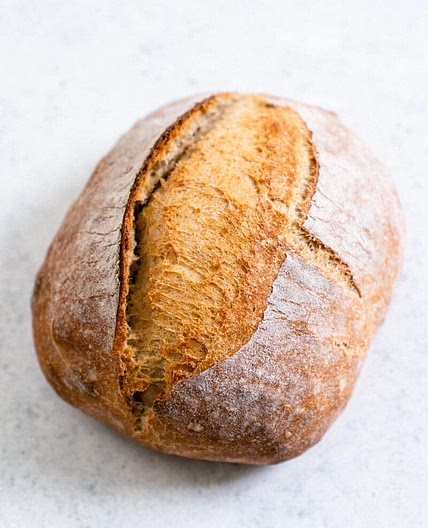
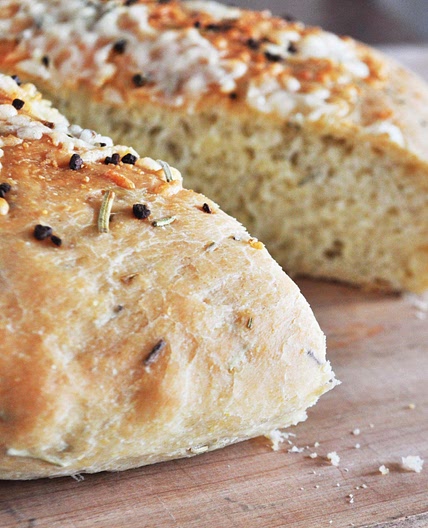
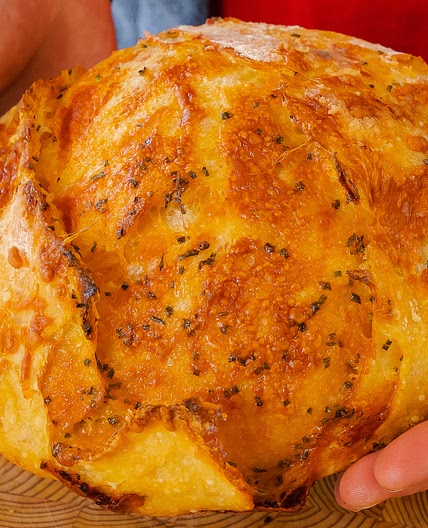
Modern Baker present their well-loved Multiseed Sourdough loaf from their Oxfordshire bakery. This recipe uses soaked seeds for maximum nutritional impact. This is the most popular loaf at the bakery. It has a devoted following among regular customers – one family buys ten at a time for their freezer! – and the most frequent first loaf for new customers. It’s also popular with the restaurants we sell through. It is earthy and honest with primal qualities, no doubt the second leavened bread made by man. Under any analysis, made with wellsourced ingredients this loaf is as healthy as it gets, with the seeds providing a protein hit as well as extra fibre and layers of extra flavours. Yet despite all this goodness and history, it’s still an everyday loaf that every member of your family will enjoy. We make this in both a tin and a round shape. These instructions are for the round loaf, but you can use any of the alternative shaping instructions from other recipes.
Updated at: Thu, 17 Aug 2023 03:35:58 GMT
Nutrition balance score
Uh-oh! We're unable to calculate nutrition for this recipe because some ingredients aren't recognized.
Ingredients
10 servings
35gsunflower seeds
35gpumpkin seeds
35flaxseeds
ggolden
15 gsesameseeds
335gstrong white flour
40grye flour
8gsalt
seeds
for topping
Instructions
Step 1
Day 1:
Step 2
Mix the flour and water with the whole quantity of the starter and leave loosely covered at room temperature overnight.
Step 3
Soak the seeds in the water and leave at room temperature overnight.
Step 4
In a large bowl combine the recipe starter with the water and seeds and mix gently.
Step 5
In another bowl combine the two flours and the salt.
Step 6
Add the flour mix to the first bowl and mix using one hand until a dough forms. This takes only a couple of minutes. It’s a good idea to use only one hand, leaving the other one clean for using utensils, etc. Use a plastic dough scraper around the bowl to make sure all the flour is mixed in. Cover the bowl with a shower cap or damp tea towel and leave it to rest at room temperature.
Step 7
After 5–10 minutes, give the dough a fold in the bowl. Use slightly wet hands to prevent the dough sticking to them. Pull a section of the dough out to the side and fold it into the middle of the ball. Repeat this going around the ball of dough until you get back to the beginning (four or five folds). Use the scraper to turn the dough upside down, cover the bowl and leave for another 5–10 minutes. Repeat this three times. After the final fold, cover the bowl again and leave to rest for 1 hour at room temperature.
Step 8
Turn the dough out of the bowl onto a lightly floured surface. Stretch out one side of the dough and fold it into the middle. Repeat this with each of the four ‘sides’ of the dough. Put the dough back in the bowl upside down and leave to rest for another hour at room temperature.
Step 9
Shaping a round loaf: Once the dough has rested, turn it out onto a lightly floured surface. Stretch one side of the dough out and fold it into the middle. Repeat this all around the outside of the dough until you get back to your starting point. Flip it so the seam side is facing down. Use your left hand to hold the dough in place and use your right hand to rotate the dough, tucking it under and tightening it as you go around (if you are left-handed you might want to use your right hand to stabilise and your left hand to rotate). The idea here is to increase the strength of the dough without tearing it. The final surface of the dough should be taut to the touch.
Step 10
Put the remaining seeds in a bowl. Brush the top of the dough with water and dunk it in the seeds so that they are evenly spread over the top. Place the dough so that the seam is facing up and the seeds face down in a round proving basket. There is no need to flour the basket as the layer of seeds will prevent the dough from sticking.
Step 11
In the bakery at this point we put the dough in our cool retarder cabinet for it to prove slowly overnight. This helps it to develop more flavour and become even healthier as it ‘pre-digests’ more of the gluten and ferments even more probiotic qualities. Your version of our retarder is your fridge – and you can leave the proving basket in it overnight, covered with the tea towel or shower cap. Take it out as you are heating the oven. It’s fine for it to go in cold. However, if you would prefer to speed things up a little, at this stage you can simply leave the dough in a warm place (ideally 24°C) until it has more or less doubled in size. This should take 2–4 hours. To test when the dough has proved enough, press your finger about 2–3 cm into it, then remove. If the dough pushes back out slowly it is ready. If it springs back quickly it is under proved; if it doesn’t spring back at all, it is over proved. There isn’t much you can do about that. The bread will be edible, but more liable to collapse.
Step 12
Preheat the oven to 250°C/fan 240°C/ Gas mark 10 or the highest temperature on your oven. Place a roasting dish in the bottom of the oven to heat up. Fill a cup with water and place to one side ready to use. Also put a flat baking tray in the oven to heat up.
Step 13
When the oven is up to temperature, take the hot baking tray out, lightly dust it with flour and then turn the dough from the proving basket out onto the tray. Slash the dough with a sharp knife. Make sure that when you slash you use one quick, smooth action, do not saw at the dough. This will give you a much cleaner line. In the bakery we use a single diagonal slash down the loaf, but there are endless variations you could use – be creative, define your own distinctive pattern.
Step 14
Place the baking tray in the oven and pour the glass of water into the preheated roasting dish at the bottom of the oven. The moisture from this makes the dough lighter, helps to set the crust and gives it a lovely sheen.
Step 15
Turn the temperature down to 240°C/ fan 220°C/Gas mark 9 and bake for approximately 30 minutes. To check if the bread is baked through, tap the bottom – it should sound hollow.
Step 16
Leave the bread to cool for at least an hour before eating. If you eat it when it’s still hot, it will not have settled and so will be more difficult to digest.
Step 17
Nutrition Note: We soak the seeds for a couple of reasons. The first is to do with the bread-making process. If you don’t soak the seeds they will absorb water from the dough, resulting in
Step 18
a drier dough and a heavier texture in the bread. So soaking the seeds guarantees a much more consistent loaf. The other benefit is that you activate them, which makes them release additional nutrients so that they are easier for your body to absorb.
Notes
1 liked
0 disliked
There are no notes yet. Be the first to share your experience!
