Nutrition balance score
Unbalanced
Glycemic Index
74
High
Glycemic Load
141
High
Nutrition per serving
Calories910.2 kcal (46%)
Total Fat2.8 g (4%)
Carbs190.5 g (73%)
Sugars0.9 g (1%)
Protein25.9 g (52%)
Sodium1945.1 mg (97%)
Fiber7.6 g (27%)
% Daily Values based on a 2,000 calorie diet
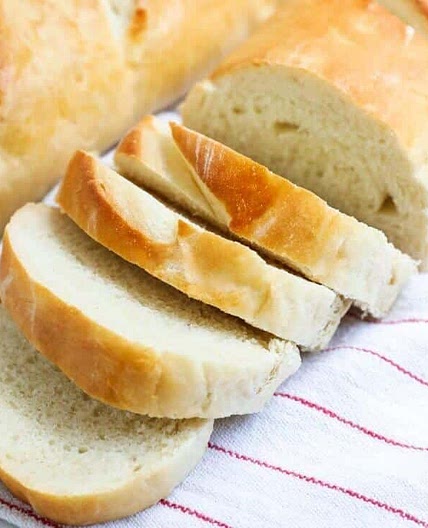
Ingredients
4 servings
Instructions
Step 1
Combine the water, salt, and yeast in a mixing bowl or large tupperware.
Step 2
Add in the flour, and mix with a wooden spoon until the ingredients are evenly combined. If you’re using a bowl, loosely cover the top with plastic wrap.
Step 3
Let the dough sit for a minimum of two hours. Leaving it longer — even overnight — should be fine. At this point, you can either continue on to the next step, or refrigerate the dough and use it in the next two weeks. If you do refrigerate it, leave the top loose for a couple days before sealing it.
Step 4
When you're ready to bake, take out a piece of dough about the size of a grapefruit. You'll want to use some flour on your hands and the surface of the dough to keep it from sticking too much, but try to avoid incorporating the added flour into the dough. At this point, you want to keep as much gas in the bread as possible, so don't punch it down or knead it. Instead you want to form what Hertzberg and François call a 'gluten cloak.' Holding the dough in both hands, you want to stretch out the top of the ball and pull the bottom together. The top and sides should be smooth and cohesive. The bottom will seem a little messy — that’s okay. It will flatten out and come together as the dough rests and bakes. If you're using a cast-iron Dutch oven, any lightly floured surface will do. If you're using a baking sheet, put the bread on it to rest — this way you can just move the whole tray to the oven when you're ready to bake. And if you're using a baking stone and have a pizza peel, make good use of it!
Step 5
Let the dough rest for about 40 minutes. About half-way through the rest, put the Dutch oven (or baking stone) in the oven and preheat to 450 (F). If you set the lid of the Dutch oven to the side or on the bottom rack you can allow it to preheat without having the extra step of to take it off before you can put in your dough. This might sound nitpicky, but the cast iron will be quite hot and heavy, so minimizing the number of steps is as much a matter of safety as convenience. Note that if you’re using a baking tray, the thermal mass is negligible, so you won’t gain anything by pre-heating with it in the oven.
Step 6
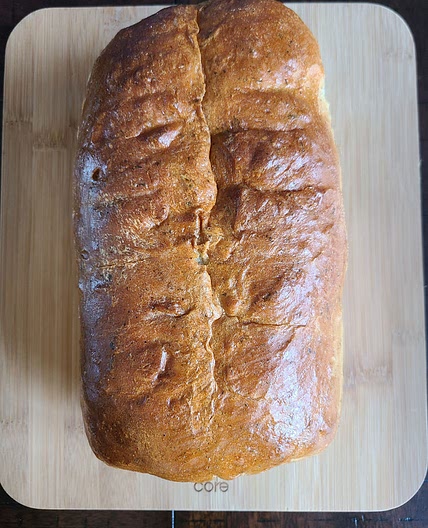
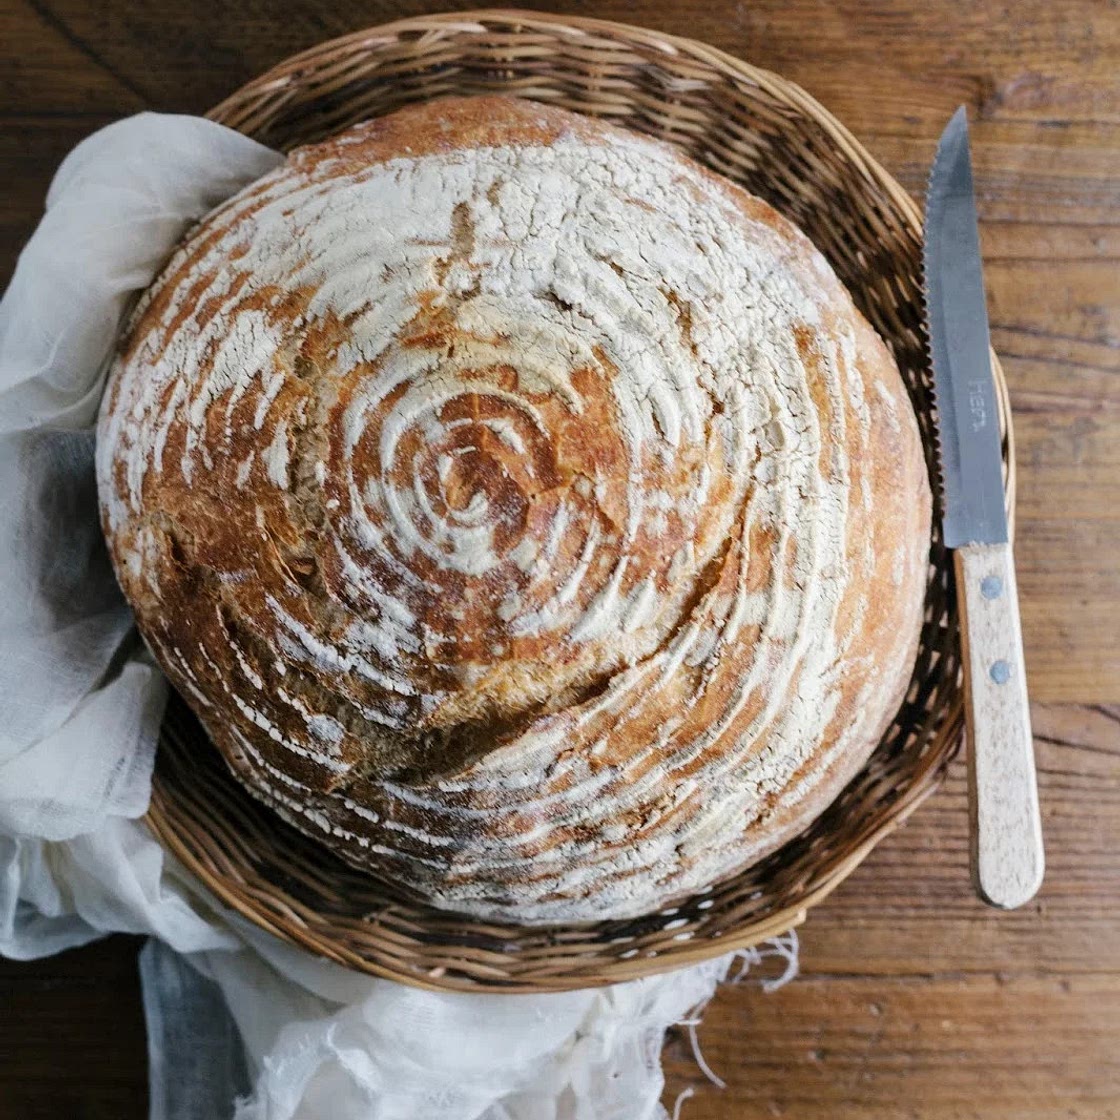
Just before you put the dough in the oven, dust the surface of the bread with flour. Using a bread-knife, make slashes about a half-inch into the top of the dough. Three parallel cuts will give a classic look, but you can experiment with other patterns. T
Step 7
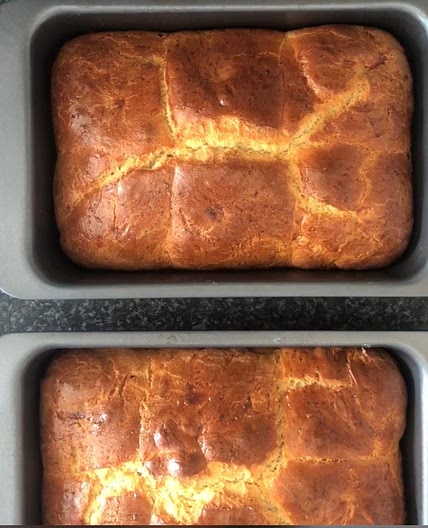
Bake for 35 minutes, or until the crust is a rich brown. If you’re using a Dutch oven, take the top off about 20 minutes in. This lets moisture escape so that the crust can crisp.
Step 8
See how long you can let the bread cool before trying a slice. The bread continues to cook after you take it out of the oven, so cutting into it can harm the texture
Notes
1 liked
0 disliked
There are no notes yet. Be the first to share your experience!