1/4
2/4

3/4
4/4
Leave a note
By Laura Brady
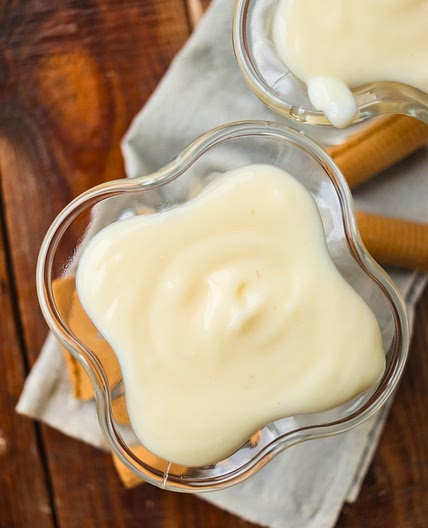
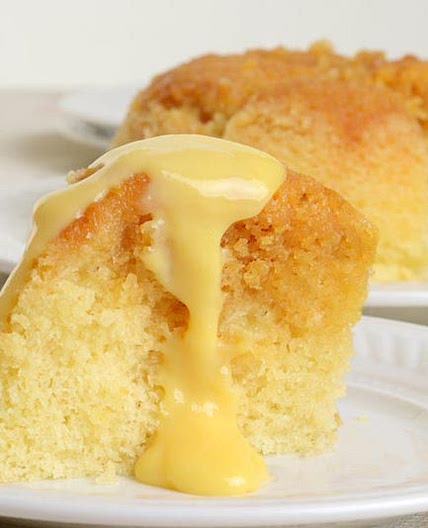
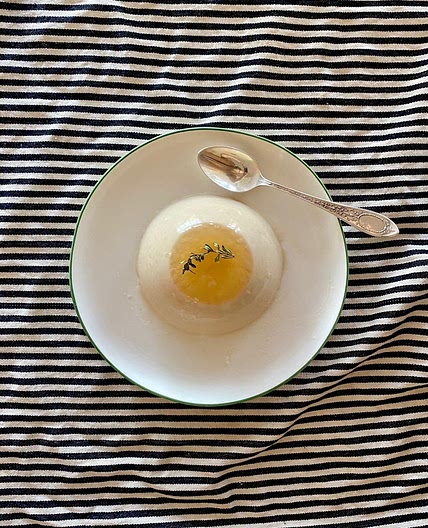
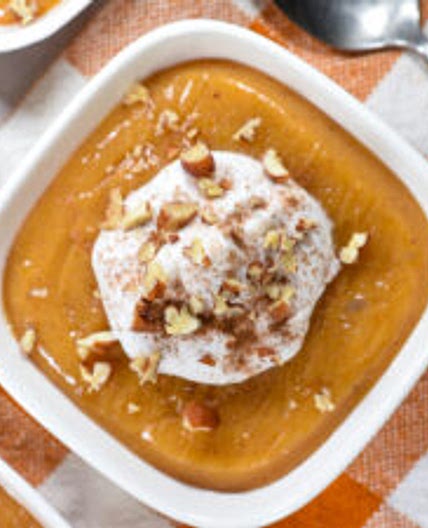
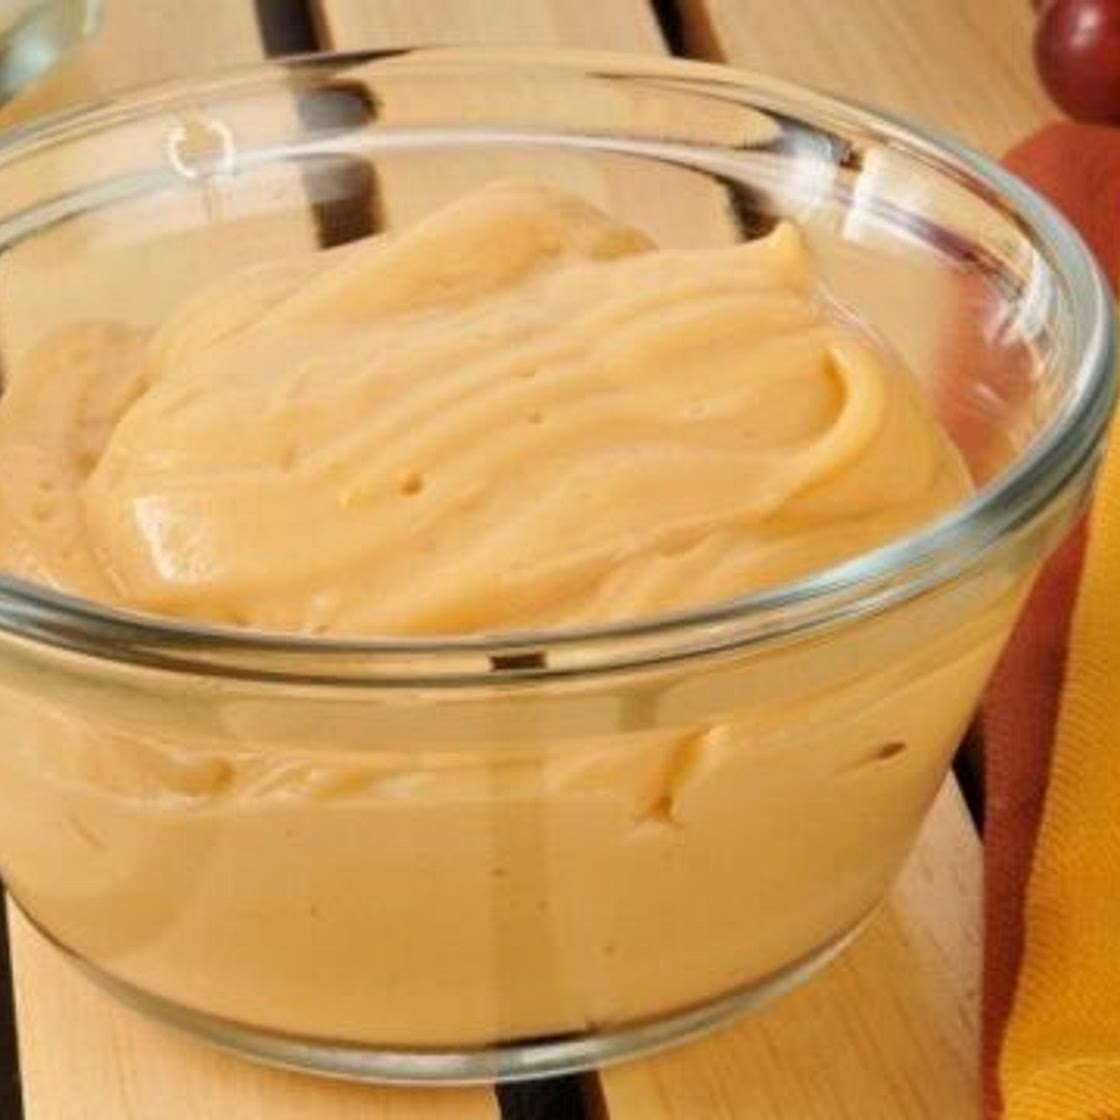
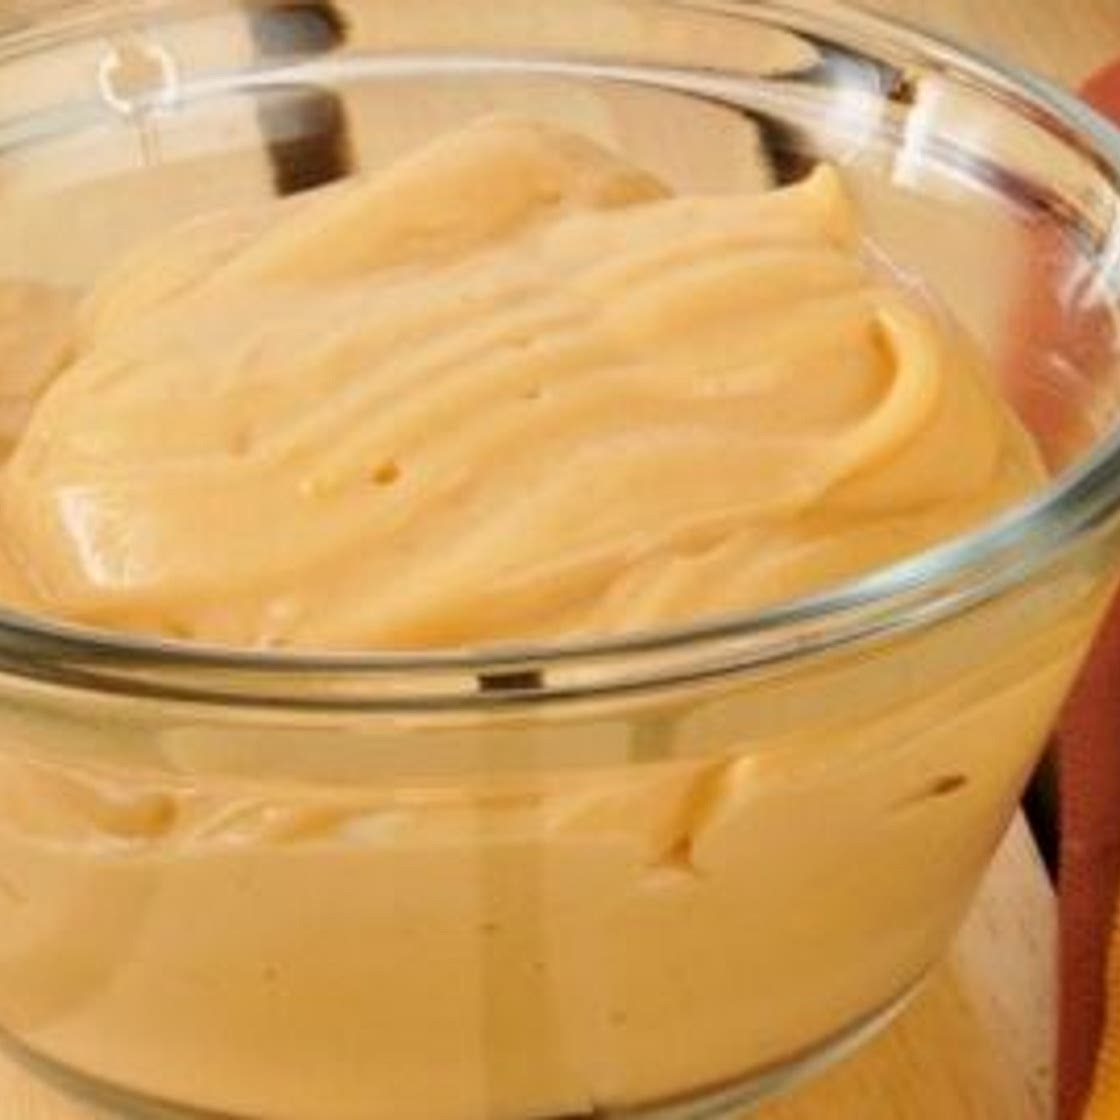
Homemade Butterscotch Pudding
29 steps
Cook:15min
Homemade Butterscotch Pudding is so easy to make with six ingredients you probably already have on hand in your pantry. Creamy deliciousness in every bite.
Storage: You’ll want to keep butterscotch pudding from scratch covered in the refrigerator. It will last 3 to 6 days.
Updated at: Wed, 16 Aug 2023 19:46:19 GMT
Nutrition balance score
Unbalanced
Glycemic Index
56
Moderate
Glycemic Load
11
Moderate
Nutrition per serving
Calories152.6 kcal (8%)
Total Fat6.7 g (10%)
Carbs19.3 g (7%)
Sugars14.2 g (16%)
Protein4.1 g (8%)
Sodium195.2 mg (10%)
Fiber0.1 g (0%)
% Daily Values based on a 2,000 calorie diet
Ingredients
4 servings
Instructions
Step 1
Combine the milk, butter and brown sugar, vanilla, and salt in a medium-sized saucepan.
Step 2
Place it over medium heat until it is hot to the touch. DON'T LET IT BOIL.
Step 3
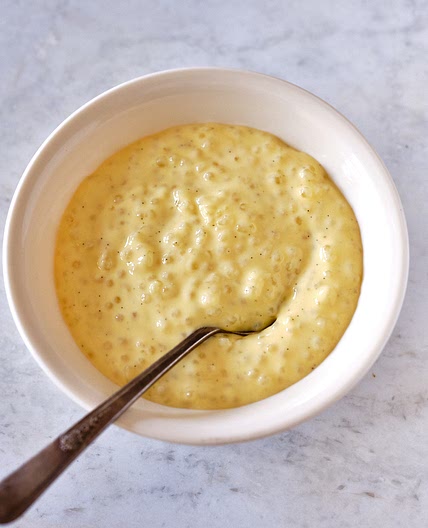
In a medium bowl, pour in half the milk mixture from the saucepan and add the cornstarch.
Step 4
Whisk vigorously, until the cornstarch is dissolved.
Step 5
Pour the cornstarch mixture back into the pan and return it to the heat.
Step 6
Let the mixture come almost to a boil, whisking frequently.
Step 7
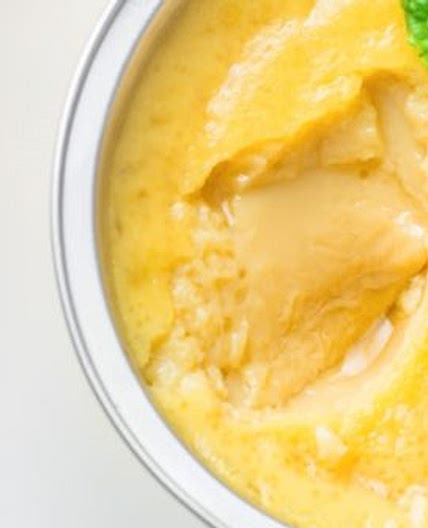
Lower the temperature to simmer and cook for five minutes, whisking often. It will become thick and shiny.
Step 8
Pour the pudding in a serving bowl and let it cool to room temperature.
Step 9
Once it has cooled, cover the bowl and place in the refrigerator until cold
Tips
Step 10
Don’t leave the saucepan unattended! I stayed right where I was supposed to be stirring the mixture like I was supposed to. Milk can burn easily.
Step 11
Have everything out and ready to go. This is a quick recipe, you don’t want to be fumbling around for ingredients. I’m a fumbler. This time I changed my bad habit and I’m glad I did.
Step 12
Give the pudding a few minutes on the counter to cool off before putting in the refrigerator.
Step 13
Let the mixture get cold in the refrigerator no matter how tempted you are to dive in. It’s a dish that’s better cold. You know it, I know it…but your stomach has other ideas.
Step 14
If you want to avoid having the layer of skin that forms at the top of pudding, place a piece of plastic wrap onto the surface of pudding in the bowl. This prevents the skin.
Step 15
Use whole milk or 2% milk, otherwise your pudding will be too thin.
Add Ins
Step 16
Crush your favorite cookies and sprinkle the crumbs on top of the pudding for a fun add-on.
Step 17
Chopped candied nuts add a little crunch to your bowl of pudding.
Step 18
For a festive touch, you can add sprinkles to the pudding to celebrate a beautiful day.
Step 19
Mini chocolate chips would add a fun twist to your pudding.
Step 20
You can add drizzles of chocolate sauce, caramel, or even vanilla sauce to take your butterscotch pudding up a notch.
Step 21
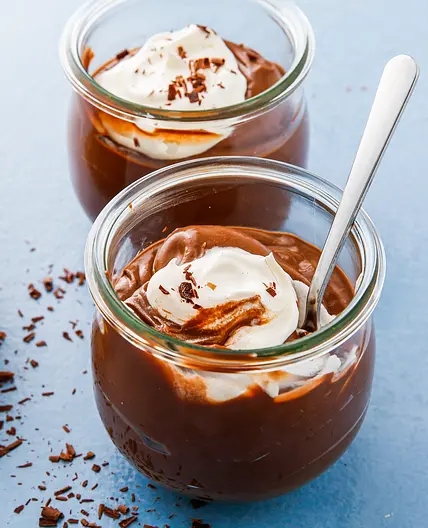
Shave milk, white, or dark chocolate on top of your pudding.
Step 22
I know someone that likes to add Kettle corn to the top of her butterscotch pudding for a sweet and salty topping.
Step 23
How about sprinkling your favorite spice on top of your pudding? Cinnamon and nutmeg are a couple of options.
Step 24
I love it when you get served pudding in a cup, and there’s a cookie sitting on the rim. Simply cut a cookie half-way up and slide it on the edge of the rim.
Step 25
Layer homemade pudding with pieces of pound cake and cookie crumbs. Top with whipped cream.
Serving
Step 26
I like to use ramekins to serve pudding. You can find my favorite ramekins here.
Step 27
You could also use clear glass drinking glasses to serve this vanilla custard pudding and top with whipped cream.
Step 28
Small mason jars are the perfect vessels for old-fashioned vanilla pudding.
Step 29
If you have a fun collection of mugs, you can also serve your pudding in those.
View on montanahappy.com
↑Support creators by visiting their site 😊
Notes
0 liked
0 disliked
There are no notes yet. Be the first to share your experience!