By crawbuckcreamery
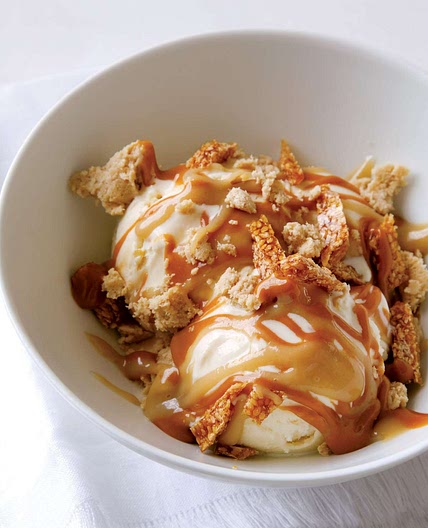
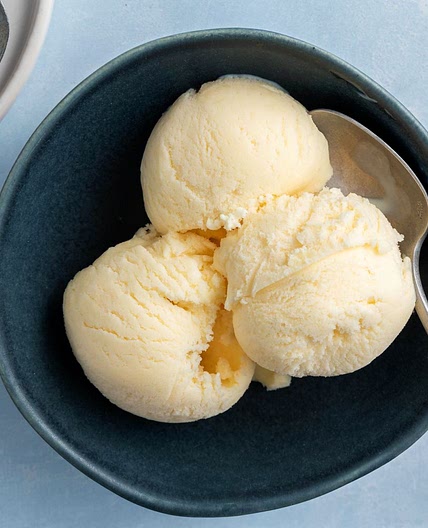
Ted Lasso Biscuit Ice Cream
12 steps
Prep:1hCook:1h
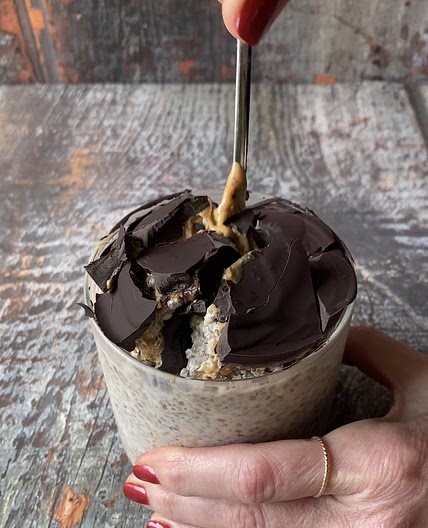
Inspired by the show, Ted Lasso, I created a tea and biscuit ice cream flavor, which I like to call “Biscuits with the Rooiboss”. Both the rooibos tea ice cream base and the biscuits are equally delicious. If it was a competition, you might say it’s a…tie ⚽️👀(biscuit recipe thanks to Milk Bar, ice cream recipe thanks to Food52). See more of my ice cream creations on TikTok @crawbuckcreamery
Updated at: Thu, 17 Aug 2023 05:15:33 GMT
Nutrition balance score
Unbalanced
Glycemic Index
66
Moderate
Glycemic Load
43
High
Nutrition per serving
Calories696.3 kcal (35%)
Total Fat45.5 g (65%)
Carbs65 g (25%)
Sugars43.3 g (48%)
Protein9.1 g (18%)
Sodium234.4 mg (12%)
Fiber0.7 g (3%)
% Daily Values based on a 2,000 calorie diet
Ingredients
8 servings
For the Biscuits
2 sticksunsalted butter
softened
1 ⅓ cupconfectioner’s sugar
3 Tbsplight brown sugar
3egg yolks
large
1 ¾ cupall-purpose flour
½ tspkosher salt
For the Ice Cream
Instructions
For the Biscuits
Step 1
Heat the oven to 315F and prepare an 8-inch square baking dish with cooking spray.
Step 2
In a medium bowl, mix the butter and sugars vigorously until smooth.
Step 3
Stir in the egg yolks
Step 4
Add the flour and salt, mix just until the dough comes together. (“The less you mix the dough, the more positive vibes your biscuits will have,” according to Tosi.)
Step 5
Using damp hands, press the dough in an even layer in the pan and bake for 40 to 45 minutes until a thin, golden brown layer forms on top.
Step 6
Let cool completely before cutting into rectangles.
For the Ice Cream
Step 7
Heat whole milk on low heat and add Rooibos tea. Let steep for 20 minutes.
Step 8
In a pot over low heat, stir together milk, cream, sugar, and salt until the sugar dissolves for about five minutes.
Step 9
In a separate bowl, whisk the yolks. Add a ladle of the warm milk mixture into the yolks, stirring vigorously with a whisk to temper your eggs. Pour the tempered yolks back into the pot with the milk, and put the whole thing over medium-low heat. Cook, stirring constantly, for about five minutes, or until the mixture is thick enough to coat the back of a spoon.
Step 10
Strain the mixture through a fine mesh sieve.
Step 11
Pour the mixture into a container and chill in the fridge for at least 4 hours, or overnight.
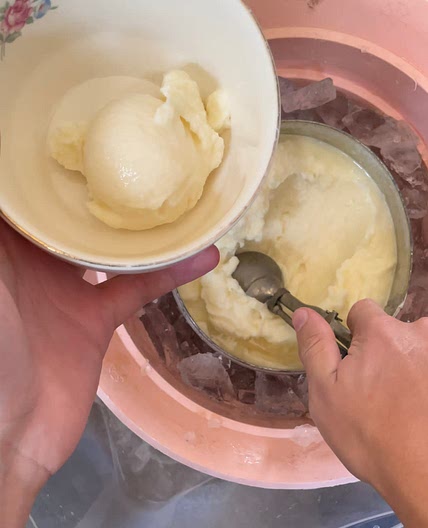
Step 12
Churn your ice cream according to the manufacturer's instructions.
Notes
1 liked
0 disliked
There are no notes yet. Be the first to share your experience!