By BenGingi
Classic Challah Recipe (W/ Mixer)
21 steps
Prep:3h 30minCook:25min
Updated at: Thu, 17 Aug 2023 06:32:41 GMT
Nutrition balance score
Unbalanced
Glycemic Index
73
High
Glycemic Load
162
High
Nutrition per serving
Calories1310.6 kcal (66%)
Total Fat34.7 g (50%)
Carbs220.5 g (85%)
Sugars25 g (28%)
Protein32 g (64%)
Sodium1664.6 mg (83%)
Fiber1.3 g (5%)
% Daily Values based on a 2,000 calorie diet
Ingredients
2 servings
Instructions
Step 1
- In a small bowl mix water, yeast and sugar. Stir well and let it sit on the counter for 10 min. In that step we activate our yeast. If not blooming after 10 min it means that your yeast probably died.
Step 2
- In your mixer bowl add the the ingredients from previous step and add the egg. Stir well.
Step 3
- Add the flour to the mixer bowl and don't stir.
Step 4
- Pour the olive oil on top.
Step 5
- Set the mixer on lowest speed and start mixing for 4 min until we get an homogenous dough.
Step 6
- Change the mixer to a higher speed, only one level faster than the slowest one. We don't want to stress our dough. Work the dough in that speed for 5 min.
Step 7
- Add the salt.
Step 8
- Keep kneading for 3 min. Total kneading of the dough should be 12 min.
Step 9
- Round the dough and place in an oiled bowl to proof. Cover with a towel to avoid the dough from drying out.
Step 10
- After doubled in size, divide the dough to the desire amount of strands you want: Using this recipe, lets understand how to divide the dough: 2 Challahs of 3 strands: Divide to 6 balls of 150 gr. 2 Challahs of 4 strands: Divide to 8 balls of 110 gr. 2 Challahs of 5 strands: Divide to 10 balls of 90 gr. 1 Challah of 6 strands: Divide to 6 balls of 150 gr. 1 Challah of 7 strands: Divide to 7 balls of 120 gr. 1 Challah of 8 strands: Divide to 8 balls of 110 gr.
Step 11
- Round each piece to a perfect sealed ball. Place them 2 inches apart and cover with a towel. Let them rest for 10-15 min.
Step 12
- Flattening each ball to a pita shape, start to roll the top towards you creating a sausage shape. In this way we avoid air pocket in the strands. We want our challah to be with no holes inside.
Step 13
- Open the strands in a way that the edges are slightly thiner than the center of the strand. It will result in a beautiful and easy-going braiding.
Step 14
- When the strands are ready to be braided- flour them gently. This way the will stay separate from each other when being baked.
Step 15
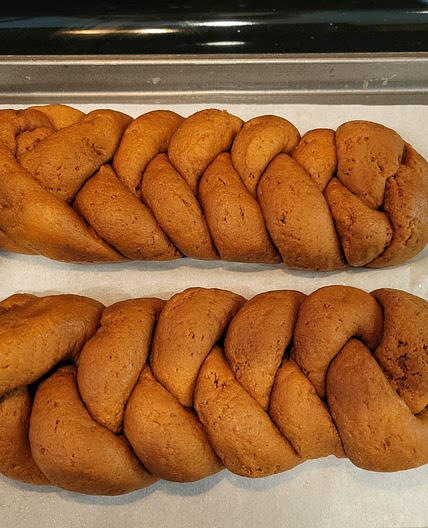
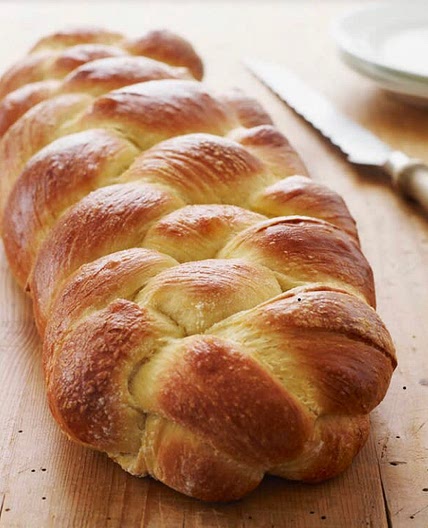
- Attach the top of all the strands together and start to braid.
Step 16
- Cover the braided challah with a towel and let it proof. You know it is ready to be baked when you touched the strands (gently!!!!!) and it bounced back slowly.
Step 17
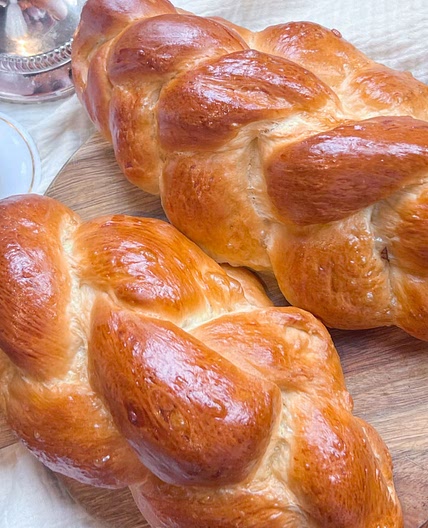
- Brush with egg yolk mixed with a sip of water. Don't make a pool of egg on the challah. Light Brushing. We don't want an omelette on our bread!
Step 18
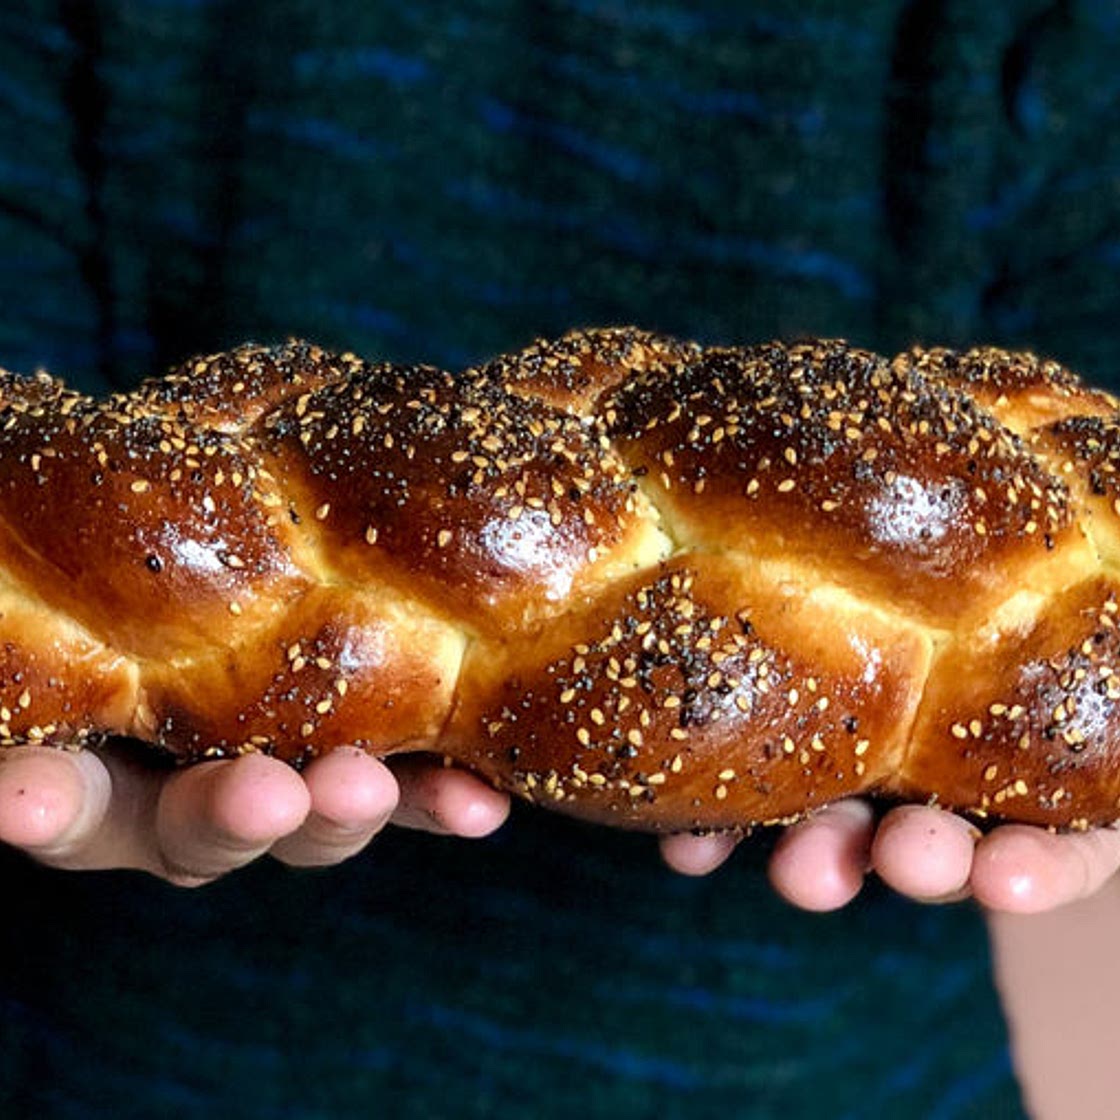
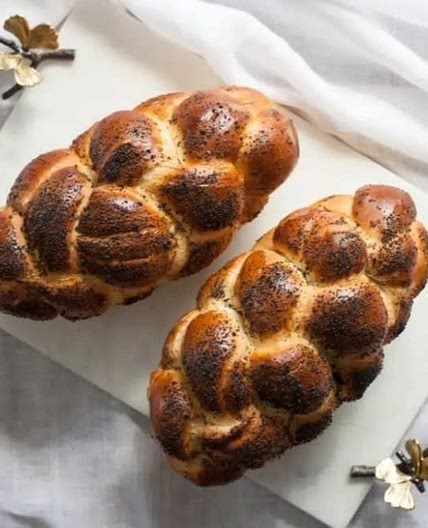
- Spread the desire toppings.
Step 19
- Bake in a preheated oven to 380F or 190C for about 25 min. If the top of the challah gets brown to fast, cover the top with an aluminium foil.
Step 20
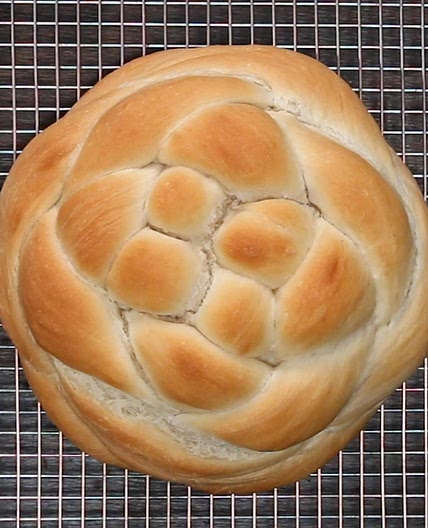
- Cool the challah on a rack.
Step 21
- If you plan to eat it in the next few days- close in a plastic sealed bag once cooled down.
