By mamagourmand.com
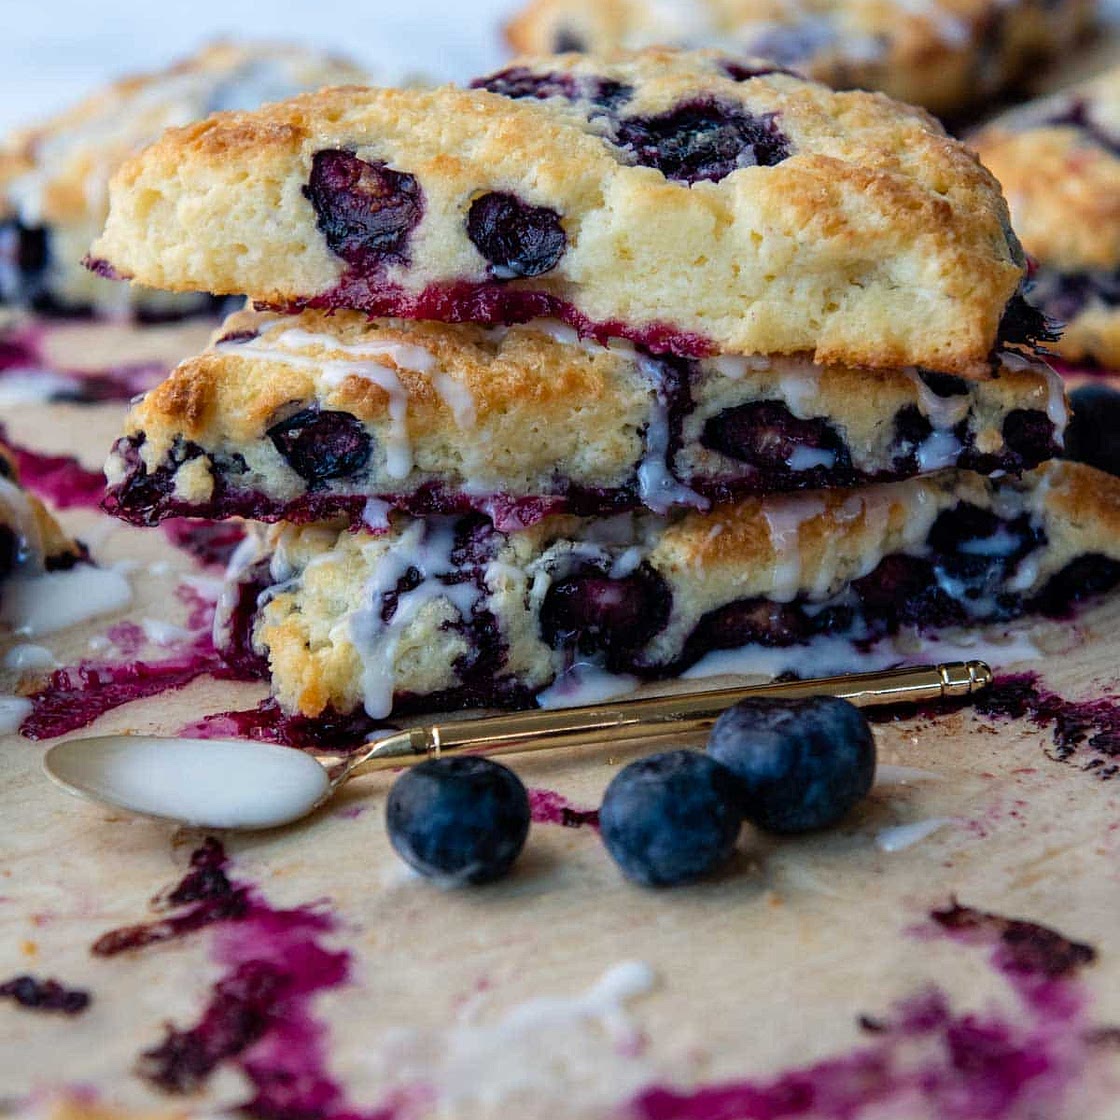
Tender, Fluffy Gluten-Free Berry Scones
7 steps
Prep:10minCook:17min
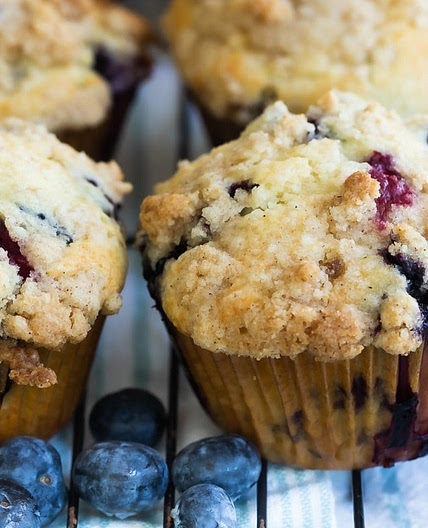
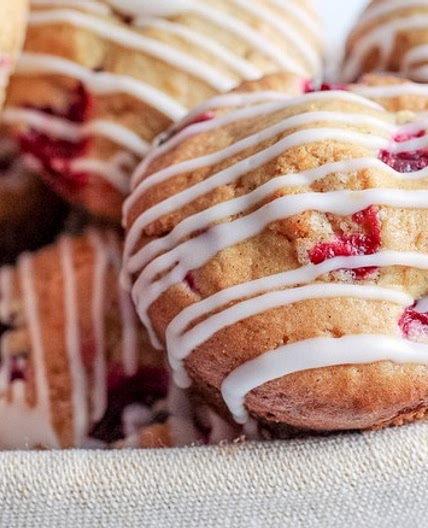
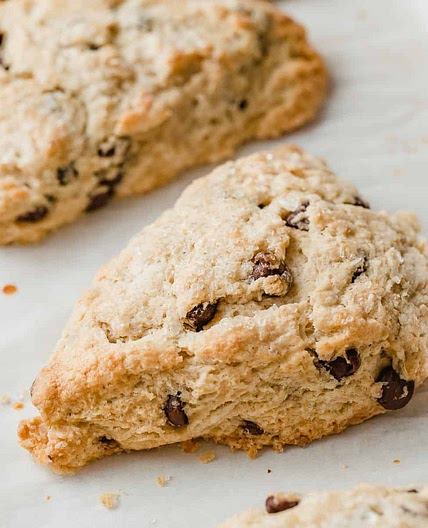
Looking for the best gluten-free scones recipe? These easy berry scones are adaptable for a variety of flavors - blueberry, chocolate chip, apple cinnamon, or mixed berry. The creamy addition of sour cream makes them so tender and fluffy, no one will know they are actually gluten-free!
Updated at: Wed, 13 Sep 2023 03:53:53 GMT
Nutrition balance score
Unbalanced
Glycemic Index
70
High
Glycemic Load
33
High
Nutrition per serving
Calories316 kcal (16%)
Total Fat16.2 g (23%)
Carbs47.8 g (18%)
Sugars20.9 g (23%)
Protein2.2 g (4%)
Sodium267.9 mg (13%)
Fiber2.3 g (8%)
% Daily Values based on a 2,000 calorie diet
Ingredients
8 servings
1 ¾ cupgluten-free all purpose flour
I use and recommend brand
⅓ cupsugar
14gbaking powder
¼ teaspoonsalt
85gunsalted butter
chopped into 1/2” pieces and chilled
⅔ cupsour cream
may substitute yogurt
1egg yolk
5mlvanilla extract
222gfresh blueberries
or frozen, berries, see recipe notes for other stir-ins
15mlmilk
or cream
1 tablespoonturbinado sugar
coarse
½ cuppowdered sugar
15mlmilk
or cream
2.5mlvanilla extract
Instructions
Step 1
In a large bowl whisk together the gluten-free flour, sugar, baking powder, and salt. Use a pastry blender or fork to cut in chopped butter until the butter is uniformly mixed with the flour in very small, crumbly pieces.
Step 2
In a small bowl whisk together the sour cream, egg, and vanilla extract. First, gently stir fresh or frozen fruit, or other mix-ins, into the flour mixture. Then, pour in sour cream mixture and gently combine until no flour pockets remain. The dough will be quite thick. Cover bowl with plastic wrap and refrigerate for 30 minutes while the oven preheats.
Step 3
Preheat the oven to 450°F (230°C). Line a baking sheet with parchment paper and spray with nonstick cooking spray.
Step 4
Place the dough in the center of the prepared baking sheet and shape it into a ball. Flatten the dough with your hands into a 7-inch (18 cm) disc, 1-inch (2.5-cm)–thick. If the dough is sticking, spray your fingers with cooking spray to shape. Cut the disc into 8 triangles, using a sharp knife. Use a small spatula to spread the cut scones around the baking sheet so they are about 2 inches (5-cm) apart.
Step 5
If topping with sugar, brush on milk or cream and sprinkle tops with sugar. Bake on the LOWER MIDDLE rack for 16-18 minutes, rotating halfway through, until the tops and bottoms start to turn golden brown. Cool on the baking sheet for 5 minutes, then transfer to a wire rack to cool.
Step 6
For glaze, mix together ingredients. The glaze should be thin enough to drizzle on, but thick enough it stays on the scone. Place a piece of waxed paper under the cooling rack and then use a small spoon to drizzle glaze over the tops. Allow glaze to harden before stacking or storing.
Step 7
DID YOU MAKE THIS RECIPE?? DON'T FORGET TO LEAVE FEEDBACK AND RATE BELOW!
View on mamagourmand.com
↑Support creators by visiting their site 😊
Notes
0 liked
0 disliked
There are no notes yet. Be the first to share your experience!
