By taffeybakery.com
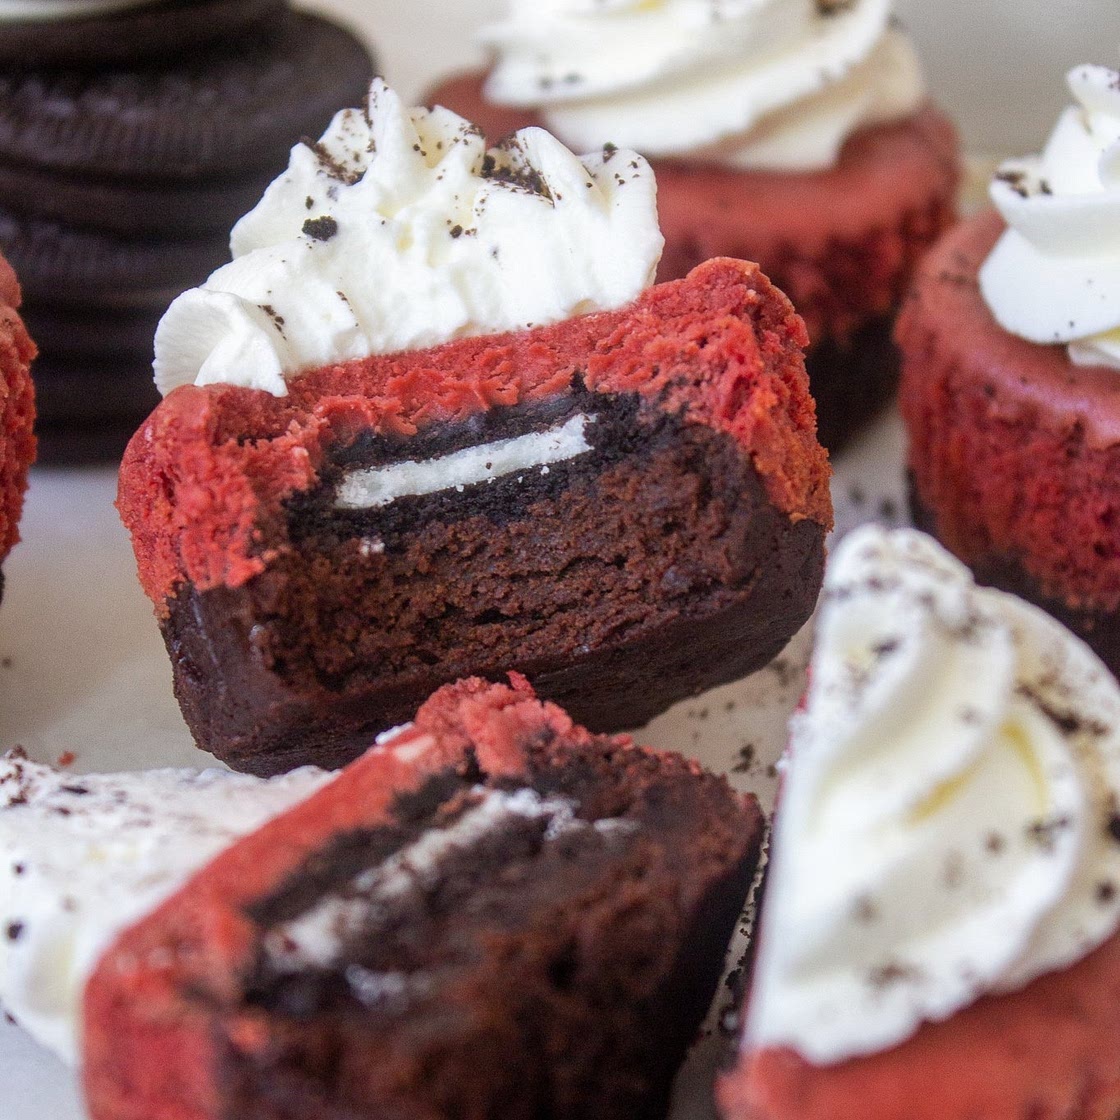
Mini Red Velvet Cheesecakes
18 steps
Prep:1hCook:20min
Bite-sized creamy mini red velvet cheesecakes. Made with a fudgy thick brownie base, and sweet cheesecake layer. Topped off with fresh sweetened whipped cream and a sprinkle of Oreo crumbs.
Updated at: Sat, 24 Jan 2026 08:36:27 GMT
Nutrition balance score
Unbalanced
Glycemic Index
63
Moderate
Glycemic Load
16
Moderate
Nutrition per serving
Calories289.8 kcal (14%)
Total Fat20.5 g (29%)
Carbs25.5 g (10%)
Sugars19.3 g (21%)
Protein3.9 g (8%)
Sodium95.6 mg (5%)
Fiber1.6 g (6%)
% Daily Values based on a 2,000 calorie diet
Ingredients
9 servings
Instructions
Brownie Layer
Step 1
Preheat oven to 350°F and line a cupcake tin with nine liners.
Step 2
In a bowl whisk together egg and white sugar.
Step 3
Add in melted butter and continue whisking.
Step 4
Add the dry ingredients; flour and cocoa powder, into the bowl. Switch over to a spatula and fold until just combined. Batter will be thick.
Step 5
Using two spoons or an ice cream scoop, divide the brownie batter evenly among the liners. Press down using your fingers or back of a spoon making sure the batter covers the entire bottom and is evenly spread out.
Step 6
Bake for 5 minutes then remove from the oven. Press an Oreo down gently into each liner. Set aside.
Cheesecake Layer
Step 7
Lower the oven temperature to 325°F.
Step 8
In a stand mixer with the whisk paddle attached, beat together the cream cheese and white sugar. This will take a few minutes.
Step 9
Add in the egg, sour cream, and vanilla and continue on whisking. Make sure to scrap the bowl down every so often (a spatula works best for this).
Step 10
Add in the cocoa powder. Then drop the food colouring in and mix until a smooth red colour appears.
Step 11
Fill each of the muffin liners up to the top with batter. Since there is no leavening agent, this cheesecake does not rise so you don't have to worry about spillage.
Step 12
Tap the pan against the counter a few times gently to alleviate any air bubbles.
Step 13
Bake for 15-18 minutes. Keep a close eye after 12 minutes. You'll know it's ready when the cheesecake is soft to the touch but does not stick to your fingers.
Step 14
Allow to cool completely. This is necessary if piping whipped cream on top.
Whipped Cream Topping
Step 15
In a stand mixer or a handheld one, beat together the heavy whipping cream and white sugar on high until stiff peaks form. Stiff peaks means that the whipped cream stands up straight when the beaters are lifted. This usually takes 3-5 minutes.
Step 16
Transfer into a piping bag (I used a M1 tip) and pipe swirls onto cooled cheesecakes. You may also scoop onto the top if you do not have this equipment.
Step 17
Sprinkle crushed Oreos on top.
Step 18
Enjoy!
View on taffeybakery.com
↑Support creators by visiting their site 😊
Notes
0 liked
0 disliked
There are no notes yet. Be the first to share your experience!
