Samsung Food
Log in
Use App
Log in
soyummy.com
By soyummy.com

The Best Gingerbread House Dough

Instructions
Prep:30minCook:25min
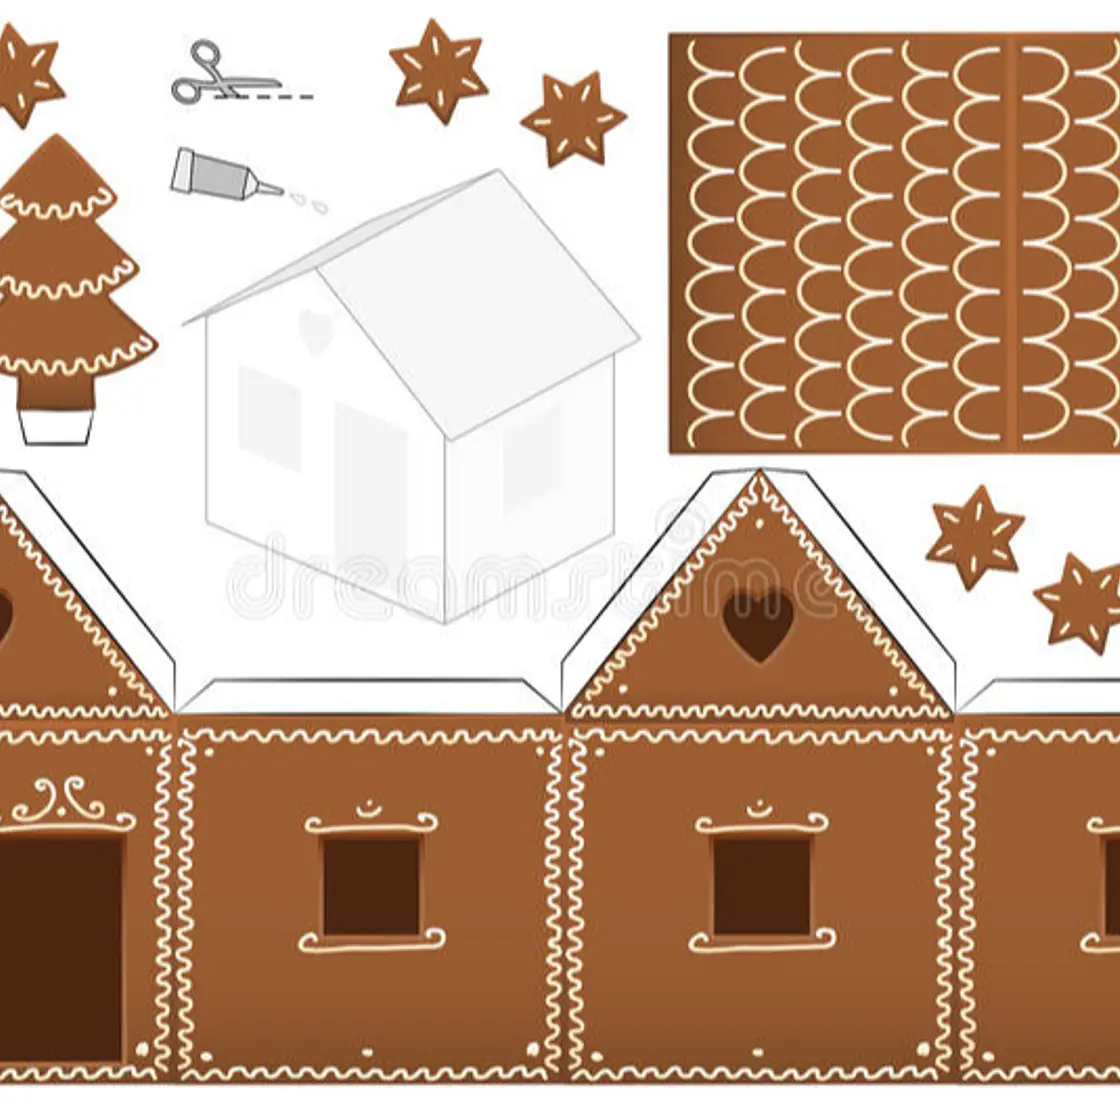
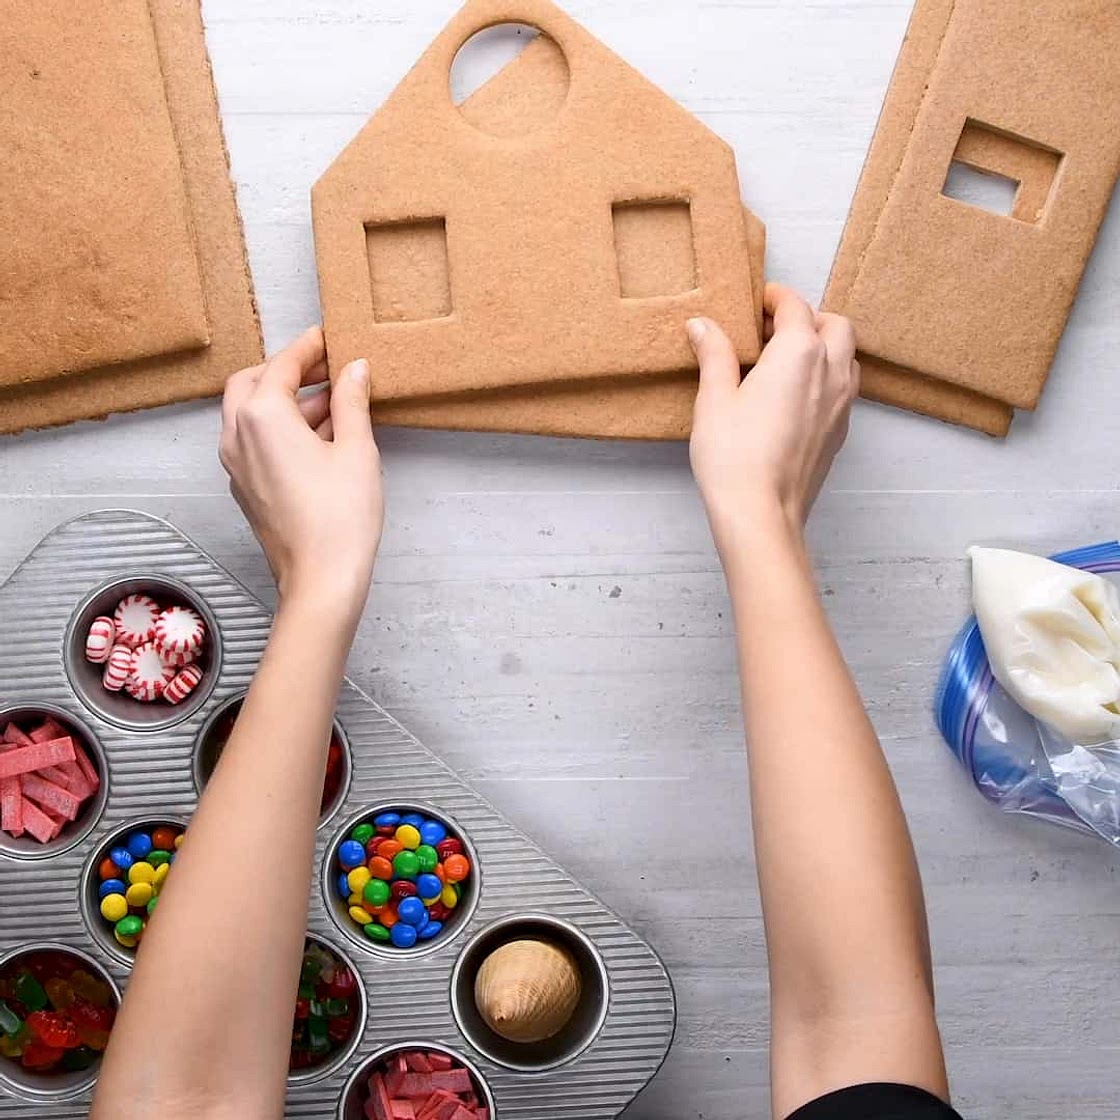
Here's a gingerbread dough recipe to get you started if you've chosen to go down the homemade route for our gingerbread house. You may need to multiply this recipe depending on how large your house is going to be.
Updated at: Thu, 21 Nov 2024 06:04:39 GMT

Nutrition balance score

Unbalanced
Glycemic Index
76
High
Glycemic Load
11
Moderate

Nutrition per serving

Calories79.9 kcal (4%)
Total Fat2 g (3%)
Carbs14.8 g (6%)
Sugars7.4 g (8%)
Protein1 g (2%)
Sodium18.1 mg (1%)
Fiber0.4 g (2%)
% Daily Values based on a 2,000 calorie diet

Instructions

View on soyummy.com
Support creators by visiting their site 😊

Notes

1 liked
0 disliked
Delicious
Kid-friendly
Special occasion
Directions 1. Note This is a base recipe for strong gingerbread dough that is perfect for building houses. This recipe makes enough dough to fit in one standard 18” x 13” baking sheet. You will need to measure your house template of choice to determine how much dough you need to make (for example, we had to make a 6x batch to make enough dough for our house.) 2. Preheat Preheat the oven to 350°F. 3. Combine & Mix In a medium bowl or the bowl of an electric mixer, combine all of the ingredients, except for the flour, and mix on low speed until well combined (be careful not to whip the mixture or it might spread in the oven!) 4. Stir & Knead Add in the flour and stir until just combined, then turn the dough out onto a lightly floured surface and knead until smooth and not sticky to the touch. 5. Roll Dust a piece of parchment paper (cut to fit your baking sheet) and the surface of the dough with a little more flour and roll out to just slightly thicker than ⅛” thick. Carefully slide the rolled dough and parchment onto a baking sheet. 6. Cut Using your gingerbread house template of choice, score each piece in the dough, but leave a 1” border of scrap dough around each cut. This will help ensure your dough doesn’t spread! Remove any excess dough beyond the border and save it to re-roll. 7. Bake Bake for about 25 minutes, until the cookie is dry to the touch. As soon as you remove it from the oven, score over your initial cut marks again to cut all the way through. Cool the whole cookie (scraps included!) until it is crisp and dry, then simply snap off the scraps and either enjoy them as a snack or reserve for future baking projects.
Directions

1. Note
This is a base recipe for strong gingerbread dough that is perfect for building houses. This recipe makes enough dough to fit in one standard 18” x 13” baking sheet. You will need to measure your house template of choice to determine how much dough you need to make (for example, we had to make a 6x batch to make enough dough for our house.)
2. Preheat
Preheat the oven to 350°F.
3. Combine & Mix
In a medium bowl or the bowl of an electric mixer, combine all of the ingredients, except for the flour, and mix on low speed until well combined (be careful not to whip the mixture or it might spread in the oven!)
4. Stir & Knead
Add in the flour and stir until just combined, then turn the dough out onto a lightly floured surface and knead until smooth and not sticky to the touch.
5. Roll
Dust a piece of parchment paper (cut to fit your baking sheet) and the surface of the dough with a little more flour and roll out to just slightly thicker than ⅛” thick. Carefully slide the rolled dough and parchment onto a baking sheet.
6. Cut
Using your gingerbread house template of choice, score each piece in the dough, but leave a 1” border of scrap dough around each cut. This will help ensure your dough doesn’t spread! Remove any excess dough beyond the border and save it to re-roll.
7. Bake
Bake for about 25 minutes, until the cookie is dry to the touch. As soon as you remove it from the oven, score over your initial cut marks again to cut all the way through. Cool the whole cookie (scraps included!) until it is crisp and dry, then simply snap off the scraps and either enjoy them as a snack or reserve for future baking projects.
2 Likes