By mamagourmand.com
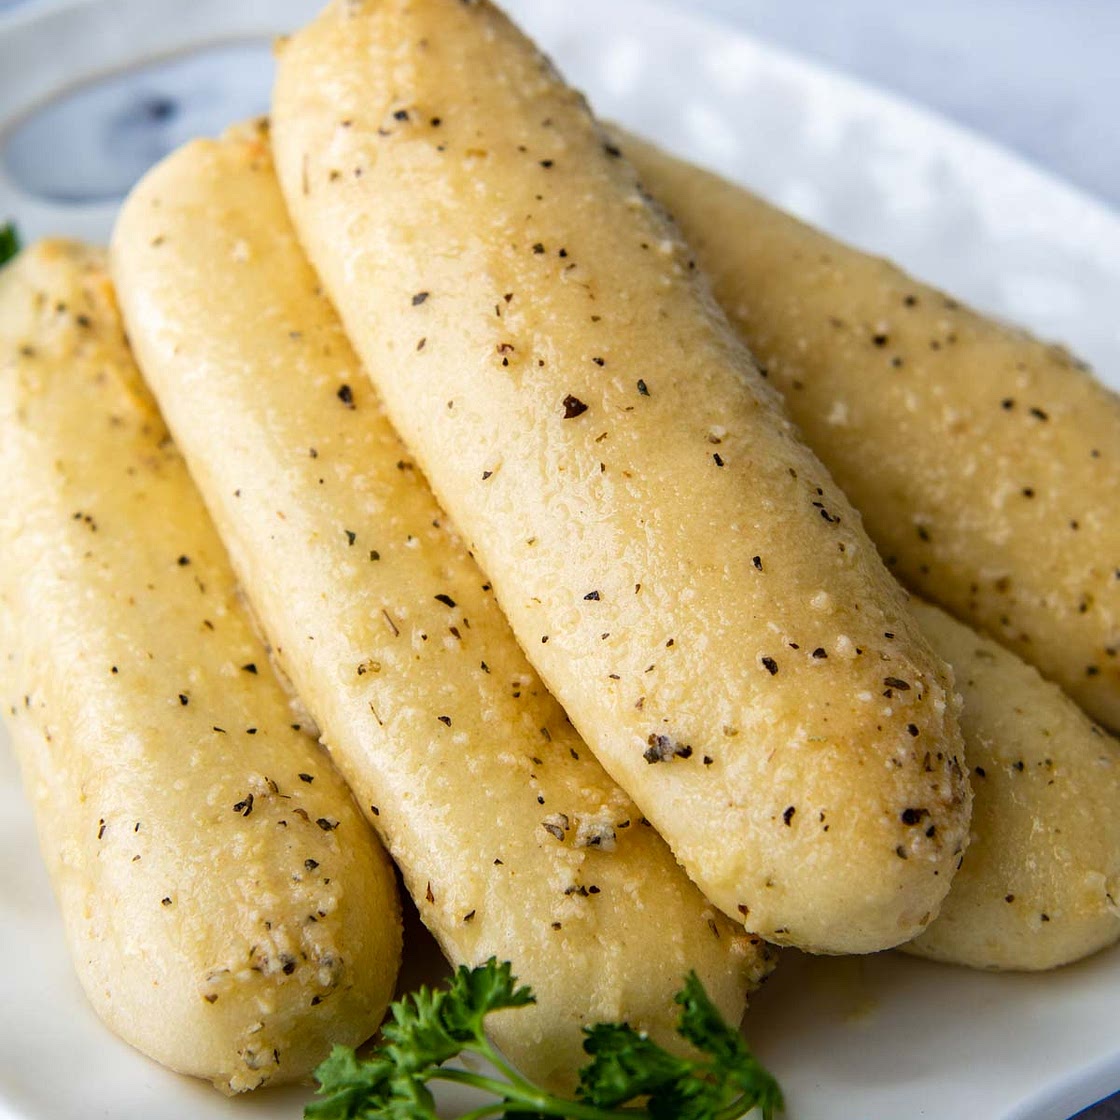
Soft Gluten-Free Breadsticks (Extra Easy)
9 steps
Prep:20minCook:15min
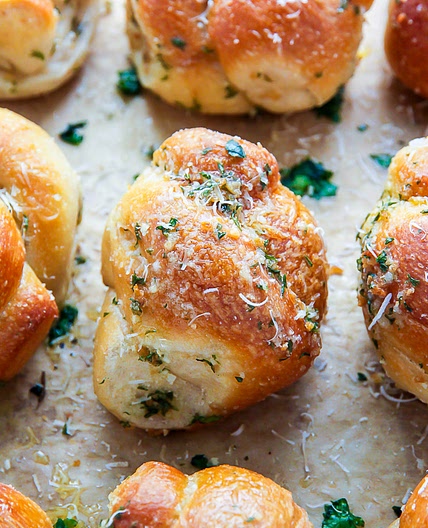
The best homemade gluten-free breadsticks recipe will make you forget those soft Olive Garden breadsticks ever existed! This easy recipe with a garlic topping is not only gluten-free, but dairy-free as well!
Updated at: Thu, 11 Sep 2025 06:44:41 GMT
Nutrition balance score
Unbalanced
Glycemic Index
76
High
Glycemic Load
23
High
Nutrition per serving
Calories193.2 kcal (10%)
Total Fat9.9 g (14%)
Carbs30.5 g (12%)
Sugars2 g (2%)
Protein2.7 g (5%)
Sodium272.8 mg (14%)
Fiber2.6 g (9%)
% Daily Values based on a 2,000 calorie diet
Ingredients
13 servings
438ggluten-free all purpose flour
gluten-free flour highly recommended
25ggranulated sugar
9ginstant rapid rise yeast
11gpsyllium husk powder
1 teaspoonbaking powder
1 teaspoonsalt
360gwater
warm, 110°F
2eggs
large, room temperature
¼ cupolive oil
21gbutter
melted, see recipe notes for dairy-free
2 tablespoonsparmesan
grated, see recipe notes for dairy-free
¼ teaspoongarlic powder
¼ teaspoonkosher salt
or sea salt
¼ teaspoonitalian seasoning
Instructions
Step 1
Using a stand mixer with paddle attachment, mix together the gluten-free flour, sugar, yeast, psyllium husk powder, baking powder, and salt on low speed until combined.
Step 2
Add warm water, eggs, and olive oil. Mix on low speed to let the dough come together, about 1 minute.
Step 3
Increase speed to medium and beat for 5 minutes, scraping down paddle and bowl halfway through. The batter will be slightly thick, like brownie batter.
Step 4
Line a baking sheet with parchment paper and spray with nonstick cooking spray. Place a quart ziplock bag in a medium bowl and fold over sides so it’s open. Use two silicone spoons to scrape the dough into the bottom of the bag. Squeeze out excess air and close.
Step 5
Snipe off a 1-inch corner of the bag so you have a makeshift piping bag. Be sure to not cut too big of a corner, or you will have large breadsticks. Pipe 6-inch long breadsticks onto the prepared baking sheet, about 2-inches apart. You may need a second baking sheet to fit all the dough.
Step 6
Set the pan in a warm, draft-free place to rise for about 15 minutes while the oven preheats oven to 375°F.
Step 7
Bake for 15-17 minutes, or until the bottoms are lightly browned and the internal temperature of the bread reaches 190-200°F.
Step 8
While the breadsticks are baking combine the topping ingredients. Immediately brush on the topping when they come out of the oven. Serve immediately or transfer to a wire rack to cool completely before storing.
Step 9
DID YOU MAKE THIS RECIPE?? DON'T FORGET TO LEAVE FEEDBACK AND RATE BELOW!
View on mamagourmand.com
↑Support creators by visiting their site 😊
Notes
0 liked
0 disliked
There are no notes yet. Be the first to share your experience!
