By Emil Lara
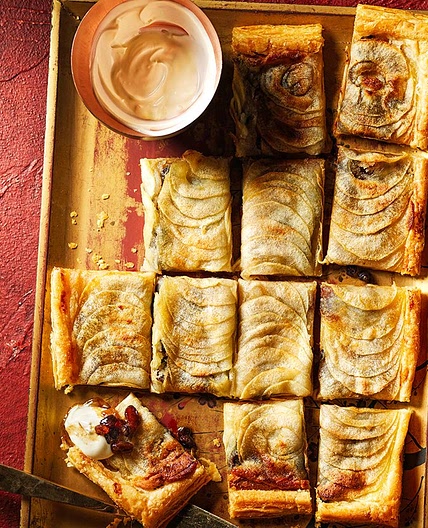
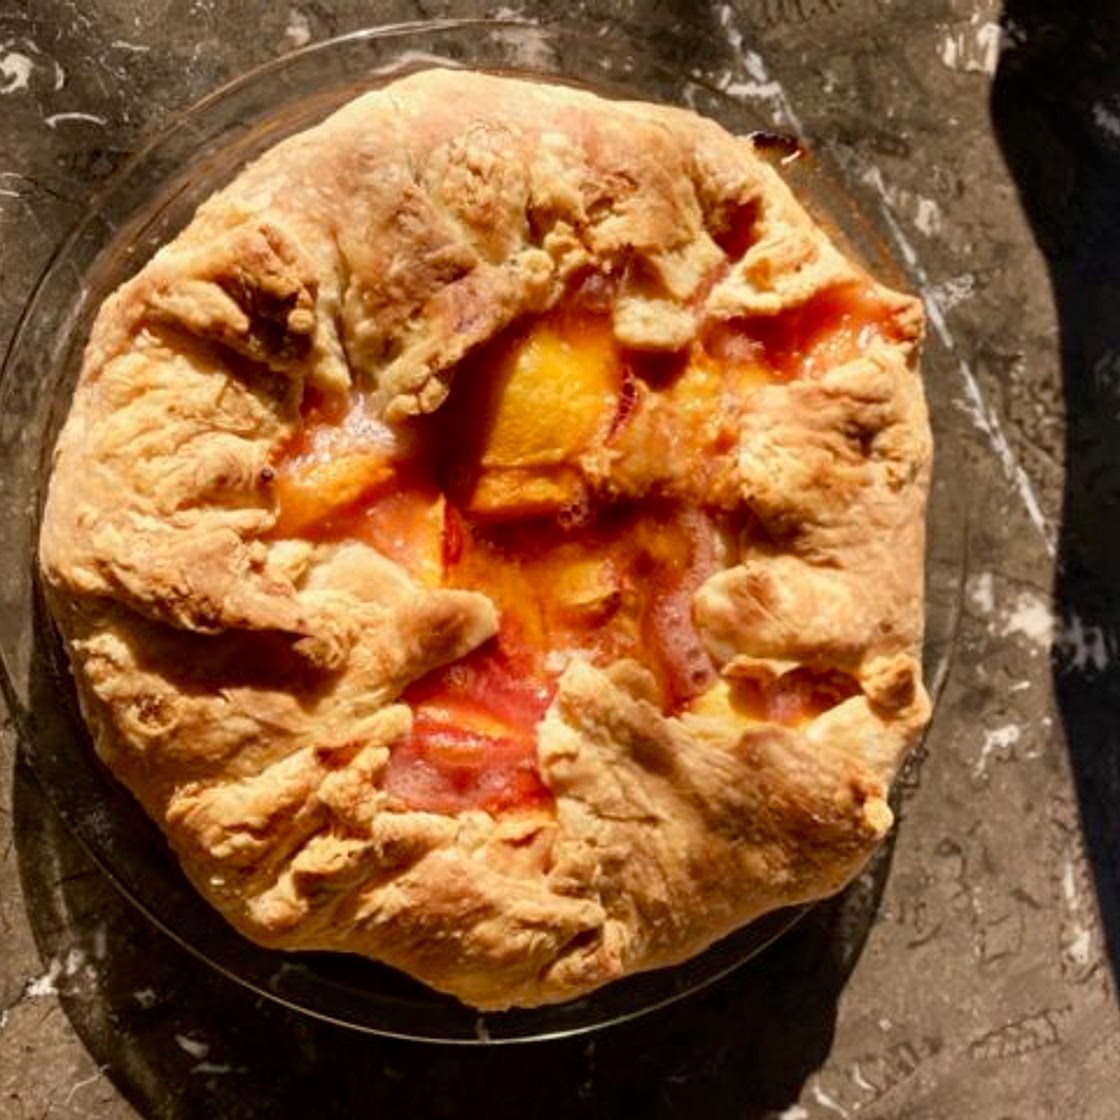
Peach Gallette, The Chef Show
https://www.evankleiman.com/the-chef-show-peach-gallette/
Updated at: Sun, 20 Aug 2023 19:17:20 GMT
Nutrition balance score
Unbalanced
Glycemic Index
67
Moderate
Nutrition per recipe
Calories3512.2 kcal (176%)
Total Fat144.6 g (207%)
Carbs518.5 g (199%)
Sugars223.3 g (248%)
Protein47.4 g (95%)
Sodium1102.3 mg (55%)
Fiber22.3 g (80%)
% Daily Values based on a 2,000 calorie diet
Ingredients
0 servings
7peaches
ripe, or 8 nectarines, they shouldn’t be super soft
¼ cupsugar
or to taste
½ cupbrown sugar
or to taste
½ teaspoonkosher salt
lemon juice
if needed
¼ cupall purpose flour
12 ozall purpose flour
kosher salt
¼ teaspoonbaking powder
optional
1 tablespoonsugar
unsalted butter
slightly softened
6 ozbutter
chilled, or other fat, cut into tablespoon sized chunks
4 ozApple Juice
OR Water
1 tablespoonapple cider vinegar
Instructions
Step 1
Bring water to a rolling boil in a saucepan. Have a bowl full of iced water ready. Put the peaches in the water one at a time so the boil doesn’t stop. Count to ten. Lift the boiled peach out of the water with a slotted spoon or tong and put in the iced water. Continue until all the peaches are done. Slip the skins off all the peaches then cut them into wedges about 3/4″ thick. As you slice them put them in a bowl. Add the sugars as needed and the salt. If the peaches taste flat add a squeeze of lemon juice. Taste again and adjust seasoning. In this case your seasoning is the sugars, salt and lemon. Once the peaches taste correct to your taste add the flour and mix.
Step 2
Preheat oven to 400 degrees.
Step 3
To make the Gallette into a Pie-llette like I did in the show get a 9″ regular pie plate. Do not use a ceramic or deep dish pie dish! I used a 9″ pyrex dish. Roll out the dough according to the dough directions giving yourself plenty of extra to fold over. Drape the dough into the pie pan easing it into the bottom without stretching the dough. Give the filling a stir and pour it on top of the dough. Fold the edges over the filling pleating where you need. The “fold” can nearly cover the filling or just be a small border. It’s totally up to you.
Step 4
Place the Pie-llette on a rack set on the lowest rung. Cook until the crust is beautifully deep golden brown and the filling is bubbling and thick, approximately 40 minutes. Try to let it cool a bit before you eat it. It will taste even better. Serve with vanilla ice cream if you like.
Step 5
Mix flour, salt and sugar, and baking powder, if using, together in bowl. Add fat into flour using your fingertips or a pastry blender. Take the slightly softened butter and work it into the flour with your fingers until the butter is evenly dispersed throughout the flour. You may also do this in the food processor.
Step 6
Take the chunks of chilled butter and toss them in the flour so that each piece is coated. Using a pastry cutter cut the fat or your fingers into the flour until most of the dough looks like crumbs the size of peas but some of the fat is still in bigger clumps, the size of almonds. Do not over blend! You can also do this in the food processor by pulsing. But you have to be really careful not to overmix the butter.
Step 7
If you’re using a food processor now you have to dump the mixture into a bowl .
Step 8
Add the liquid by drizzling it all over the flour-butter mixture. Use a fork to mix. When dough mostly holds together you have added enough water. Don’t worry about a bunch of dry crumblies at this point.
Step 9
Dump the mixture out onto your work surface. Use a bench scraper to gather the crumbs into the mass of dough. Use the heel of your hand to smear the dough away from you a third at a time. You are creating flat layers of flour and butter. After the dough is smeared out gather it back together with the bench scraper, using the scraper to layer the smears on top of each other, creating a mass of dough. Do it again. The dough should come together nicely, but you should still see your big pieces of butter. Use the bench scraper to cut the dough in two pieces.
Step 10
Form each piece into a puck shape about two inches tall. Wrap each half with plastic wrap and let them rest in the refrigerator, for at least an hour or overnight. The dough can be refrigerated for up to 3 days. The dough can be frozen for up to 3 months after it rests for an hour.
Step 11
Before you start rolling out the dough be sure you’ve cleared off your working surface. You need room to move. Take the dough from the refrigerator and place on surface that’s lightly dusted with flour. If you’ve made an all butter dough you might want to let the dough sit for about 10 minutes to let the butter soften slightly.
Step 12
Dust your rolling pin too, but not too much. Gently rap the dough several times across the surface with the rolling pin to make it thinner and easier to roll out. Flip the thick dough puck over, lightly dust it again and rap the dough again, this time in the opposite direction. Now you’re ready to roll.
Step 13
Remember not to press down directly on the dough. Think of rolling the dough across the surface and away from you. Always start rolling from the middle of the dough outward giving the dough a little quarter turn after each couple of passes. Then flip the dough over and once again roll from the middle outwards, giving the dough a quarter turn each time.
Step 14
If any of the butter breaks through the surface sprinkle some flour over the exposed fat, then brush away the excess.
Step 15
Lightly dust the pin, the counter and the dough as necessary. When your circle is a few inches larger than your pie pan you’re ready to move the dough from the counter to the pan. Gently fold the dough in half, and in one movement lift it off the rolling surface and into the pie pan. Unfold the dough circle and gently ease it into the pie pan. Don’t stretch the dough down into the pan. When it heats up in the oven it will bounce back and shrink.
Notes
1 liked
0 disliked