1/2

2/2
100%
1
Nutrition balance score
Unbalanced
Glycemic Index
72
High
Glycemic Load
18
Moderate
Nutrition per serving
Calories171.5 kcal (9%)
Total Fat6 g (9%)
Carbs25.1 g (10%)
Sugars3.9 g (4%)
Protein4 g (8%)
Sodium179.1 mg (9%)
Fiber0.8 g (3%)
% Daily Values based on a 2,000 calorie diet
Ingredients
14 servings
1 cupwhole milk
warmed to about 110°F, 43°C
2 ¼ teaspoonsinstant yeast
Platinum Yeast, 1 standard packet
2 tablespoonsgranulated sugar
divided
1egg
large
¼ cupunsalted butter
softened to room temperature and cut into 4 pieces
1 teaspoonsalt
390gall-purpose flour
Opinional
Instructions
Step 1
Prepare the dough: Whisk the warm milk, yeast, and 1 Tablespoon of sugar together in the bowl of your stand mixer. Cover and allow to sit for 5 minutes. *If you do not own a stand mixer, you can do this in a large mixing bowl and in the next step, mix the dough together with a large wooden spoon/silicone spatula. It will take a bit of arm muscle. A hand mixer works, but the sticky dough repeatedly gets stuck in the beaters. Mixing by hand with a wooden spoon or silicone spatula is a better choice.*
Step 2
Add the remaining sugar, egg, butter, salt, and 1 cup flour. With a dough hook or paddle attachment, mix/beat on low speed for 30 seconds, scrape down the sides of the bowl with a silicone spatula, then add the remaining flour. Beat on medium speed until the dough comes together and pulls away from the sides of the bowl, about 2 minutes. If the dough seems too wet to a point where kneading (next step) would be impossible, beat in more flour 1 Tablespoon at a time until you have a workable dough, similar to the photos above. Dough should be soft and a little sticky, but still manageable to knead with lightly floured hands.
Step 3
Knead the dough: Keep the dough in the mixer and beat for an additional 5 full minutes, or knead by hand on a lightly floured surface for 5 full minutes. If the dough becomes too sticky during the kneading process, sprinkle 1 teaspoon of flour at a time on the dough or on the work surface/in the bowl to make a soft, slightly tacky dough. Do not add more flour than you need because you do not want a dry dough. After kneading, the dough should still feel a little soft. Poke it with your finger-if it slowly bounces back, your dough is ready to rise. You can also do a "windowpane test" to see if your dough has been kneaded long enough: tear off a small (roughly golfball-size) piece of dough and gently stretch it out until it's thin enough for light to pass through it.
Step 4
1st Rise: Lightly grease a large bowl with oil or nonstick spray. Place the dough in the bowl, turning it to coat all sides in the oil. Cover the bowl with aluminum foil, plastic wrap, or a clean kitchen towel. Allow the dough to rise in a relatively warm environment for 1-2 hours or until double in size.
Step 5
Grease a 9×13 inch baking pan or two 9-inch square or round baking pans. You can also bake the rolls in a cast iron skillet or on a lined baking sheet.*
Step 6
2nd Rise: Cover shaped rolls with aluminum foil, plastic wrap, or a clean kitchen towel. Allow to rise until puffy, about 1 hour.
Step 7
Adjust oven rack to a lower position and preheat oven to 350°F (177°C). (It’s best to bake the rolls towards the bottom of the oven so the tops don’t burn.)
Step 8
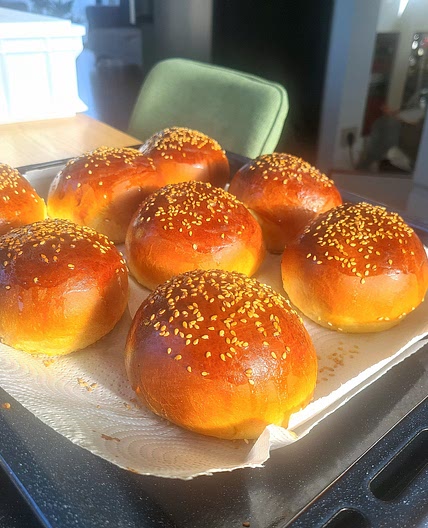
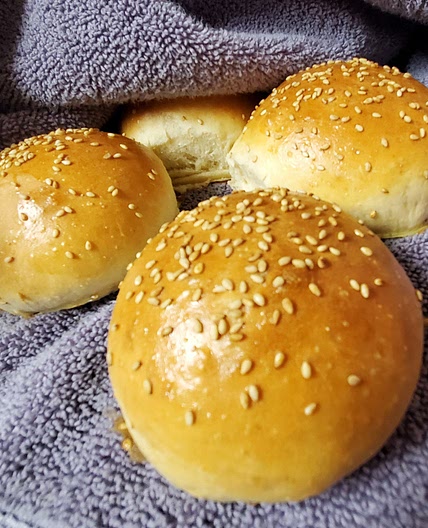
Bake the rolls: Bake for 20-25 minutes or until golden brown on top, rotating the pan halfway through. If you notice the tops browning too quickly, loosely tent the pan with aluminum foil. Remove from the oven, brush with optional honey butter topping, and allow rolls to cool for a few minutes before serving.
Notes
1 liked
0 disliked
Delicious
Dry
Easy
Fresh
Go-to
