1/2

2/2
100%
0
By Tamsin Miles
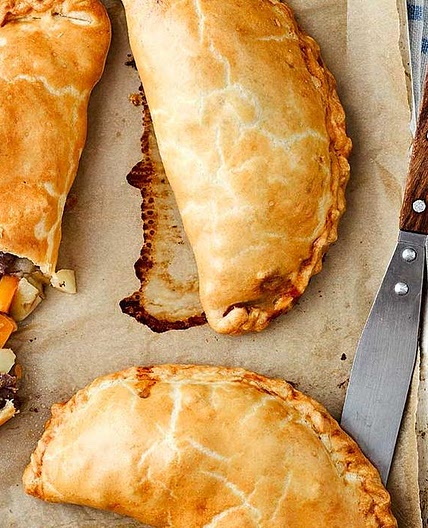
Make your own Genuine Cornish Pasty | Cornish Pasty Association
17 steps
Prep:30min
Cheat and use ready made pastry.
Updated at: Tue, 08 Oct 2024 19:34:26 GMT
Nutrition balance score
Uh-oh! We're unable to calculate nutrition for this recipe because some ingredients aren't recognized.
Ingredients
0 servings
pasty
About the
shortcrust pastry
For
500gstrong bread flour
it is important to use a stronger flour than normal as you need the extra strength in the gluten to produce strong pliable pastry
120glard
or white shortening
125gCornish butter
1 tspsalt
175mlwater
cold
400gbeef skirt
good quality, cut into cubes
300gpotato
peeled and diced
150gswede
peeled and diced
150gonion
peeled and sliced
Salt
pepper
to taste
Instructions
Step 1
Beaten egg or milk to glaze
Step 2
Add the salt to the flour in a large mixing bowl.
Step 3
Rub the two types of fat lightly into flour until it resembles breadcrumbs.
Step 4
Add water, bring the mixture together and knead until the pastry becomes elastic. This will take longer than normal pastry but it gives the pastry the strength that is needed to hold the filling and retain a good shape. This can also be done in a food mixer.
Step 5
Cover with cling film and leave to rest for 3 hours in the fridge. This is a very important stage as it is almost impossible to roll and shape the pastry when fresh.
Step 6
Roll out the pastry and cut into circles approx. 20cm diameter. A side plate is an ideal size to use as a guide.
Step 7
Layer the vegetables and meat on top of the pastry, adding plenty of seasoning as you go. The amount of salt and pepper to use will vary according to taste but a good rule of thumb is to use a good pinch of salt and a gentle pinch of pepper on each layer.
Step 8
Bring the pastry around and crimp the edges together (see our guide to crimping).
Step 9
Glaze with beaten egg or an egg and milk mixture.
Step 10
Bake at 165 degrees C (fan oven) for about 50 – 55 minutes until golden.
Step 11
Cornish pasties freeze well. It’s best to freeze them after glazing but before baking. They can be baked from frozen, just reduce the oven temperature a little and add an extra few minutes to the baking time.
Step 12
Lightly brush the edge of the pastry with water.
Step 13
Fold the other half of pastry over the filling and squeeze the halfcircle edges firmly together.
Step 14
Push down on the edge of the pasty and using your index fingerand thumb twist the edge of the pastry over to form a crimp.
Step 15
Repeat this process along the edge of the pasty.
Step 16
When you’ve crimped along the edge, tuck the end cornersunderneath.
Step 17
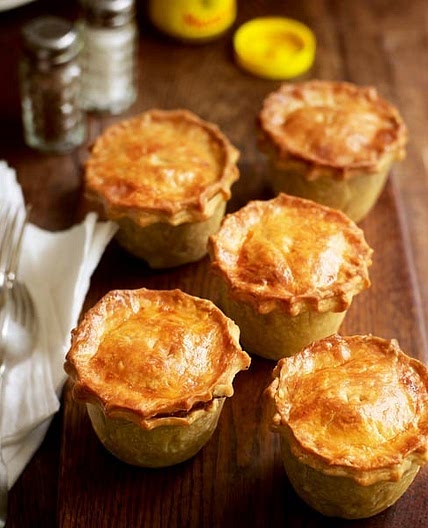
The finished pasty, ready to bake!
Notes
1 liked
0 disliked
Crispy
Delicious
Dry
Easy
Go-to
There are no notes yet. Be the first to share your experience!

