1/4
2/4
3/4

4/4
Leave a note
By Jambon Papa
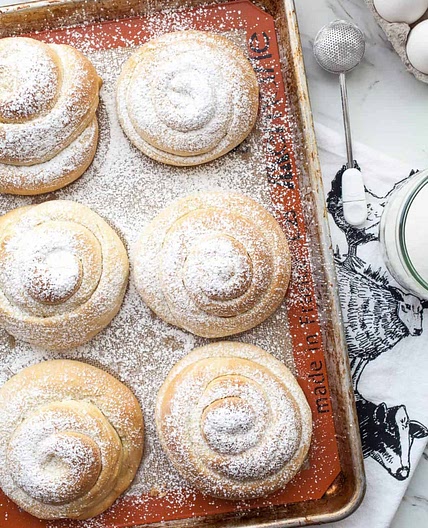
Pão de Queijo - Brazilian Cheese Bread by Regina
10 steps
Prep:30minCook:30min
Pão de Queijo, or Brazilian cheese bread, is a delightful and popular snack originating from the state of Minas Gerais in Brazil. These small, round cheese puffs are made from tapioca flour, giving them a unique chewy texture. The combination of cheese and the slightly crispy exterior makes them irresistible. Perfect for breakfast, a snack, or even as a side dish, Pão de Queijo is a versatile treat that can be enjoyed at any time of the day. Whether you're hosting a gathering or simply craving a taste of Brazil, this recipe is sure to impress!
Updated at: Sun, 14 Sep 2025 21:24:02 GMT
Nutrition balance score
Uh-oh! We're unable to calculate nutrition for this recipe because some ingredients aren't recognized.
Ingredients
60 servings
Instructions
Step 1
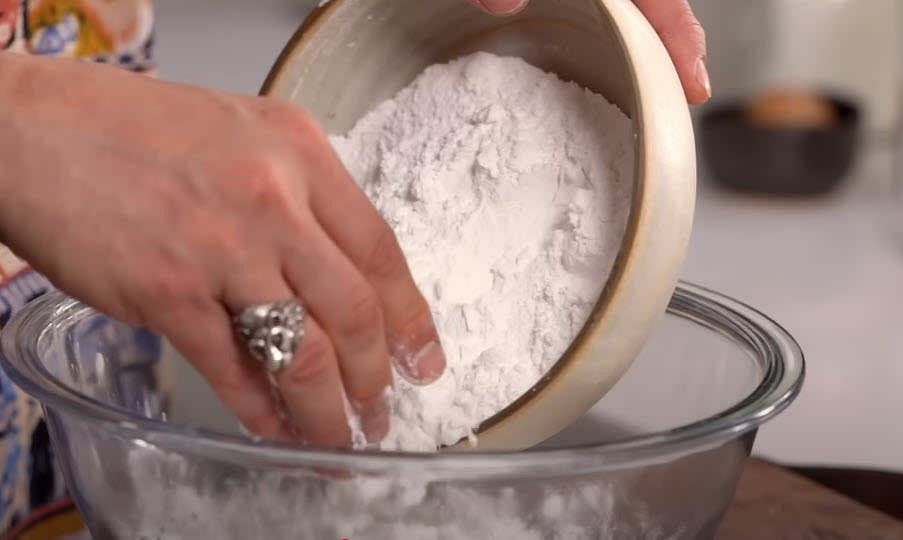
In a mixer bowl, combine the dry ingredients: tapioca flour and salt. Set aside.
Tapioca Flour Sour300g
Step 2
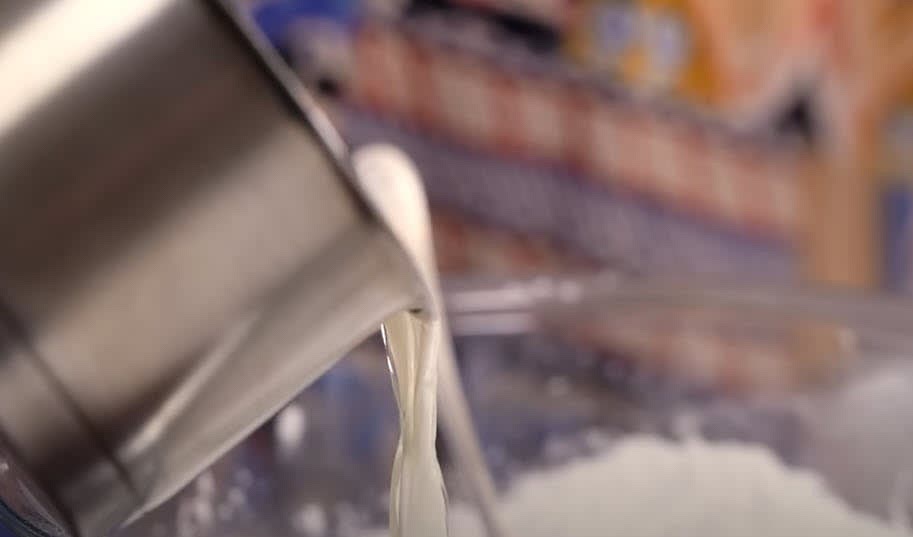
In a medium pan, add milk, oil, and butter, then bring to a boil. Keep an eye on the pan as it can overflow quickly.
Step 3
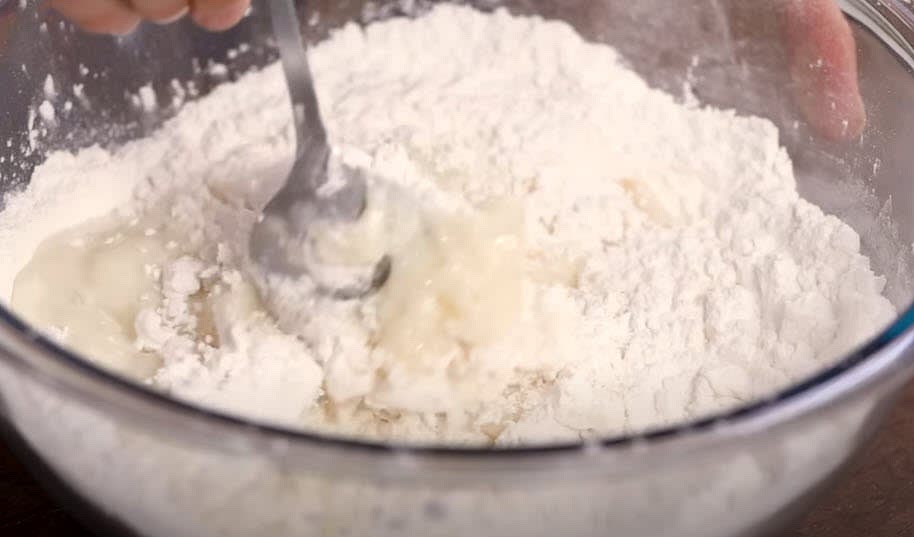
Pour the warm liquid into the mixer bowl with the dry ingredients. Use a spatula to start mixing to minimize the mess. Once the liquid is incorporated, use an electric mixer with a flat beater blade on low speed for about 5 minutes to cool down the dough.
Step 4
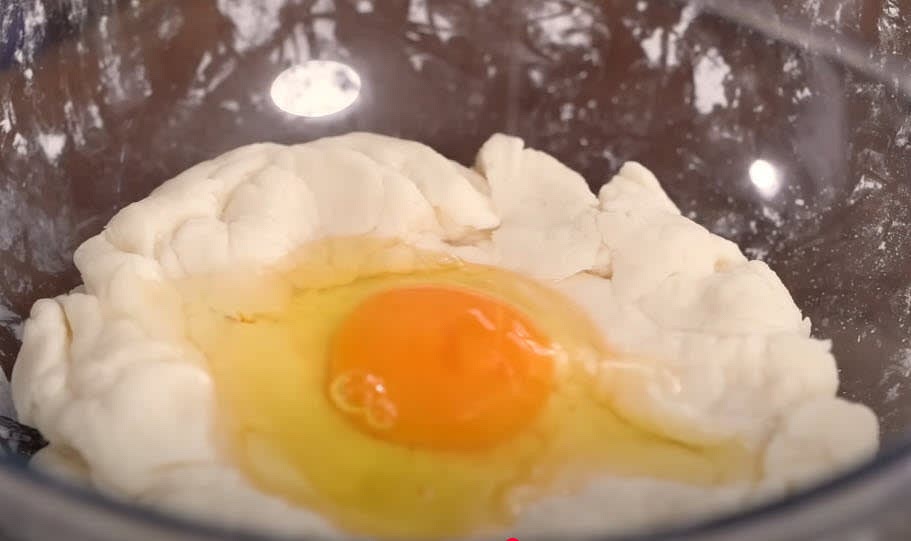
Add the eggs one at a time, ensuring each is fully incorporated before adding the next.
Step 5
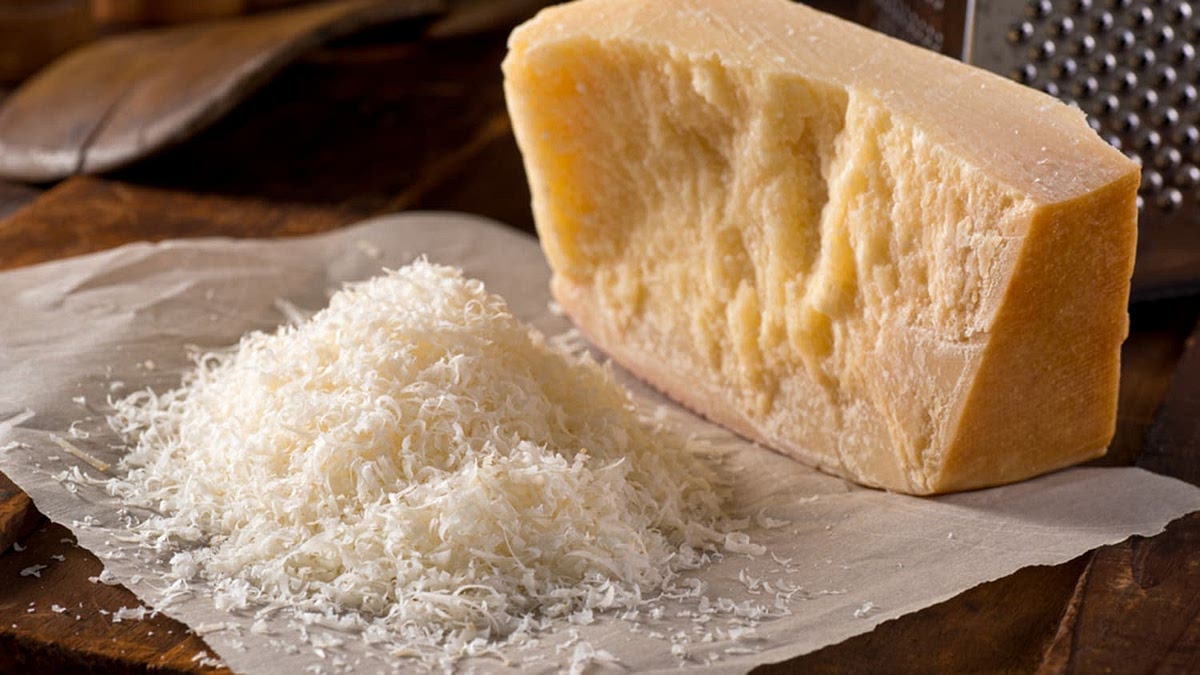
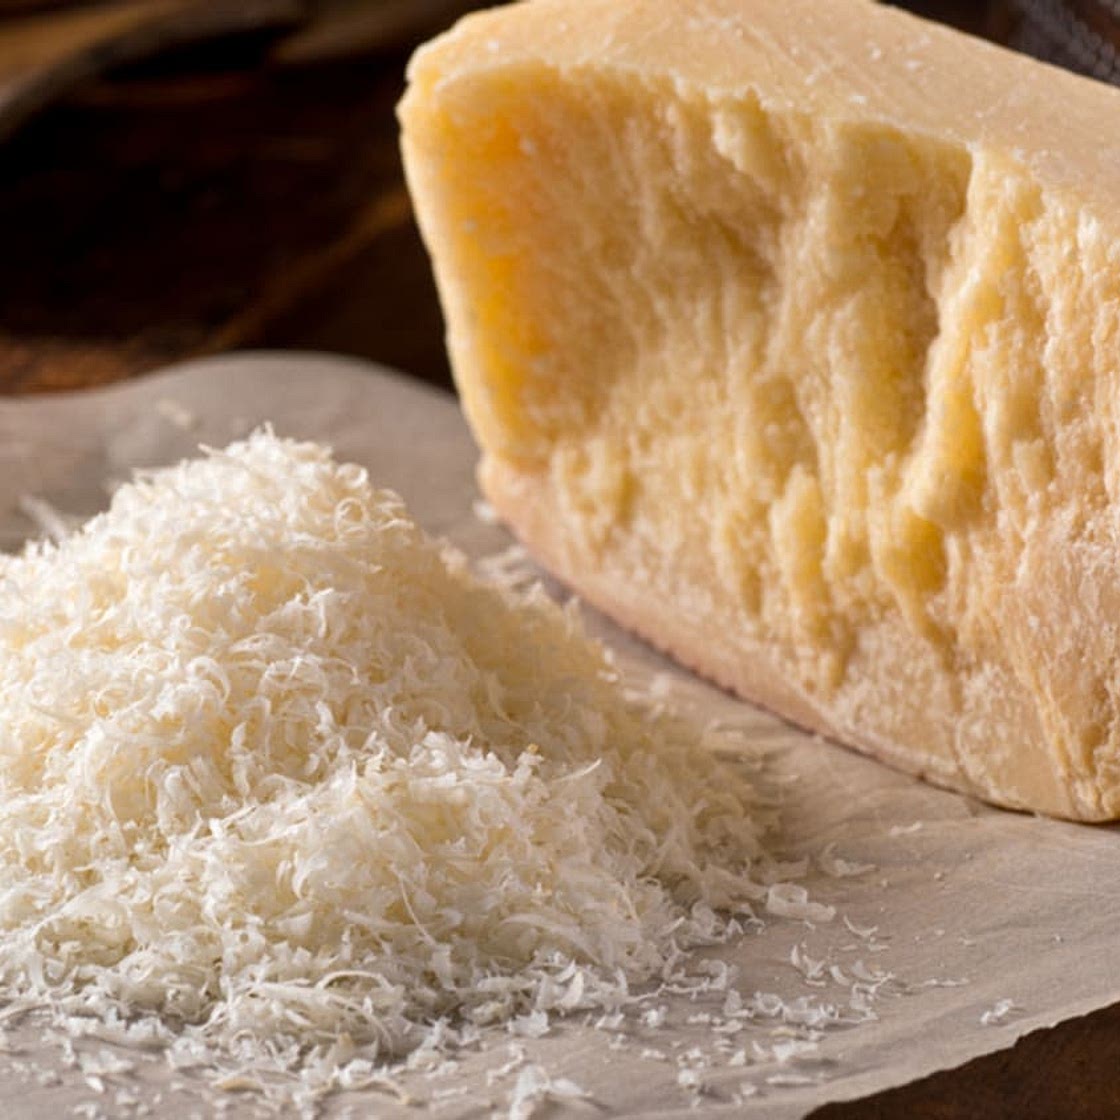
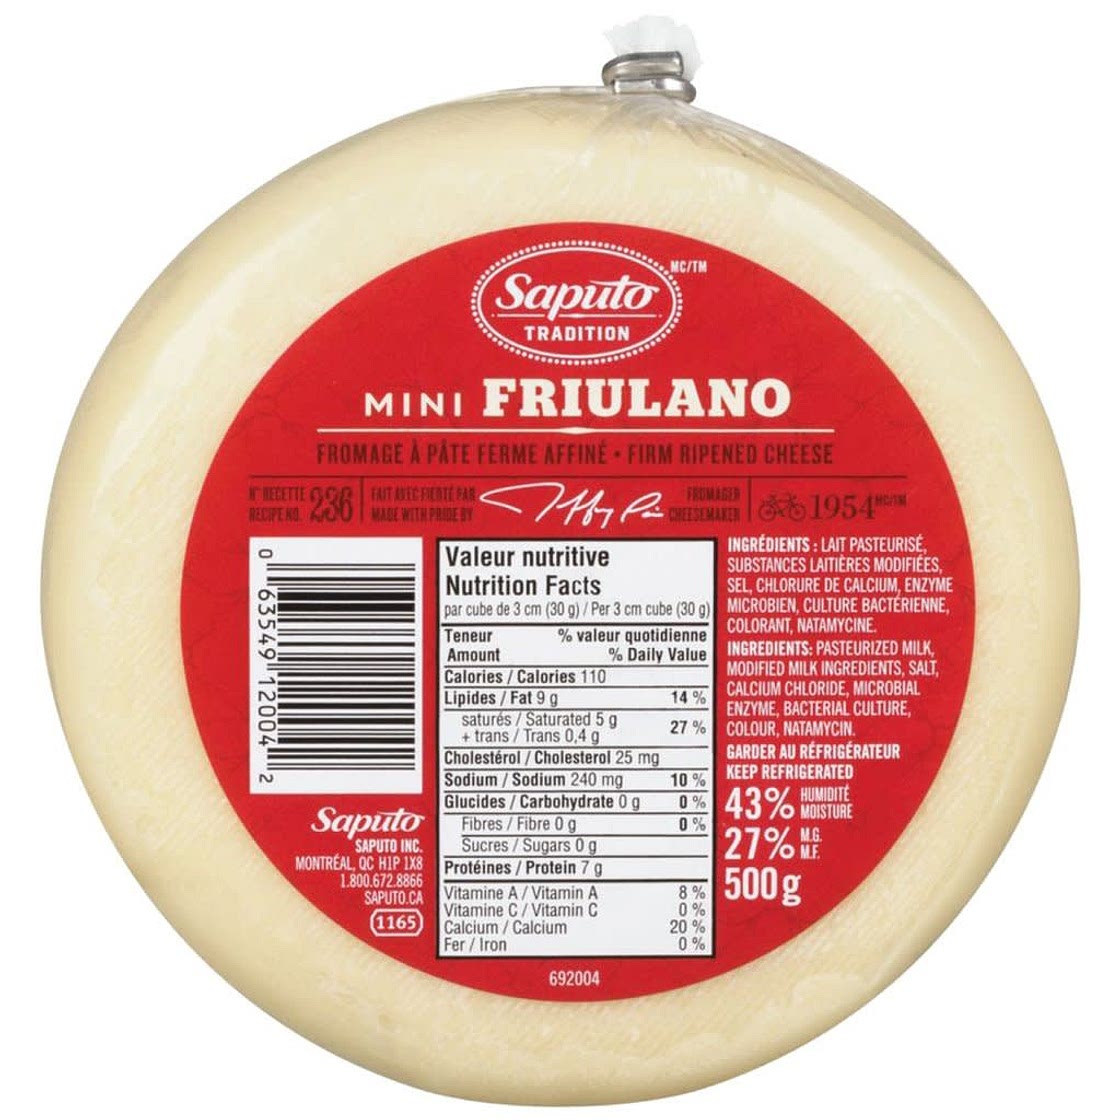
Gradually add the grated cheese while mixing, ensuring it is fully incorporated into the dough.
Step 6
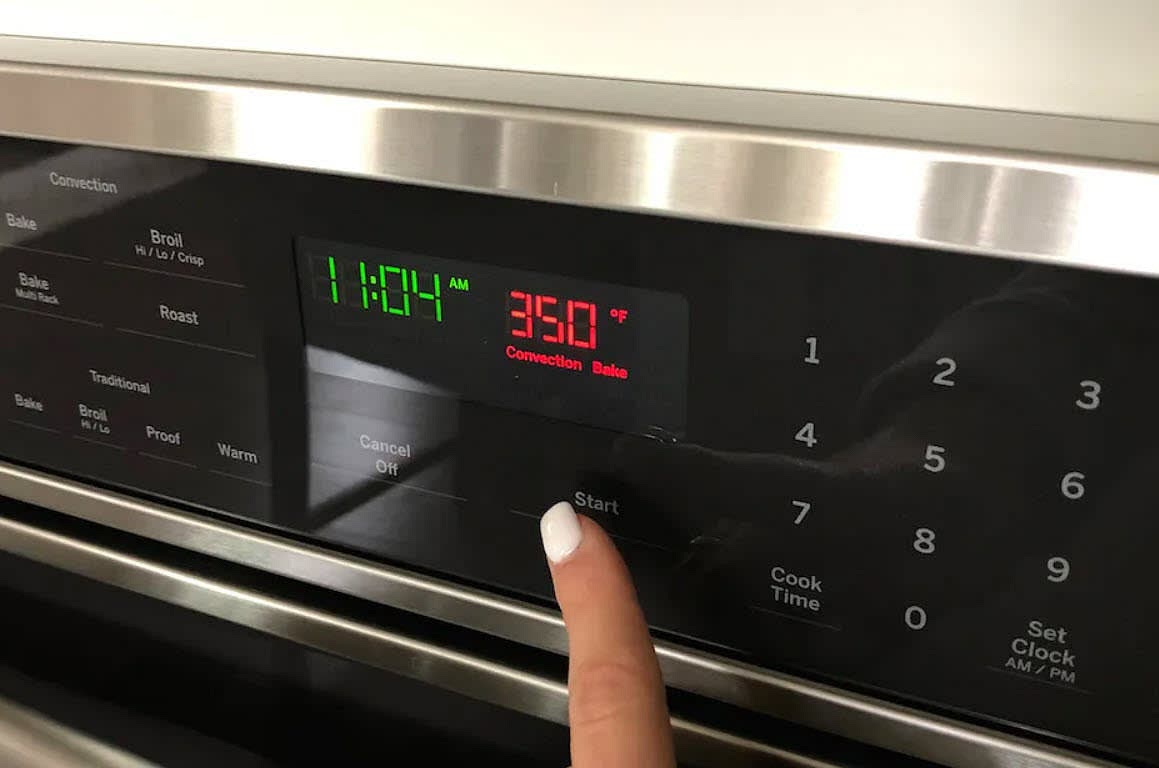
Preheat the oven to 350°F (180°C).
Step 7
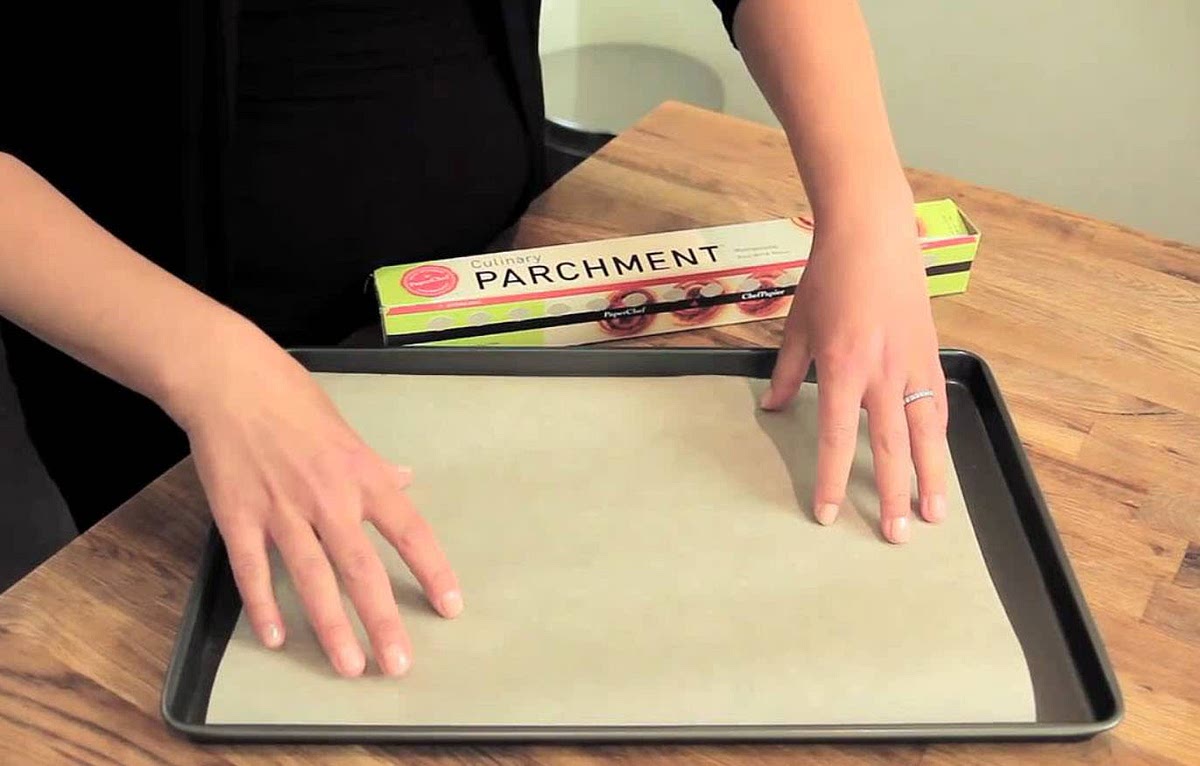
Prepare two large baking sheets with parchment paper.
Step 8
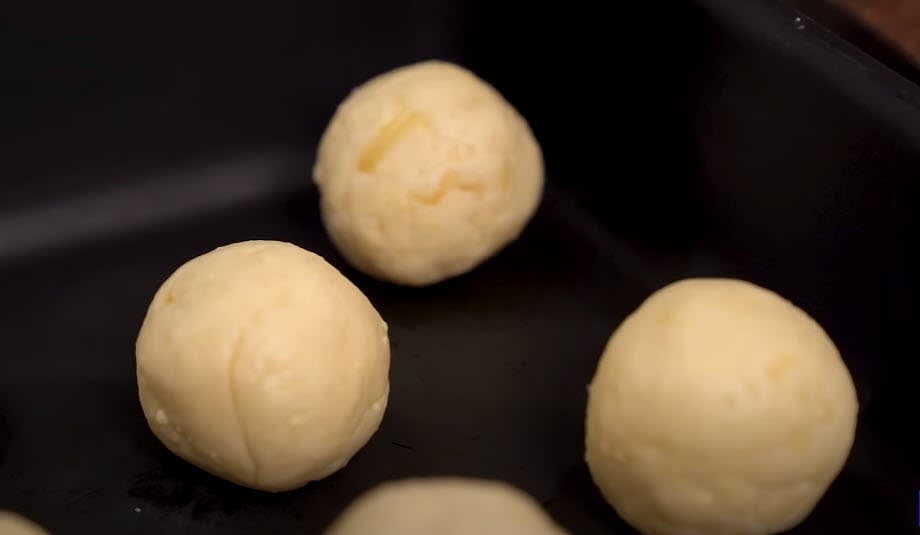
The dough is very sticky; to roll it into ping-pong ball-sized portions, grease your hands with oil or water.
Step 9

Place the balls on the baking sheet and bake for 25 to 35 minutes, or until golden.
Freezing and Storing Pão de Queijo
Step 10
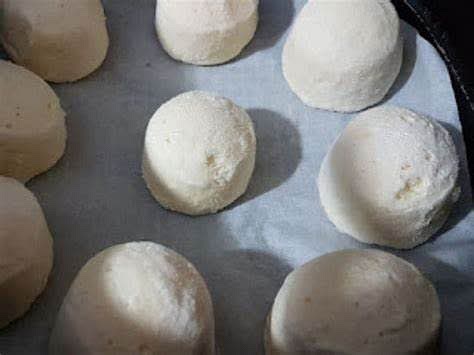
After rolling the cheese balls and placing them on the baking sheets, you can freeze them uncooked. They can be baked directly from the freezer to the oven. Once cooked, they will last for only a couple of days.
Notes
0 liked
0 disliked
There are no notes yet. Be the first to share your experience!