By Clare Andrews
Air Fryer Garlic Bread
5 steps
Prep:5minCook:6min
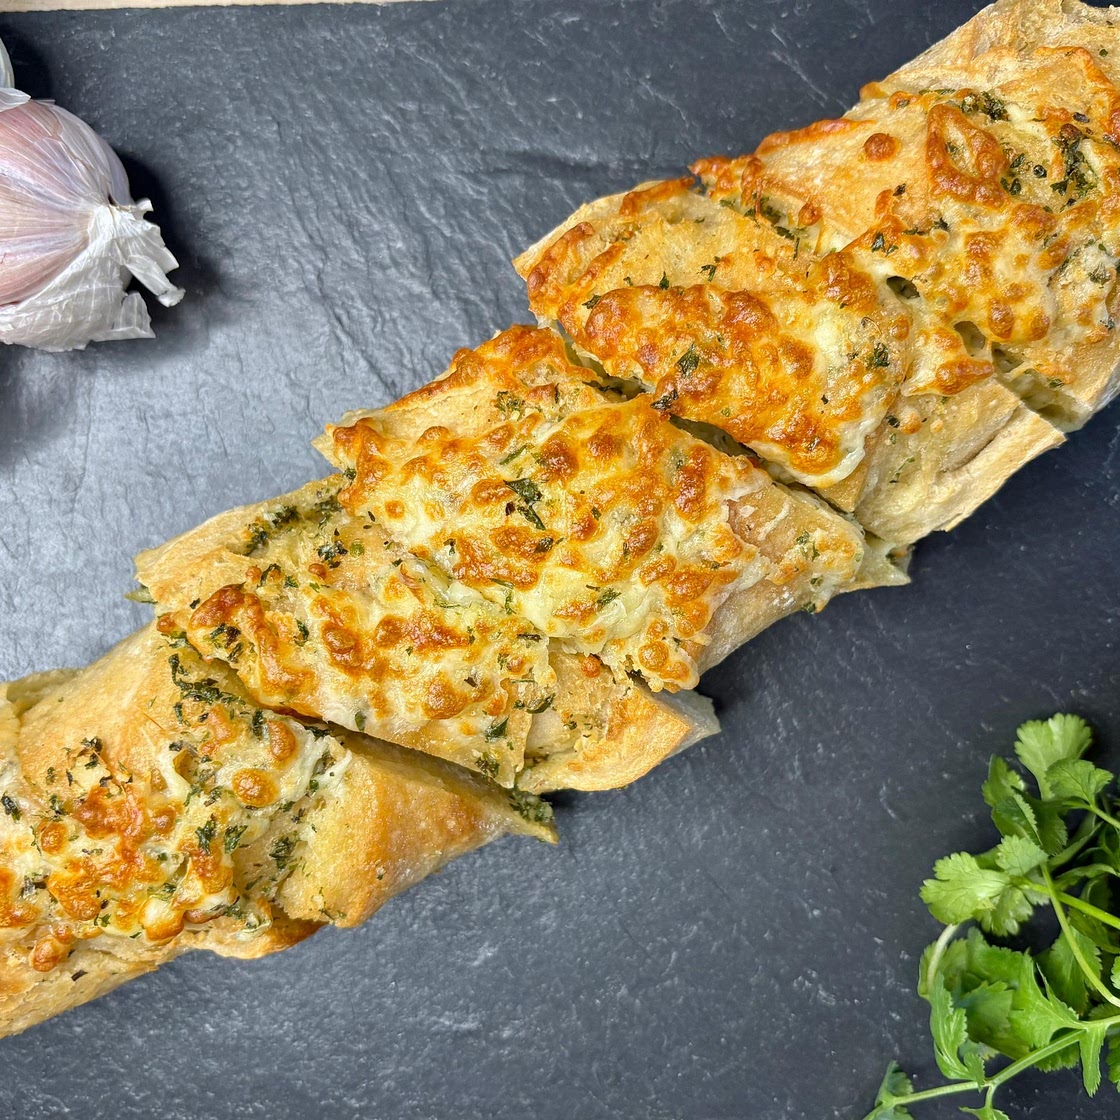
Learn how to make this softy, crispy, cheesy, buttery and delicious home made Garlic Bread in the air fryer. With just a handful of ingredients a ready in just a few minutes! Enjoy as a starter or as a side dish with your favourite pasta or soup.
Updated at: Sun, 02 Feb 2025 15:12:23 GMT
Nutrition balance score
Unbalanced
Glycemic Index
68
Moderate
Glycemic Load
46
High
Nutrition per serving
Calories806.6 kcal (40%)
Total Fat47.8 g (68%)
Carbs66.7 g (26%)
Sugars3 g (3%)
Protein19.9 g (40%)
Sodium1368.8 mg (68%)
Fiber2.3 g (8%)
% Daily Values based on a 2,000 calorie diet
Ingredients
2 servings
Instructions
Step 1
So start by softening your butter in the microwave for a few seconds. I used garlic and herb butter for convenience but you could make your own by mixing softened butter with garlic powder, dried herbs and salt in a bowl. Stir until everything is well combined.
Step 2
Then using a bread knife cut diagonally into your baguette three quarters of the way through and about 1 inch apart. If you prefer you can cut you bread into individual slices as thick or thin as you like. Place the loaf on a sheet of tin foil inside the air fryer basket. And add lots of grated mozzarella cheese in between each slice. Then generously spread the garlic butter mixture all over the bread.
Step 3
Set the air temperature to 190°C and cook for around 5 to 6 minutes, or until the bread is golden brown and crispy. Once done, carefully remove from the air fryer and serve warm.
Step 4
Enjoy your crispy, garlicky goodness! You can also add a sprinkle of grated Parmesan cheese on top for added flavour.
Step 5
Cook on 190c for around 6 to 8 minutes or until the bread is golden brown and the cheese has all melted.
View on airfryeruk.com
↑Support creators by visiting their site 😊
Notes
2 liked
0 disliked
There are no notes yet. Be the first to share your experience!
