By Chelsea LaPenta
Brined Friendsgiving turkey
10 steps
Prep:2hCook:5h
Steps to prepare, brine, dry & roast a most flavourful turkey.
(Note the whole process with dethawing can take up to 2 weeks depending on your turkey size & brine time. So planning ahead is critical.)
Tools & items I use in this recipe & recommend having ready include;
a large food safe 5 gallon bucket w/lid.
A 2 probe thermometer (preferably with a wireless receiver, so you can walk away).
A large turkey roasting pan.
A large pot for brine (1-2 gallons recomended).
Kitchen shears.
A mesh strainer.
Aluminum foil.
Paper towels.
Updated at: Sun, 23 Nov 2025 17:20:19 GMT
Nutrition balance score
Unbalanced
Glycemic Index
57
Moderate
Glycemic Load
6
Low
Nutrition per serving
Calories757 kcal (38%)
Total Fat40.9 g (58%)
Carbs10.2 g (4%)
Sugars8.6 g (10%)
Protein82.8 g (166%)
Sodium3537.2 mg (177%)
Fiber0.2 g (1%)
% Daily Values based on a 2,000 calorie diet
Ingredients
20 servings
20 lbWhole frozen turkey
Large
2 gallonswater
5 ozcanning salt
6 ozbrown sugar
¼ cupWorcestershire sauce
1 Tbspground black pepper
2 clovesgarlic
crushed or split
Lemon grass
fresh or paste
fresh rosemary
fresh thyme
sage
canning salt
to dry
2 CupsUnsalted butter
softened@room temperature
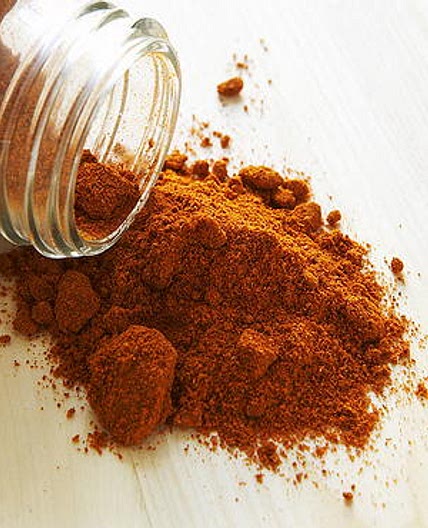
Seasonings
for butter, Black pepper powder, italian seasoning, chicken boullion
garlic
Instructions
Step 1
Dethaw turkey.
If your turkey is frozen, it needs to be dethawed before the brine.
We do this by placing the wrapped, frozen turkey in the refrigerator for about a week (time varies with the size of your turkey, we generally work with a 20-25lb bird).
Step 2
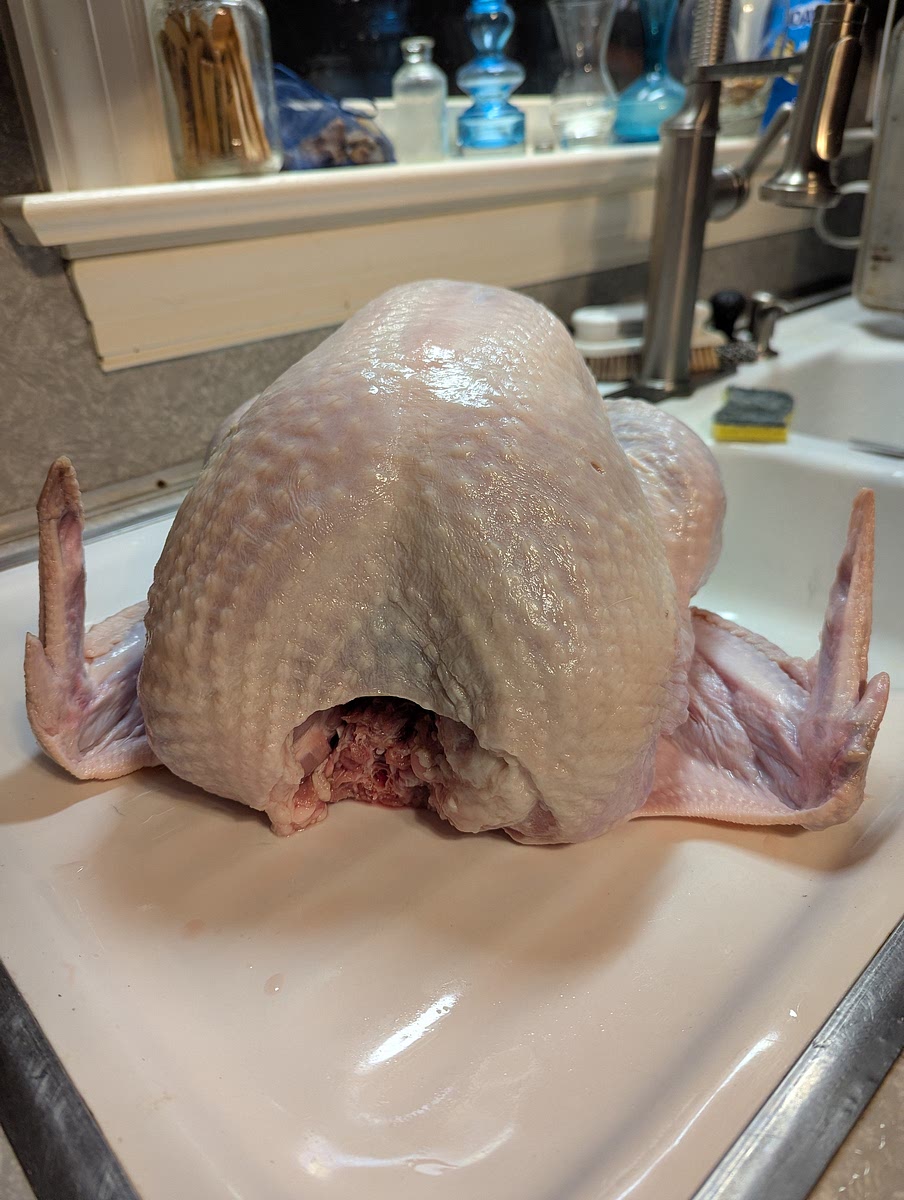
Prepping the bird.
After the turkey is dethawed, it should be unwrapped & cleaned.
This includes removing the neck, organs & "giblets" from the cavity of the turkey. Then using kitchen shears, trim off the excess skin & fat around the neck cavity (you don't want to remove too much & expose breast meat). Then pat dry with paper towels & place in a good clean 5 gallon bucket with the top of the breast facing down in the bucket (This is important, to make sure the breast meat is fully submerged in brine).
Step 3
Prepare the Brine.
(For reference you can use any brine recipe you like or cater the seasonings to your style, but I will be describing our typical garlic & herb seasoning)
Making the brine starts by heating a large pot of water to dissolve any salts & sugars, then adding your desired, herbs spices & seasonings.
Then turning off the heat & allowing it to cool (this is important so you don't shock your turkey by pouring nearly boiling brine over it).
You can also cool the brine by adding more cool water to increase the volume. Once the brine is ready & cooled (just a nice room temperature), pour the brine into the turkey bucket & add cold water until the turkey is completely submerged. (Note, it is important to use canning or kosher salt. Using basic table salt will result in an overly salty taste & texture.)
Step 4
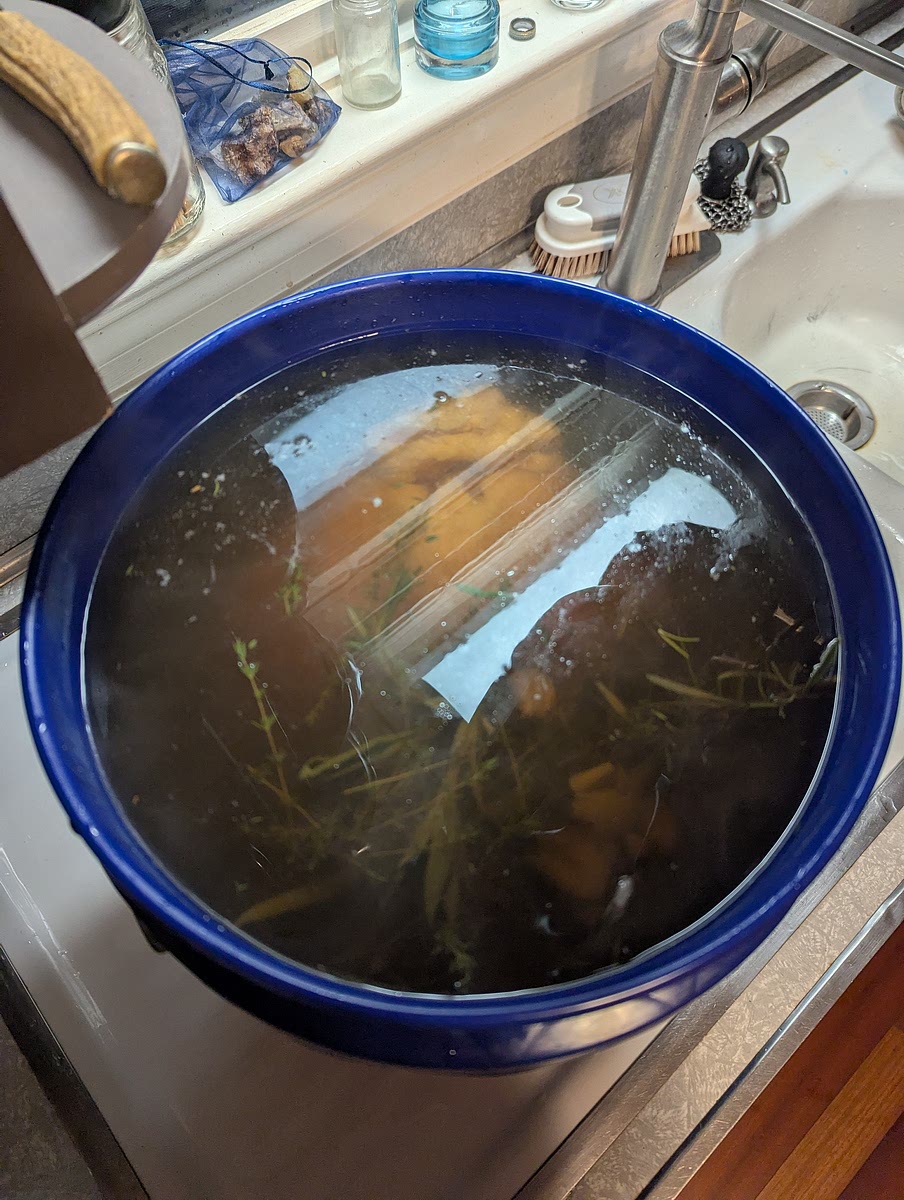
Brining the turkey.
Once the turkey is fully submerged in the bucket, you may seal the bucket with its lid & place the bucket in the refrigerator for 2-5 days.
(You can do shorter times of even as little as 12 hours & have noticable results, but I really recommend waiting at least 2 days to get the full flavor).
Step 5
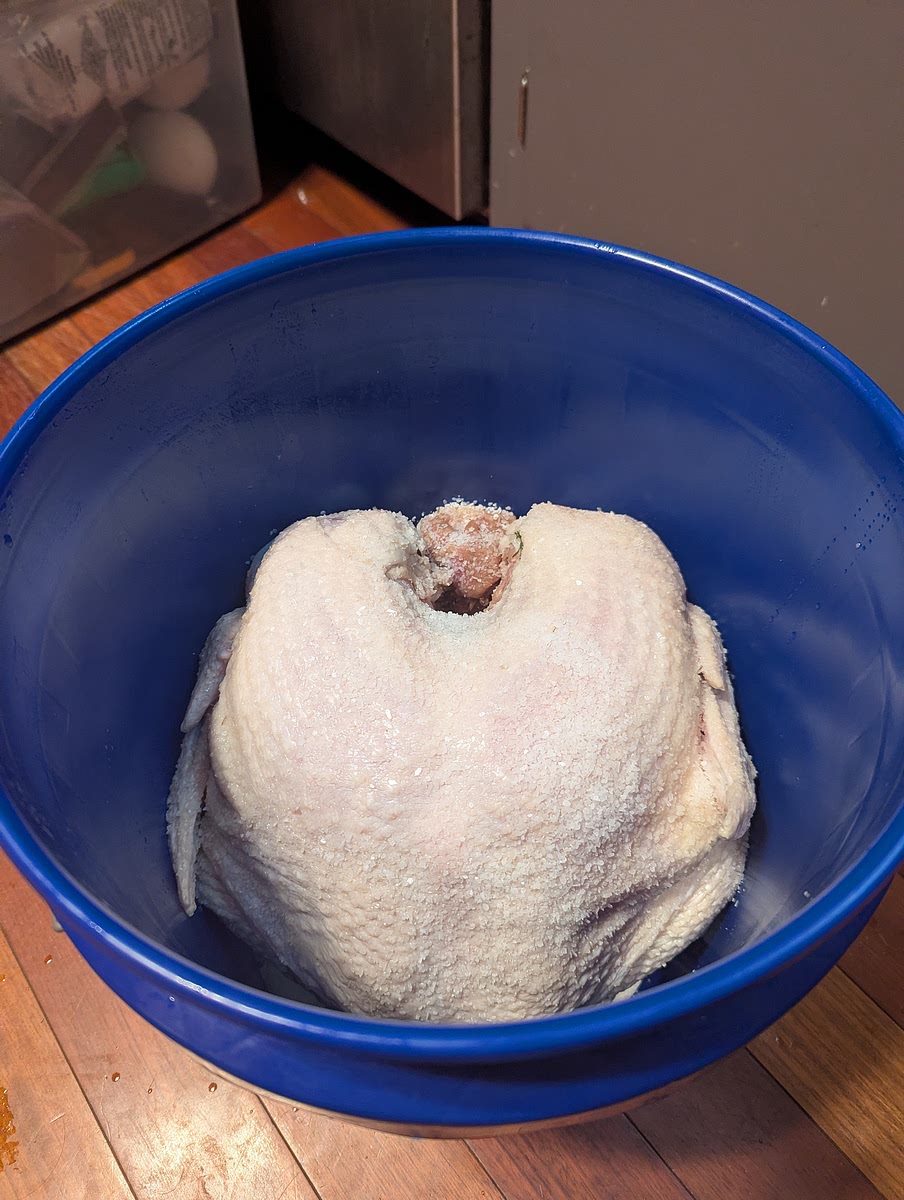
Drying the turkey.
Once the turkey has soaked to your liking (also aligned to be the day before you are cooking your turkey), you will remove it from the bucket & discard the brine (we pour ours through a mesh strainer to save the herbs & garlic with which to stuff the turkey cavity & provide extra aromatics during roasting) & clean out your bucket for the next step. You may then rinse the bird clean & pat dry with paper towels.
Once the bucket & bird are dry, line the bottom of the bucket with a few layers of paper towels, then place the bird back in the bucket, upright, with its breast open to the air.
Then sprinkle more canning salt, liberally over the turkey, reseal & replace the bucket in the fridge for the next day. (It's important that the skin dries out to ensure it crisps properly when roasting).
This is also a good time to take out your butter & allow it to soften.
Step 6
Preparing the turkey for the oven.
Firstly when the turkey comes out of its dry salt bath, start preheating the oven to 500° Fahrenheit, then remove & discard the paper towels & clean the bucket.
Then brush off any excess salt with paper towels & place the bird on a clean work surface & take it's legs temporarily out of its plastic stirrups.
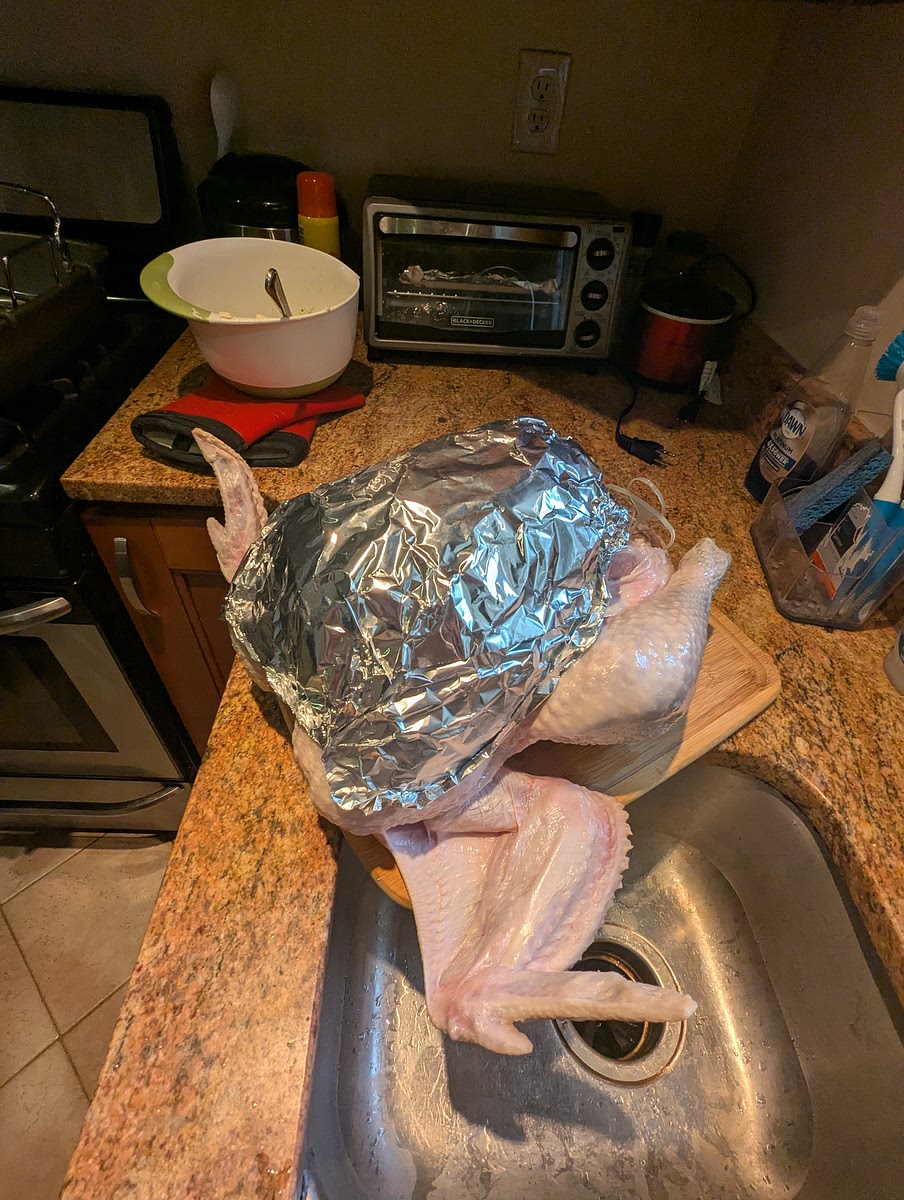
You will then have to break all of the skin on the turkey, free of the meat. We do this by putting a hand under the skin (from the exposed neck cavity) & working around until all of the breast & thigh skin is loosened. (This is important for the next step of buttering the turkey) Also at this time, I like to shape the aluminum foil breast plate for the second phase of roasting.
To do this I take about a 2 foot piece of heavy duty aluminum foil & fold it in half with a slight angle, almost to form a V or heart. Then shape it over the breast of the turkey (with the split of the V going over the top of the breast & the fold at the bottom).
I then fold & crinkle the edges back until it is fully formed.
The goal being to cover all of the breast meat, but not the thigh) as the plate will go on after the first phase of roasting to reflect heat from the breast & allow the white meats to cook slower than that of the legs/thighs. I then remove the plate to be applied later.
Step 7
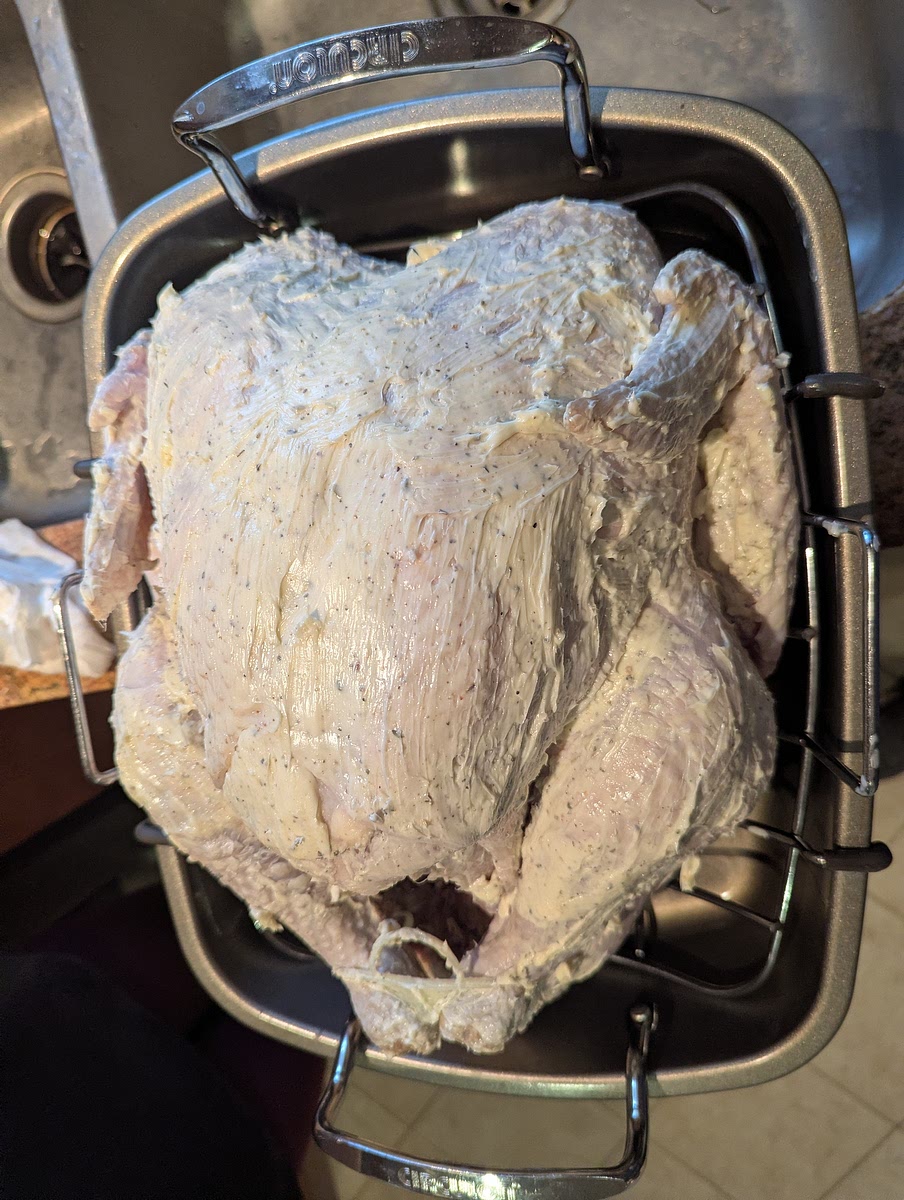
Buttering the turkey. (An optional, but highly recommended step)
At this point you should have your butter softened at room temperature. Mix the butter & seasonings together to make a soft compound butter.
You can then apply the butter to the entire bird. Starting under the skin & working the butter around until it is fairly evenly underneath, then coating the outside of the bird in what remains of the butter. After this you may stuff any aromatics back into the cavity & place the bird on a large turkey roasting pan to go into the oven.
(You may also choose to stuff the bird with another stuffing, though personally I find fully stuffing the bird makes it take longer to get the proper internal temp & causes the meat to often become overcooked).
Step 8
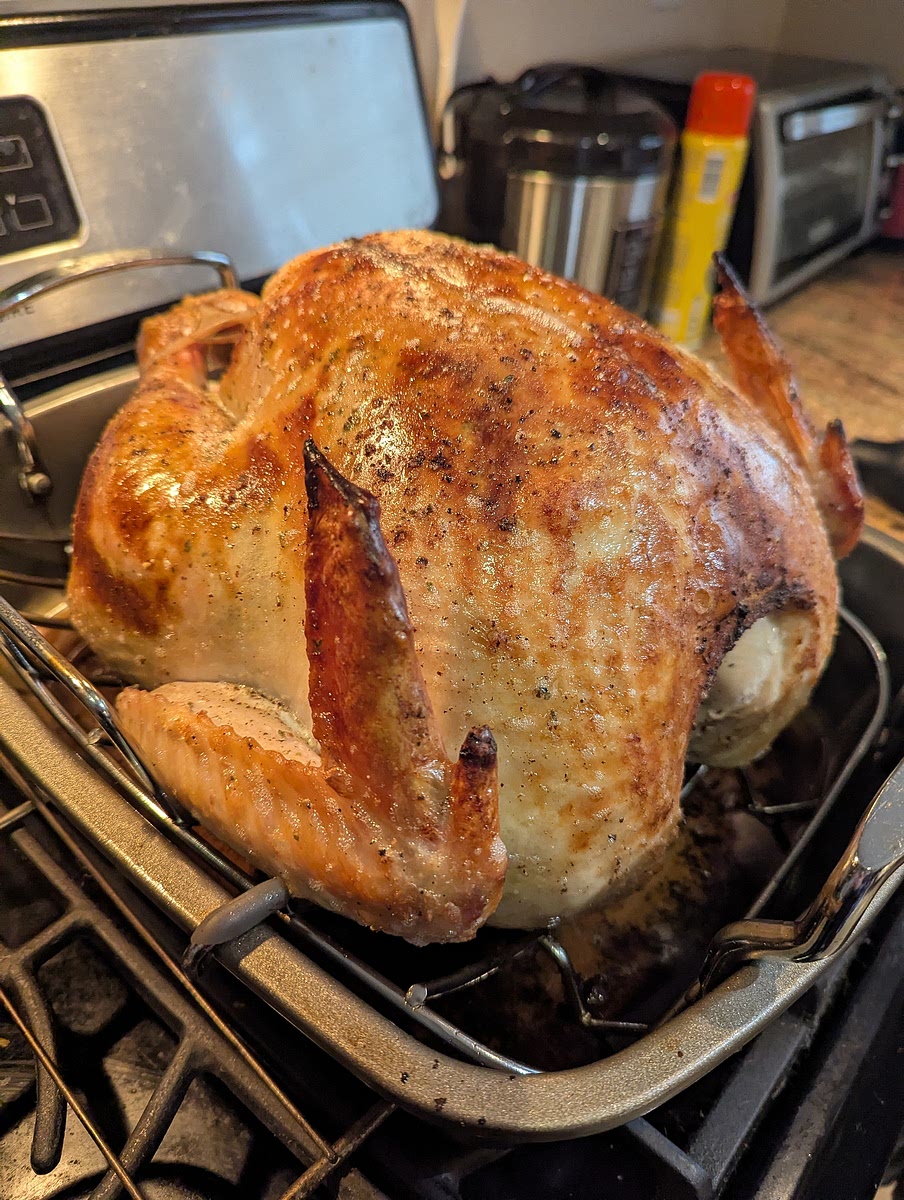
First phase of roasting.
With the oven preheated to 500° & the bird ready in its roasting pan (breast up & with its legs placed back in its plastic stirrups), you can now slide the bird into the oven (the top of the breast should always go deepest in the oven).
Where it will roast for about 30 minutes (or until the breast skin is well crisped. This may take a few extra minutes).
Step 9
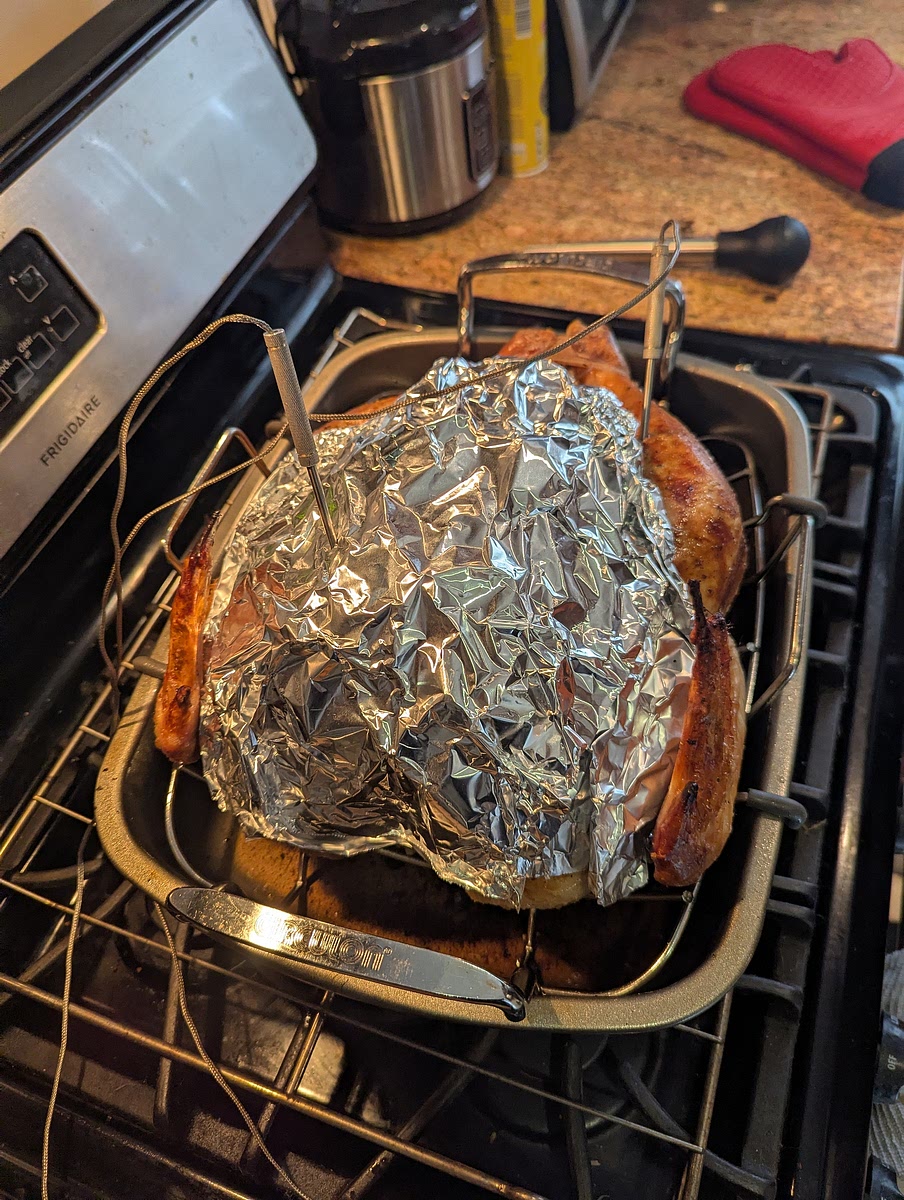
Phase 2 of roasting.
At this point when your skin is crisped to your liking, take the turkey out of the oven & reduce the temperature to 330.
You will then apply the breast plate back onto the turkey.
Also of note, the desired internal temperatures for the breast & thigh differ, with the breast goal being 157 for the breast & 175 for the thigh.
The breast plate helps slow the heating of the breast & allow for that temperature differential.
I also highly recommend using 2 thermo probes. One through the breast plate into the deepest part of the high breast, & one in the deepest part of the inner thigh. Being sure not to be contacting bone (these may need to be replaced as cooking goes on & you notice temperatures aren't moving the way you think they should. Often because of improper probe placement.)
Then place the bird back in the oven & allow to cook for 2-5 hours (depending on bird size), but the temperatures on the probes are what properly tell you when it is done.
Again. The breast should reach an internal temperature of 157, & the thigh should read 175. (Some choose to baste or coat the turkey during this time, but we find it unnecessary as it should have plenty of flavor & moisture as is & can make the skin too salty, or not crisp evenly.)
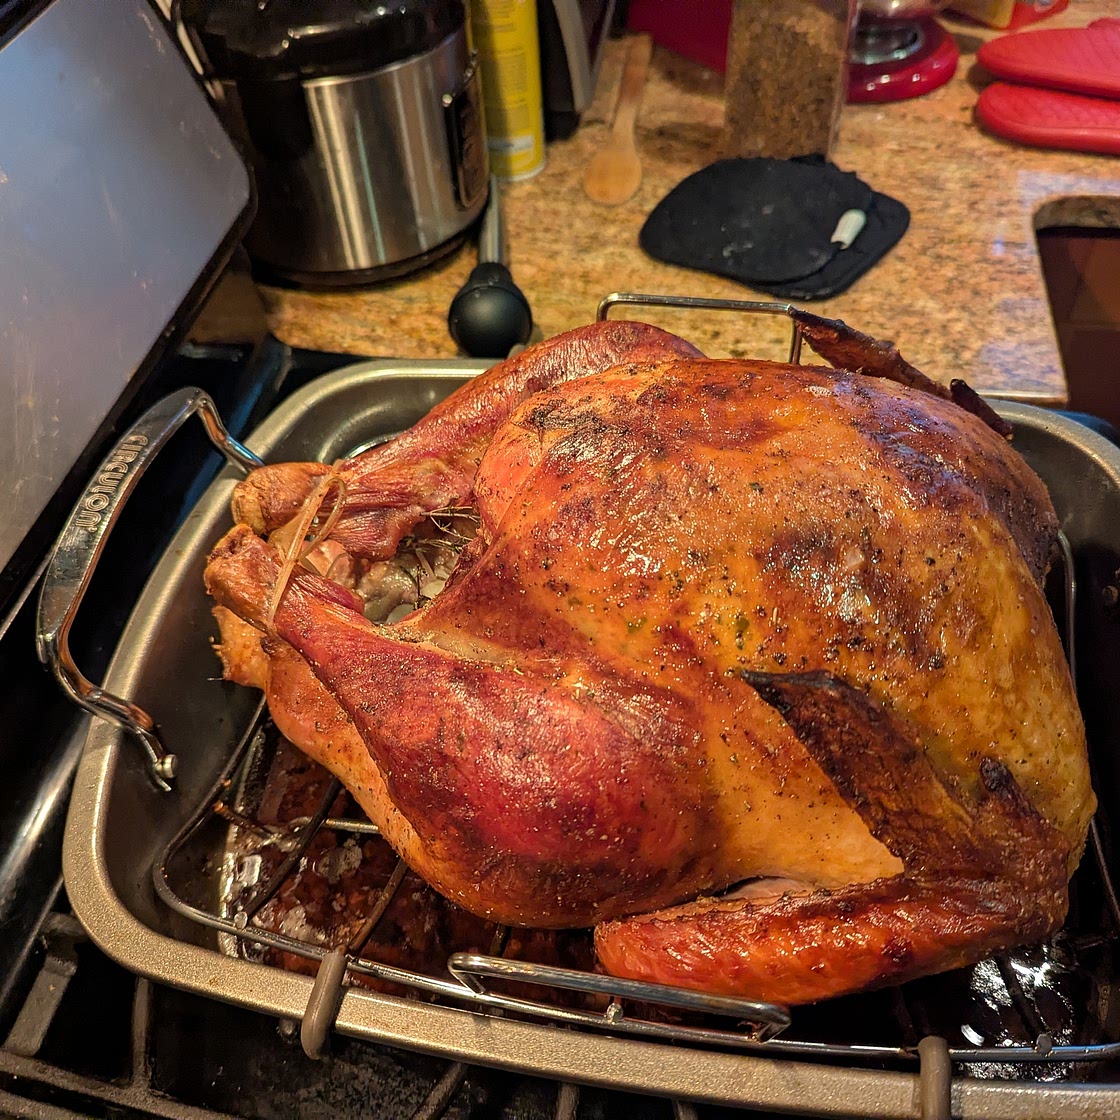
Step 10
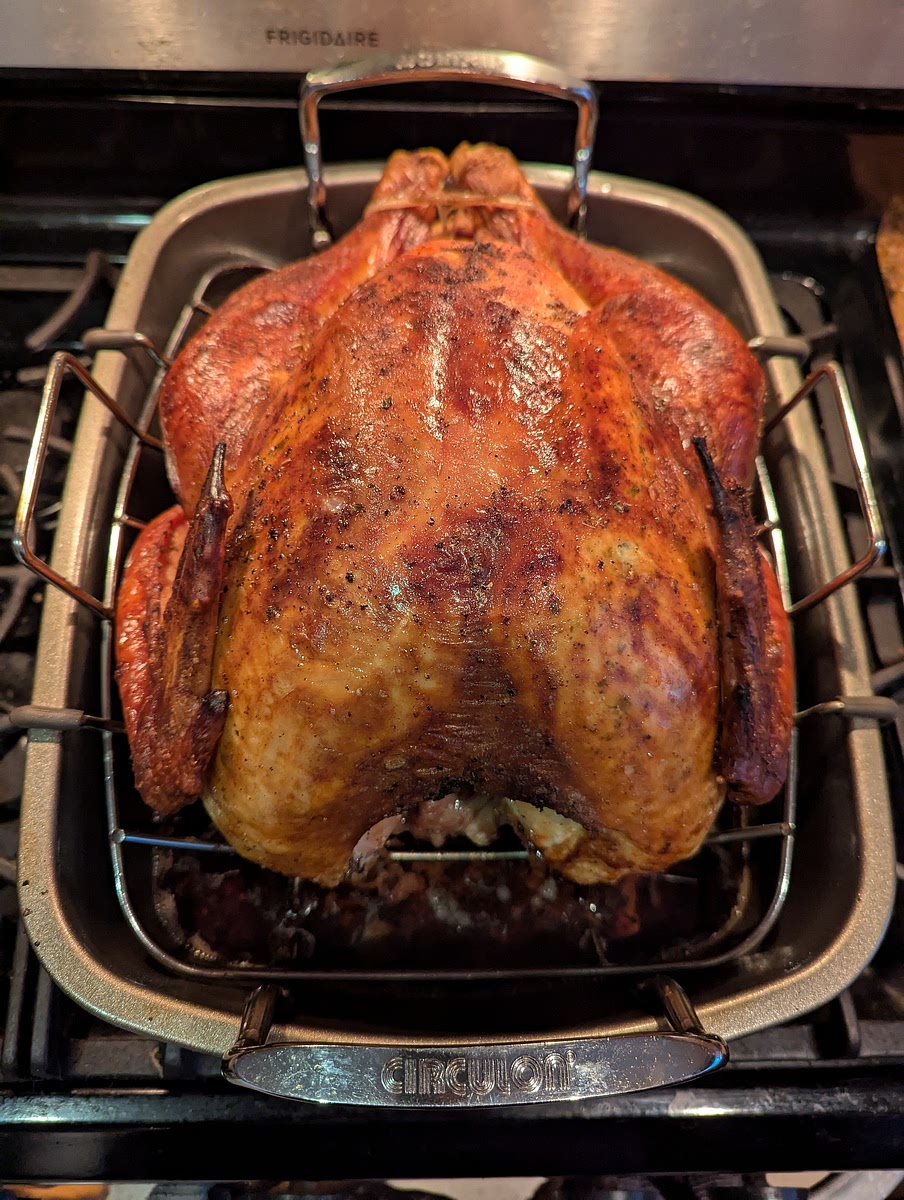
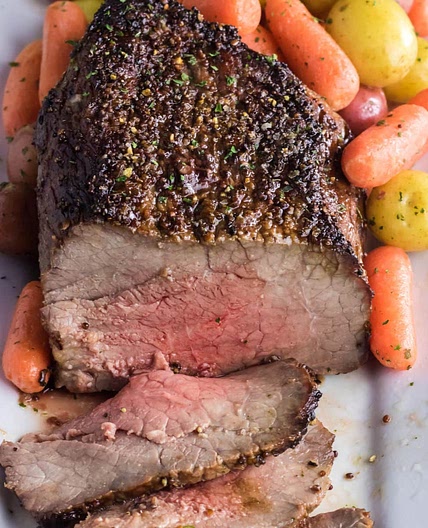
Resting & serving.
Once the turkey is at the proper internal temperatures (or a degree below), you may remove it from the oven & allow it to rest on top for 20-40 minutes before, breaking it down to serve how ever you see fit. (Although it doesn't need to be covered, I recommend loosely covering the turkey with foil, just to prevent anything from getting on the turkey while it rests & to deter passersby from picking all the skin off it, before It is ready to serve. & There you have it. One beautifully roasted turkey for your lover ones to enjoy.
Notes
1 liked
0 disliked
There are no notes yet. Be the first to share your experience!