By That Introverted Werido
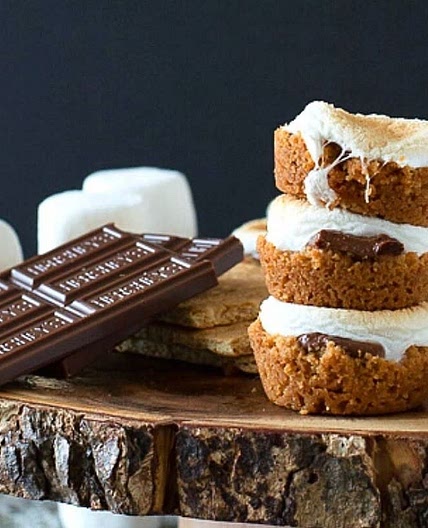
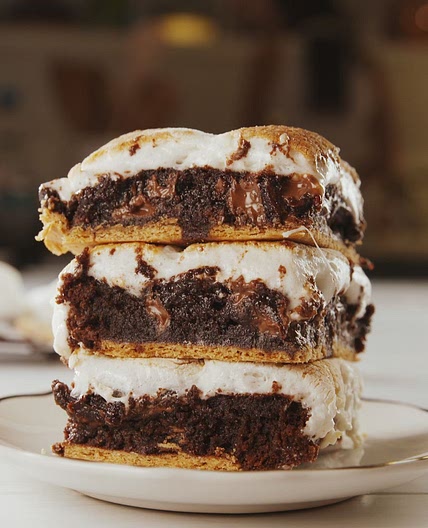
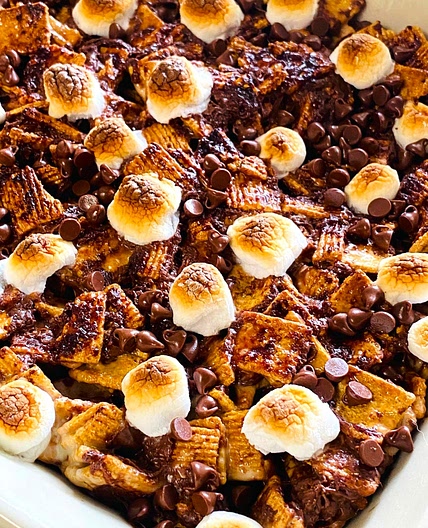
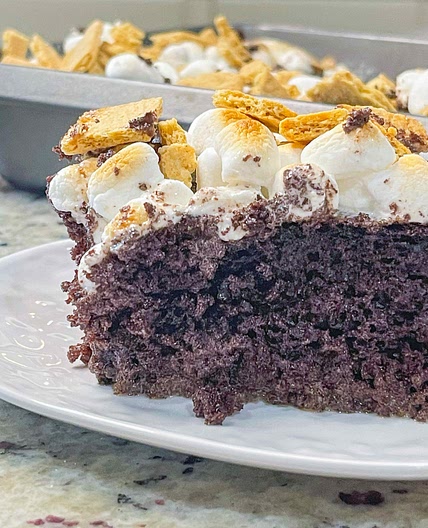
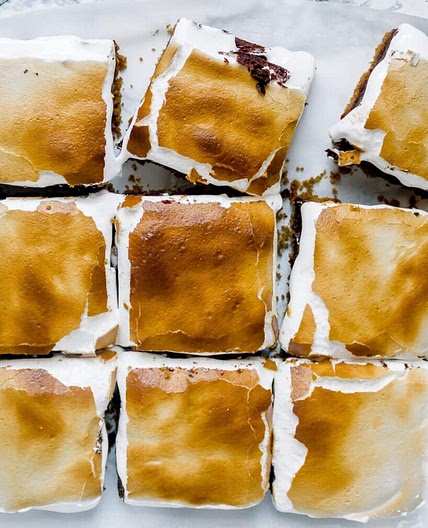
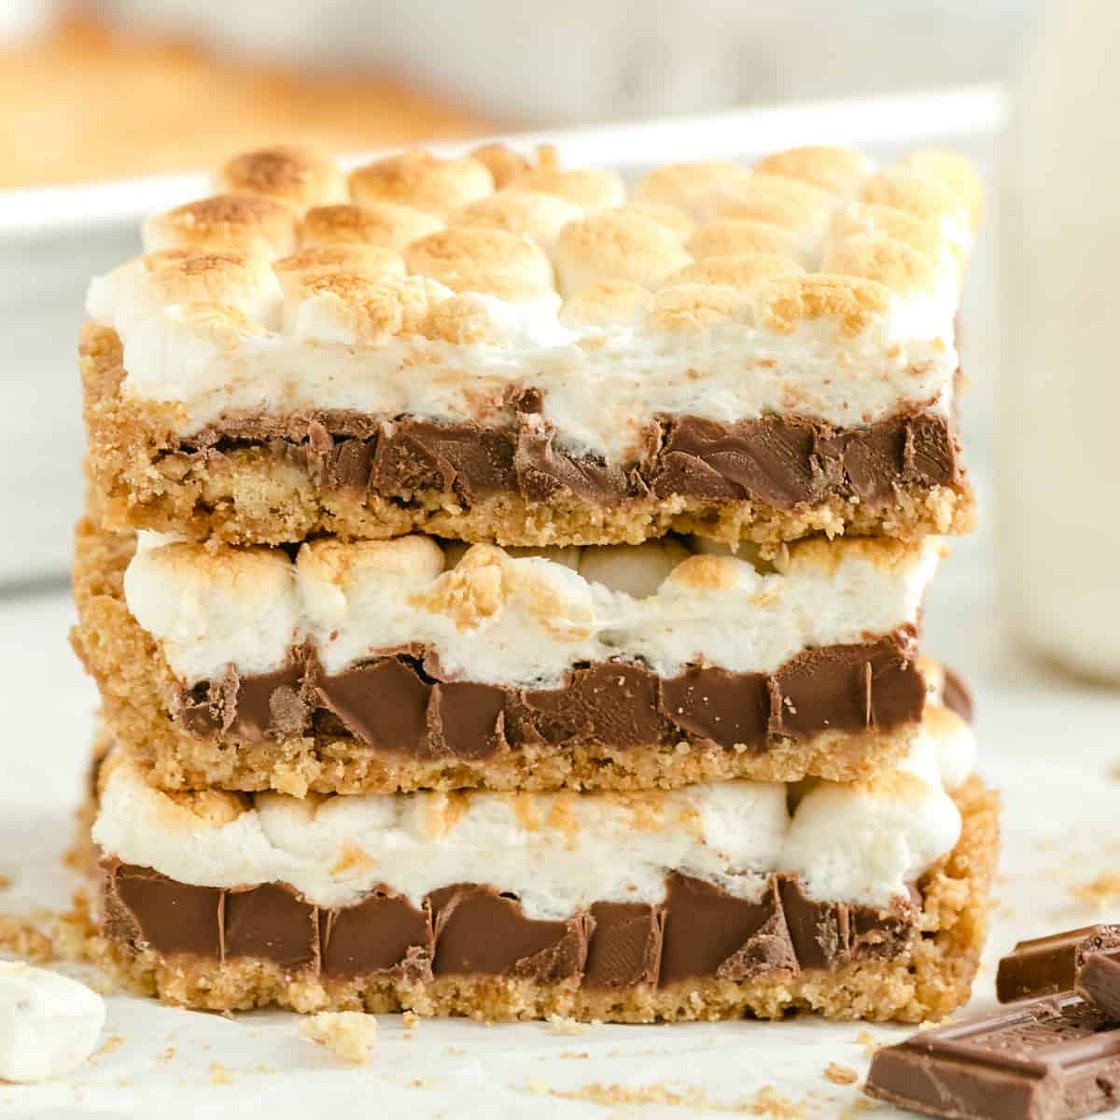
S'mores Bars
19 steps
Prep:10minCook:15min
S'mores Bars are the deliciousness of a s'more but the can be enjoyed all year round. The ooey gooey chocolate on a graham cracker crust and warm toasted marshmallow will give you a taste of your favorite summer dessert all year round!
Updated at: Thu, 17 Aug 2023 04:42:28 GMT
Nutrition balance score
Unbalanced
Glycemic Index
63
Moderate
Glycemic Load
18
Moderate
Nutrition per serving
Calories180.6 kcal (9%)
Total Fat7.3 g (10%)
Carbs28.5 g (11%)
Sugars17.1 g (19%)
Protein1.2 g (2%)
Sodium98.5 mg (5%)
Fiber0.4 g (1%)
% Daily Values based on a 2,000 calorie diet
Ingredients
16 servings
Instructions
Step 1
Preheat oven to 350 degrees.
Step 2
Grease 9×13 pan with non-stick butter spray.
Step 3
In a medium size bowl mix graham cracker crumbs, powdered sugar and butter with a spoon (see note below regarding the melted butter and the crust).
Step 4
Place mixture in the bottom of the baking pan. Distribute the mixture evenly and press down and firmly with your fingers to "pack it" along the bottom and sides of the pan.
Step 5
Place in oven and bake for approx. 5-8 minutes (just until sides begin to get a bit golden brown) NOTE: Crust will harden as it cools.
Step 6
Remove from oven and let cool.
Step 7
Lay the Hershey bars on top of the graham cracker mixture – covering up all of the graham cracker as completely as possible.
Step 8
Place in oven for approx. 3 minutes (until chocolate just begins to melt and gets shiny)
Step 9
Let cool for 1-2 min.
Step 10
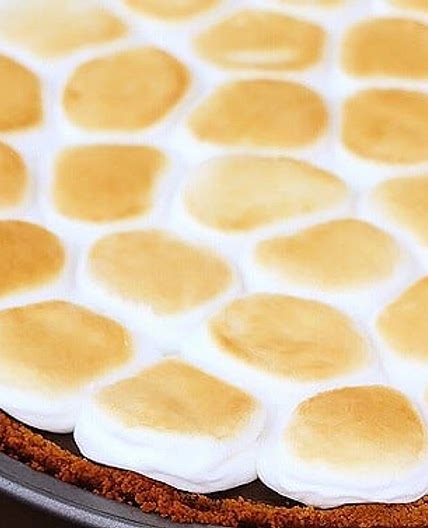
Place marshmallows on top of the chocolate – pack them in their closely next to each other.
Step 11
Turn oven to "broil" – put pan into oven and STARE at them! They only need to be in there for about 2 minutes. BUT, every oven is different! Watch them like a hawk or they will burn and set on fire (I am not kidding here – learn from my experience!!) As soon as they begin to brown, take them out of the oven.
Step 12
Let them cool completely (after they initially cooled, I place them in the refrigerator to set even more – this will make them easier to cut)
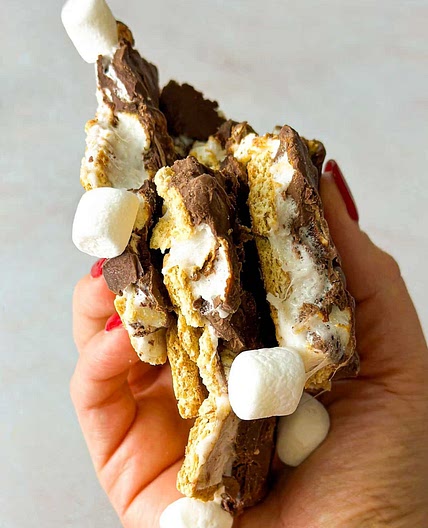
Step 13
Cut and serve – (tip: they can get really sticky to cut, warm a sharp knife under hot water, dry it off and immediately slice them – you may want to repeat this if the knife starts to get sticky!)
Notes
Step 14
Note on crust: When adding the melted butter to the crust, some people find that there is too much butter and it pools in the mixture. My recommendation is to slowly add the butter and mix it in a little at a time until your mixture looks like the picture in the post above.
Step 15
If it does not look like the photo below and you are finding your butter is pooling or it is too wet, you should add some additional graham cracker crumbs and powdered sugar to achieve the consistency as pictured.
Step 16
The graham crackers that you use absorb differently and this will determine how much butter you will want to add. You want the mixture to be moist, but not wet.
Step 17
The butter should not pool, but the mixture should stick together when you press it into the pan for the crust
Step 18
Before cutting them, put them in the refrigerator for a few minutes.
Step 19
The marshmallows can get very sticky and can make it difficult to cut, but this, paired with a sharp, warm knife (run it under warm/hot water and dry it off) will make them easier to cut.
View on princesspinkygirl.com
↑Support creators by visiting their site 😊
Notes
1 liked
0 disliked
There are no notes yet. Be the first to share your experience!