By Jiexi C
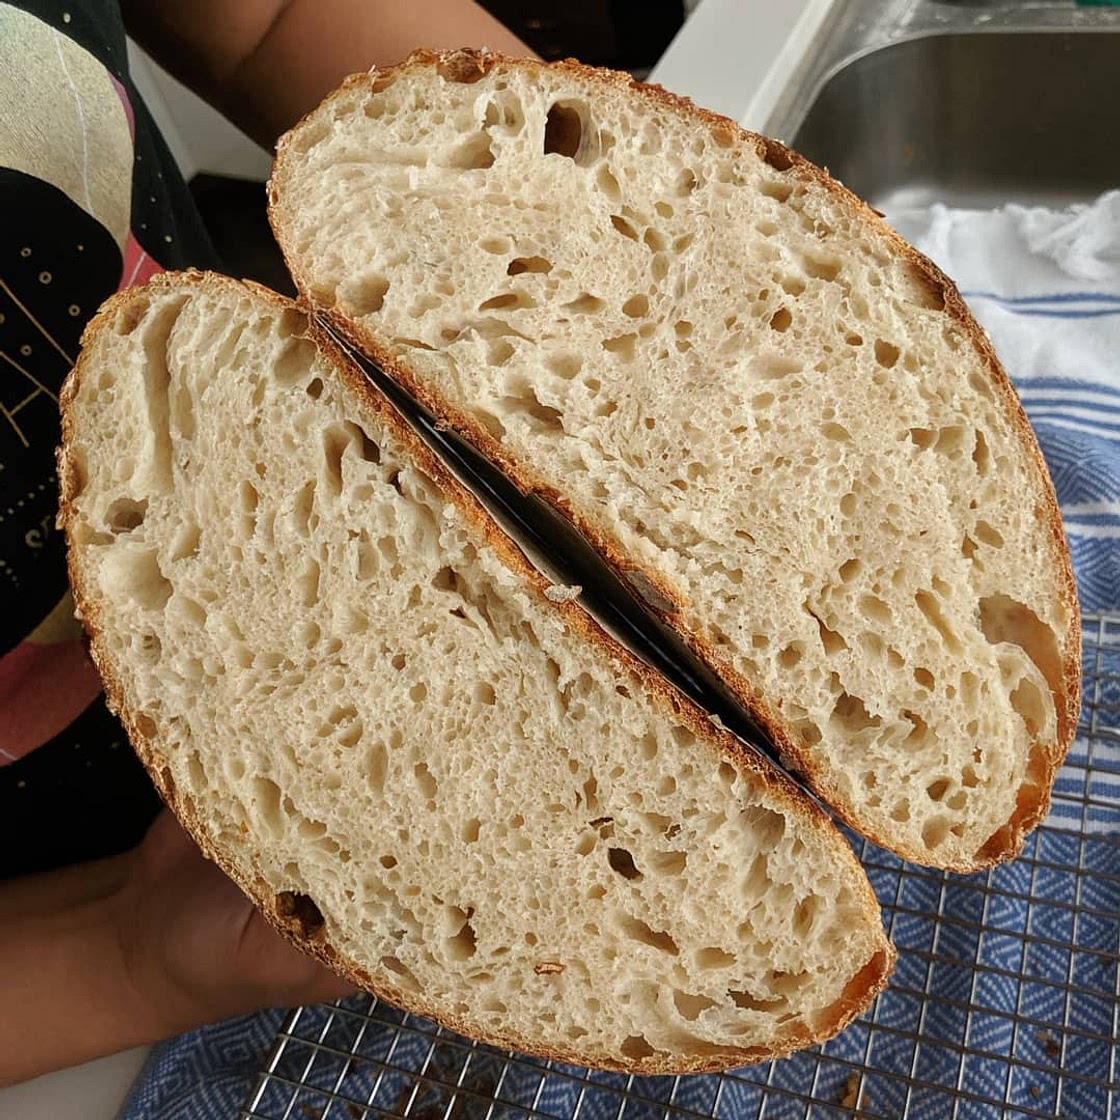
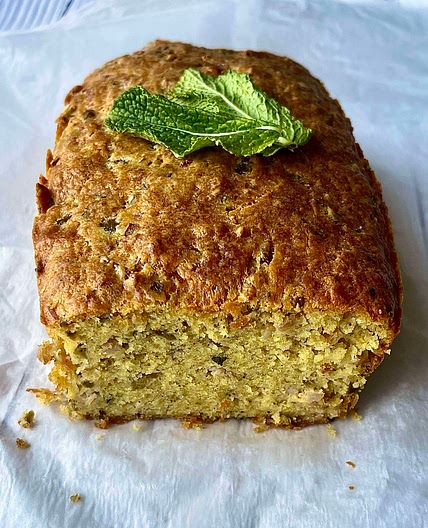
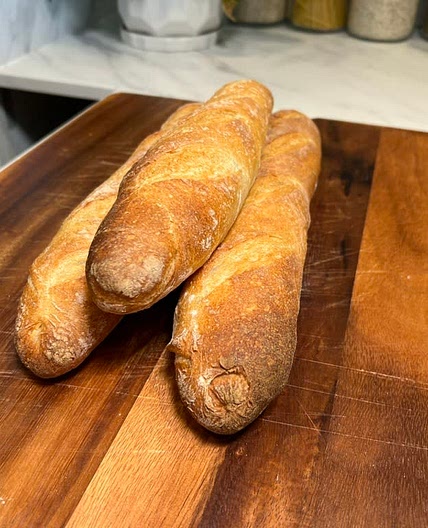
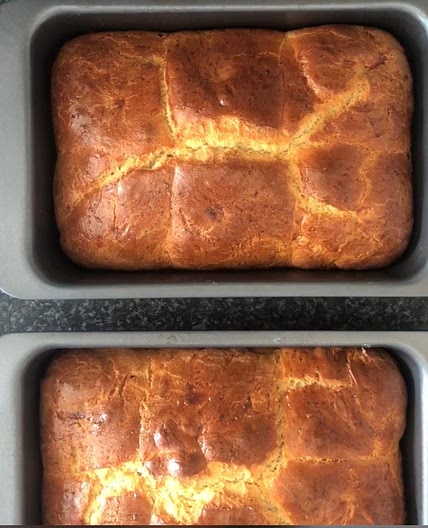
Alex the French Guy's Sourdough Bread
16 steps
Prep:8hCook:1h
This is a simple sourdough with 71.4% hydration. It can be easily halved, just maintain the ratio of 1 part starter, 2 part water, 3 part flour. Or divided into two loaves during shaping phase. The two loaves can be baked at the same day or the second loaf can be delayed in the fridge for another day or two for least effort, maximum bread.
Updated at: Thu, 17 Aug 2023 12:32:30 GMT
Nutrition balance score
Good
Glycemic Index
71
High
Glycemic Load
96
High
Nutrition per serving
Calories691.4 kcal (35%)
Total Fat3.4 g (5%)
Carbs134.8 g (52%)
Sugars1 g (1%)
Protein24 g (48%)
Sodium1165.7 mg (58%)
Fiber10.6 g (38%)
% Daily Values based on a 2,000 calorie diet
Instructions
(Night Before) Prepare Starter
Step 1
Take 112g (~about a cup, or more) refrigerated starter and combine with equal parts water and flour. Let it rest in an airtight container overnight.
Step 2
Tip: Usually if you bake once a week, it's a good time to feed the ongoing starter around this time. After removing the 200g of active starter from this mixture the next day for this recipe, you should be left with ~100g. You can feed it again and let rise before putting it back into the fridge or for a less wasteful method, just put the ~100g back and start with that the next time.
(Day 1) Prepare Dough
Step 3
0:00:00 - Mix starter, water, and bread flour in a large bowl. Mix thoroughly. (I like to use a flexible dough scraper or a wooden spatula). Cover tightly for 30 mins to 1 hour.
Step 4
0:30:00 - Add 12 g of salt + tiny splash of water (to help dissolve salt). Mix.
Step 5
Then, move the dough onto a clean, non-porous surface (no flour needed). Knead the dough using a slap and roll forward technique.
Step 6
This will usually take about 8-10 mins, but do a windowpane test to see the gluten development. I try to do one at the beginning to know what it starts out like, then test it every couple minutes to observe the gluten development.
(Day 1) Bulk Proof
Step 7
Proof for 4 hours.
(Day 1) Shape
Step 8
4:30:00 - Move it onto a clean surface again and sprinkle lightly with flour. Fold all four sides in like an envelope. Let it rest for 30 minutes.
Step 9
5:00:00 - Turn it over, so seam side up and fold sides in again like an envelope. Roll it into itself. Push the dough in all directions to build surface tension.
Step 10
Cover a bowl with towel and dust liberally with flour. Flip the dough into the bowl with seam side up and put in fridge.
(Day 2) Bake
Step 11
0:00:00 - Take the bowl out 2 hours before baking. (Optional: Prep parchment paper for dutch oven. This makes it easier to place and remove from dutch oven.)
Step 12
1:30:00 - Heat the dutch oven at 480F for 30 minutes or until hot.
Step 13
2:00:00 - Place dough on paper (from plate) and score at a low angle so it is allowed to expand upward.
Step 14
Lower temperature to 430F and bake with lid on for 25 minutes.
Step 15
2:25:00 - Then remove lid and bake for another 25 minutes.
Step 16
2:50:00 - (Optional) If the color is not brown enough to your liking or you just want more caramelization, remove bread from dutch oven and put it back in the oven with the temperature off and oven door cracked open for about 5-10 minutes.
Notes
1 liked
0 disliked
There are no notes yet. Be the first to share your experience!
