Nutrition balance score
Unbalanced
Glycemic Index
55
Low
Glycemic Load
4
Low
Nutrition per serving
Calories30.2 kcal (2%)
Total Fat0.1 g (0%)
Carbs7.7 g (3%)
Sugars6.7 g (7%)
Protein0.2 g (0%)
Sodium0.4 mg (0%)
Fiber0.5 g (2%)
% Daily Values based on a 2,000 calorie diet
Ingredients
40 servings
Instructions
Step 1
Place two small ceramic plates in the freezer so we can use these to test the jam later. Alternatively, you can use a candy thermometer to check the doneness of the jam.
Step 2
Check the berries and remove any bad, discolored, or bruised ones. Give them a quick wash and drain in a colander. Chop large berries like strawberries to make them similar in size.
Step 3
Pro tip - Soft berries can be used but discolored and bruised ones will ruin the jam. Also, don't soak berries in water for too long as they do soak up moisture.
Step 4
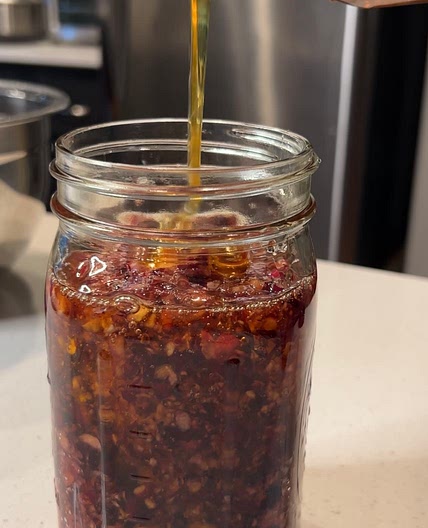
In a heavy bottom pan, combine the berries, sugar, salt, and lemon juice.
Step 5
Pro tip - If you are using frozen berries, let the berries macerate in sugar and lemon juice for a few hours before cooking. This softens the berry skin considerably.
Step 6
Cook on medium heat until the sugar is dissolved. Then, turn the heat up and let the mixture come to a boil. Let it boil for two minutes on medium-high.
Step 7
Pro tip - Boiling the jam is important as it releases pectin from the skin and seed in fruits.
Step 8
Then, turn the heat to medium-low. The jam should still be simmering but at a low simmer, not bubbling. Use a vegetable masher to mash the fruit – so you have a smoother jam-like consistency.
Step 9
Pro tip - Mashing the fruit is optional, as the fruit will break down into smaller chunks similar to preserve as it cooks. However, mashing will give smoother consistency like jam.
Step 10
Continue to simmer for about 20 to 30 minutes more stirring often so it does not stick to the bottom of the pan. The jam will continue to thicken as well as deepen in color as it cooks.
Step 11
Pro tip - The cooking time will depend on the quantity of the jam as well as the heat applied to it. It's ok to cook a little longer but there must be a simmer for the fruit to release pectin.
Step 12
Testing the jam
Step 13
Remove one of the ceramic plates from the freezer. Place a teaspoon of jam on the cold plate.
Step 14
Pro tip - The cold plate will help cool the jam almost instantly and give you a good indication if the jam is ready.
Step 15
Set aside for 2 to 3 minutes. Then, test with your finger. Simply move/push the jam with your finger. If it wrinkles/crinkles it means the jam is ready. And if not, let the jam cook a couple of minutes more and test again.
Step 16
Pro tip - You may need to test the jam on a ceramic plate more than once or a couple of times depending on how early you start checking.
Step 17
Alternatively, you can use a candy thermometer - the jam should reach 105 C / 221 F.
Step 18
Pro tip - I find the thermometer to be the easiest and fool-proof method to check for doneness.
Step 19
Optional - Just when you are ready to take the jam off the heat add a teaspoon of butter and stir well. Butter helps dissolve foam that accumulates on top of the jam.
Step 20
Pro tip - You don't need more than 1 teaspoon of butter to help with the foam. It will also give you that glossy shine.
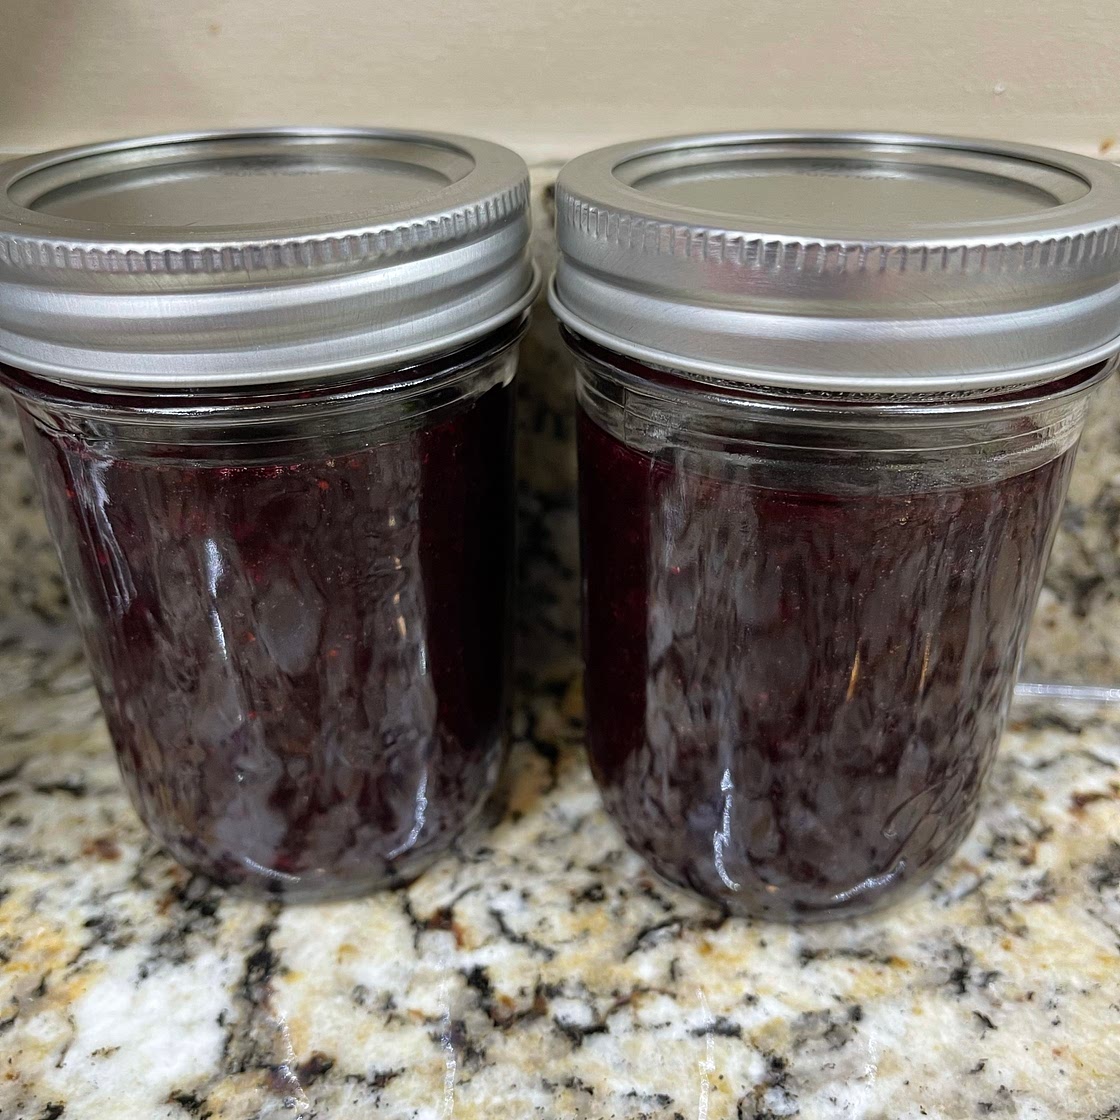
Step 21
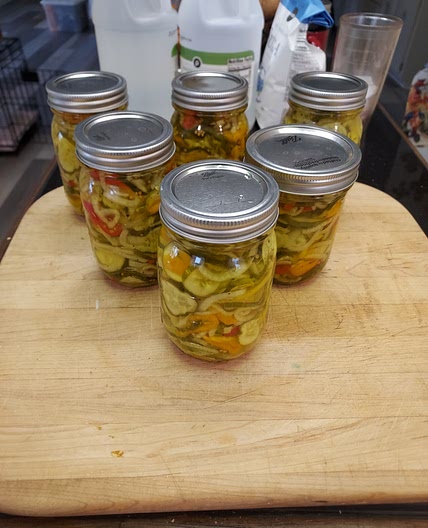
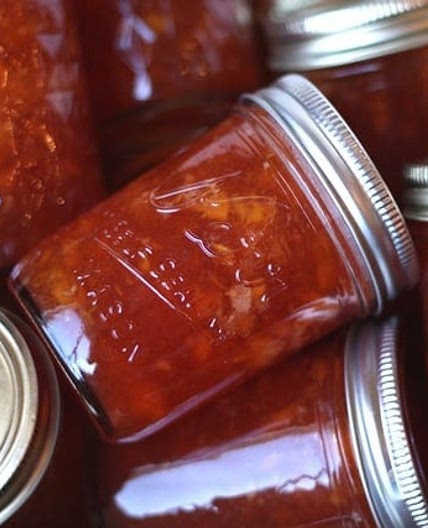
Pour the jam into warm sterilized jars leaving ¼ inch space from the top. Use a clean sterilized knife or spatula to move the jam a bit – this will remove any air pockets.
Step 22
Place a piece of wax paper on the top before you place the lid on tightly. Clean the rim of the jar with a clean paper towel. Top the lid.
Step 23
Alternatively, use the lid with screw-on rings that come with the canning jars.
Notes
1 liked
0 disliked
There are no notes yet. Be the first to share your experience!