By Soonik22
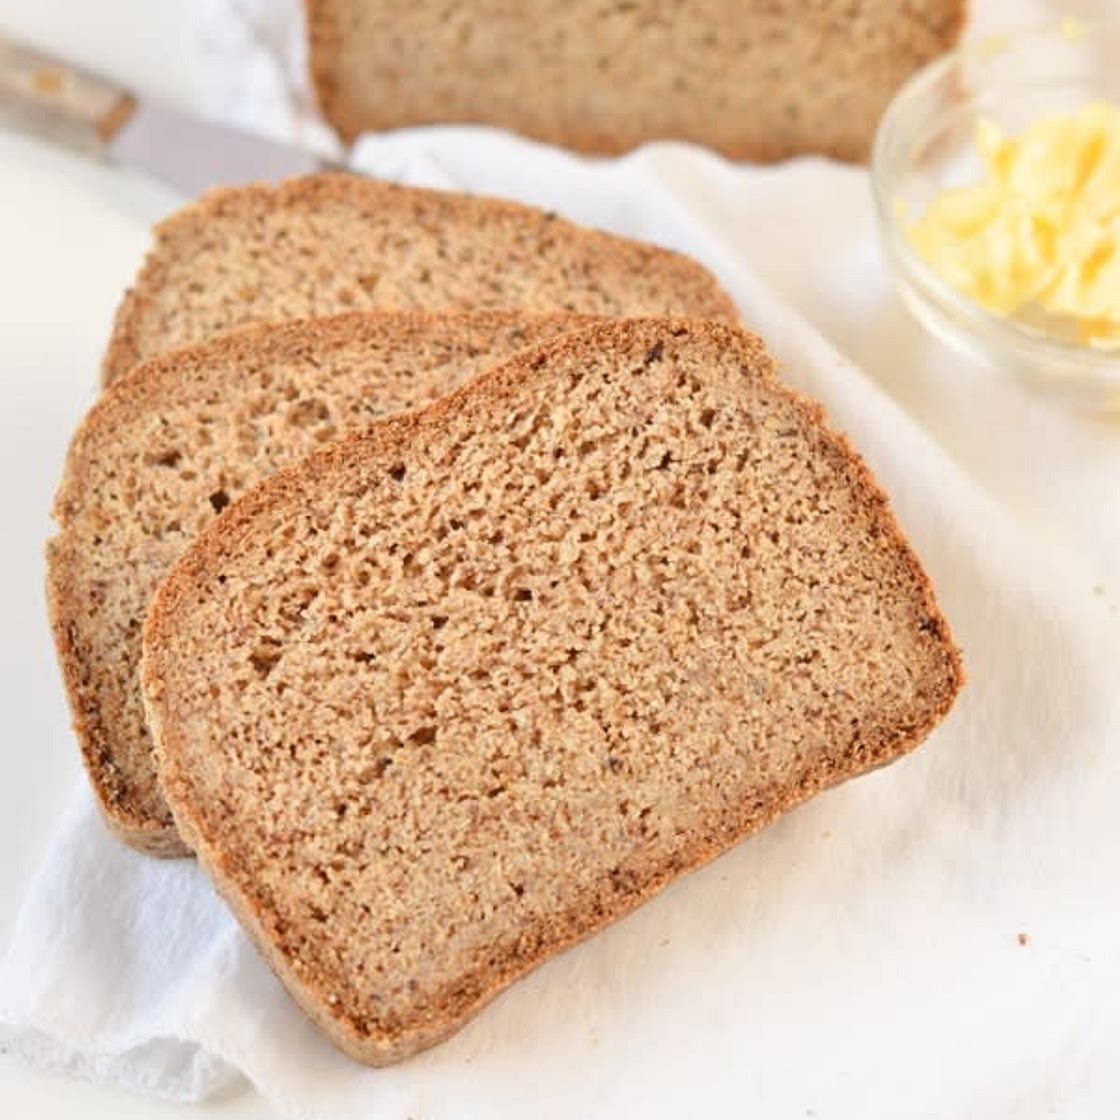
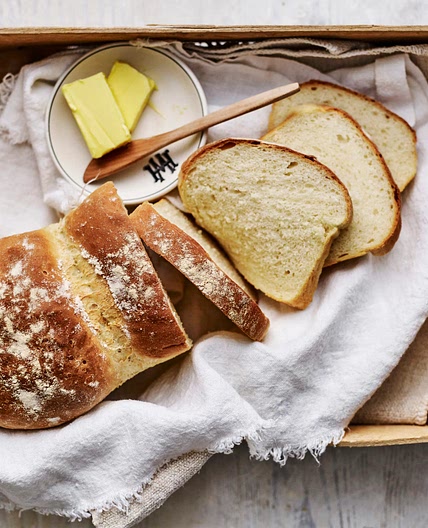
High Fiber Vegan Loaf Bread
19 steps
Prep:5minCook:1h
Updated at: Thu, 17 Aug 2023 07:37:36 GMT
Nutrition balance score
Great
Glycemic Index
42
Low
Glycemic Load
3
Low
Nutrition per serving
Calories74.1 kcal (4%)
Total Fat4.8 g (7%)
Carbs8.4 g (3%)
Sugars0.5 g (1%)
Protein2.6 g (5%)
Sodium245.4 mg (12%)
Fiber2.9 g (10%)
% Daily Values based on a 2,000 calorie diet
Ingredients
18 servings
Instructions
Step 1
INSTRUCTIONS
Step 2
Preheat oven to 400°F (200°C), preferably using the convection mode. Line a 9-inch x 5-inch loaf pan with a piece of parchment paper. Slightly oil the paper to make sure the bread doesn't stick to the pan. Set aside.
Step 3
In a large mixing bowl, add all the dry ingredients, whisk to combine.
Step 4
Add the liquid ingredients. The order doesn't matter. Combine with a spatula or a spoon, then use your hands to knead the dough for about 1-2 minutes. The batter is very moist at first, getting dryer as you go. After 2 minutes, it should come together easily to form a dough. If it is still sticky, add more husk, 1/2 teaspoon at a time, knead for 30 seconds and see how it goes. The dough will always be a bit moist, but it shouldn't stick to your hands at all. If so, the egg-free keto bread will be too moist when baked.
Step 5
Set aside 10 minutes to let the fiber fully absorb the liquid.
Step 6
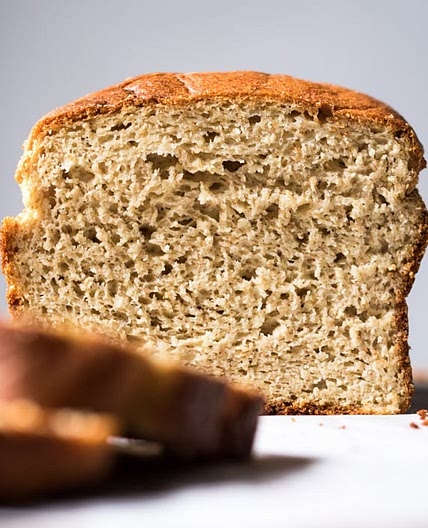
Shape the dough as you want your bread to look when baked. You surely want a lovely round bun on top of your loaf. So shape a cylinder of dough that matches the pan's length, but DO NOT press or flatten the top of your loaf, or you will end up with a denser/tight crumb. Keep the top's shape round. It's what will create a light and soft bread loaf with holes in the crumb.
Step 7
Slightly rub your hand with water and massage the bread's surface to remove holes and create a smooth surface.
Step 8
Bake for 50-55 minutes in the oven's center. The fan-bake mode is the best.
Step 9
After 50 minutes, prick the center of the loaf with a skewer to test. If it comes out clean, it is cooked. If not, it means the bread is still wet inside, cover the loaf pan with a piece of foil, reduce heat to 350°F (180°C), and keep baking for 20-30 minutes until cooked in the middle.
Step 10
Lift the bread out of the pan using the parchment paper.
Step 11
Fully cool down on a rack before slicing – at least 3 hours for best results.
Step 12
Slice into 16 slices. Store in the fridge for up to 5 days or freeze up to 3 months in airtight containers.
Step 13
Notes
Step 14
Freeze: slice the bread into 16 slices and freeze into a ziplock plastic bag or airtight container. It is better to defrost on the bench-top the day before, then toast until hot and crispy.
Step 15
Fridge: store well up to 5 days in the fridge in an airtight container or ziplock bag. I recommend you toast the bread slice for a few minutes in the toaster before serving.
Step 16
Flours swap: don’t replace any flour in this recipe for perfect results.
Step 17
Bread color: if your bread turns purple, it will be because of the psyllium husk brand you choose. For some reason, a few husk brands turn blue/purple when baked. It doesn’t impact the flavor or quality of your bread. Use a different brand to avoid this next time. Make sure you are using a blanched almond meal and gold flax meal for a lighter bread color.
Step 18
Net carbs per slice: 3.3 grams of net carbs.
Step 19
Psyllium husk: don’t use Metamucil fiber supplement in this recipe. It’s not the same product as whole psyllium husk fiber. Metamucil is a husk powder that is not suitable for baking keto bread. It will turn the bread dry, purple, or blue.
View on sweetashoney.co
↑Support creators by visiting their site 😊
Notes
0 liked
0 disliked
There are no notes yet. Be the first to share your experience!
