By Ms Shi & Mr He
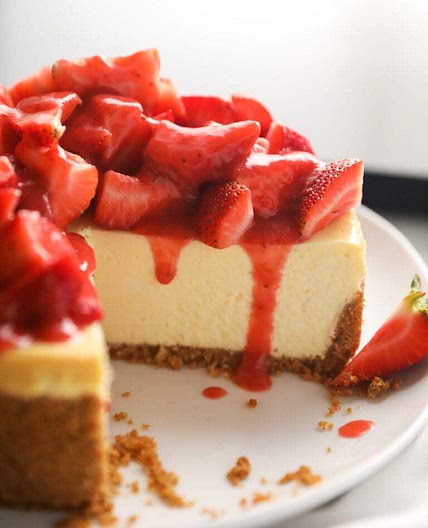
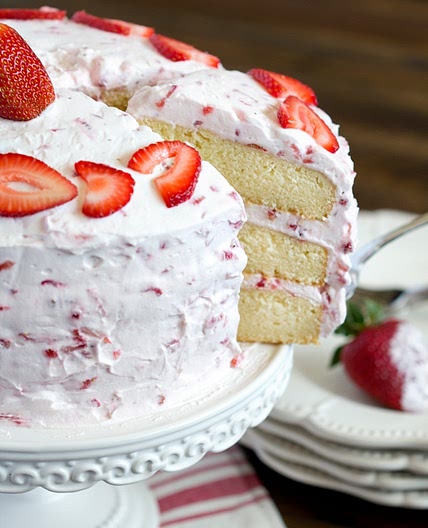
New York Strawberry Cheesecake
16 steps
Prep:20minCook:1h 30min
This New York strawberry cheesecake is rich and creamy with lovely strawberry flowers blooming on its surface. Instead of tangy sour cream, I chose to use a mild strawberry yogurt, which gives our cheesecake a sweet delicate flavor and a hint of strawberry aroma.
Updated at: Thu, 09 Jul 2026 21:57:02 GMT
Nutrition balance score
Unbalanced
Glycemic Index
64
Moderate
Glycemic Load
23
High
Nutrition per serving
Calories480.1 kcal (24%)
Total Fat35.9 g (51%)
Carbs35.5 g (14%)
Sugars25.5 g (28%)
Protein7.1 g (14%)
Sodium273.7 mg (14%)
Fiber0.7 g (3%)
% Daily Values based on a 2,000 calorie diet
Ingredients
8 servings
125gBiscoff cookies
Can be substituted with 125g Oreo cookies without the filling
55gunsalted butter
Melted, Microwave for 30 seconds, stir until melted
335gcream cheese
Room temperature softened
100ggranulated sugar
1gsalt
15glemon juice
½ tsplemon zest
optional
170gyogurt
I used strawberry yogurt, You can also use plain Greek yogurt
105geggs
Large eggs to 110g without egg shells
120gheavy whipping cream
Do not whip
25gcornstarch
2 tbsps + 2 tsps
120gheavy whipping cream
12gpowdered sugar
1 tbsp + 2 tsps
1 Tbspfreeze dried strawberry powder
Optional
¼ tspvanilla extract
Optional
7strawberries
2kiwifruits
Instructions
For the crust cake base
Step 1
Cut some Teflon sheet (or parchment paper) based on the height of your springform pan, grease the springform sides with butter, and line the paper along the sides to prevent sticky. Wrap the bottom of the springform pan with two layers of heavy-duty foil paper.
Step 2
Crush Lotus Biscoff Cookies (or Oreo cookies) with a food processor, or take a rolling pin to roll over the bag of cookies. Microwave unsalted butter for 30 seconds, stir until melted. Add the melted butter to the cookie crumbs, mix until evenly moistened.
Step 3
Transfer the cookie butter mixture to the springform pan, press firmly with a glass cup or a spoon. Keep in the fridge.
For the New York strawberry cheesecake filling
Step 4
Preheat the oven to 335°F/170°C. Boil a full kettle of water.
Step 5
Add room temperature softened cream cheese, sugar, and salt to a large mixing bowl, beat with a hand mixer (medium speed) for about 30 seconds until smooth (See Note 1).
Step 6
Add the lemon zest, lemon juice, and yogurt, mix with a hand mixer (low speed) for about 30 seconds until well combined.
Step 7
Beat 2 large eggs in a separate bowl using a whisk until the color looks even. (Do not need to beat the eggs until frothy.) Pour the egg to the large mixing bowl, mix with a hand mixer (low speed) for about 30 seconds until well combined.
Step 8
Add ½ cup of heavy whipping cream, mix with a hand mixer (low speed) for about 10 seconds until well combined. (Stop mixing as soon as the color of the batter looks even, do not over-mix.) Use a spatula to scrape the bottom and sides of the bowl to make sure everything is thoroughly combined.
Step 9
Use a fine mesh strainer to sift the cornstarch to the batter. Fold the batter with a spatula until the cornstarch is evenly distributed.
Step 10
Put the springform pan in a deep baking pan. Place the fine mesh strainer on the springform pan, pour the cheesecake filling batter through the strainer to get rid of any lumps.
Step 11
Pour about 1'' depth of boiling water into the deep baking pan. Bake on the medium-low rack of the oven at 335°F/170°C for 1 hour and 30 minutes until the cake is golden.
Step 12
Remove the baking pan from the oven, remove the springform pan from the hot water bath, peel off the foil. While still hot, the center of the cheesecake should be wiggly when you shake it. It will be fully set after cools down.
Step 13
Let the cheesecake cool to room temperature on your countertop. Cover with food wrap and keep the cheesecake in the refrigerator overnight.
Step 14
Unmold the cheesecake from the springform pan. It already taste great now! You can slice and serve it directly. Or, if you want to make it even prettier, move on to the next decorating steps.
For decoration
Step 15
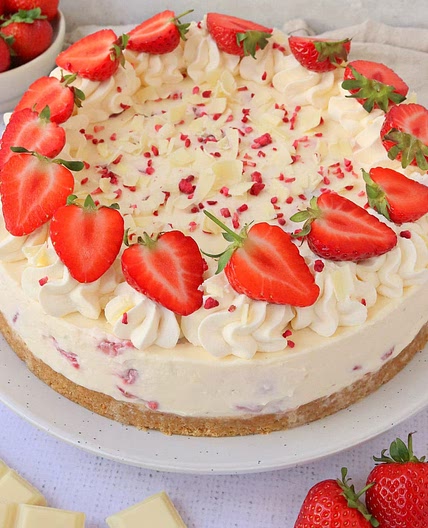
Add the heavy whipping cream, powdered sugar, freeze dried strawberry powder (optional), and vanilla extract to a large mixing bowl, whip with a hand mixer on medium-high speed until medium to stiff peaks form. (See Note 1) Spread the whipped cream evenly over the cake.
Step 16
Cut 5 strawberries lengthwise into halves. Peel and cut 2 kiwifruits into the shape of flower stems. Stick the strawberries and kiwifruits on the sides of the cheesecake. Cut 2 strawberries crosswise into coin-shape slices. Use these strawberry slices to make some flower patterns on the top surface of the cheesecake.
View on Ms Shi & Mr He
↑Support creators by visiting their site 😊
Notes
0 liked
0 disliked
There are no notes yet. Be the first to share your experience!