By Juna
How to: Sourdough Starter
9 steps
Prep:1h
Sourdough starter is basically a naturally fermented bacteria cluster to use in your baking. Hard baked bread, desserts, pastries, flat bread and so on.
So, here I will show you how to start a sourdough yeast and how to maintain it.
First the process to make your starter is equal in weight additions of water and flour, like any fermentation, the bacteria needs sugars to feast on, hence the flour, and a damp environment to multiply. There is a ratio for that to work, over feeding can kill it, over hydration can yield a more active yeast but will also end up in a funky starter.
Another thing to understand with fermentation is temperature. The higher the temperature the faster the growth would be and the lower the temperature the slower the growth will be, this is why when we make any fermented food like kimchi or kefir, we end the process by refrigerating it.
Also we refrigerate the sourdough starter when not in use. Bakers and people that make bread on the daily feed their starter daily and use it daily so no need for them to slow it down or store it. But for home use, you just need to feed your starter 2 days before usage to activate it again after putting it to sleep in the fridge.
How to feed your dormant/sleeping starter?
Follow the same method of making the starter for 2 days and then it is ready to use.
Feeding the starter is basically taking a tablespoon of your starter and mixing it with flour and water.
What to do with what bakers call the “discard”? Well instead of discarding it, you can use it in baking desserts, crackers and so on. No waste needs to happen here.
Updated at: Mon, 30 Oct 2023 09:45:42 GMT
Nutrition balance score
Great
Glycemic Index
70
High
Glycemic Load
26
High
Nutrition per serving
Calories174.4 kcal (9%)
Total Fat0.8 g (1%)
Carbs37.7 g (15%)
Sugars0.6 g (1%)
Protein5.4 g (11%)
Sodium1 mg (0%)
Fiber5.9 g (21%)
% Daily Values based on a 2,000 calorie diet
Instructions
Step 1
Please notice that the flour and water are of equal weight 50g. Your water should be warm so around 25-27 degrees is best.
So weigh out your flour and water, mix them together, I like to stir them vigorously to add as much air as I can just in the first step.
Step 2
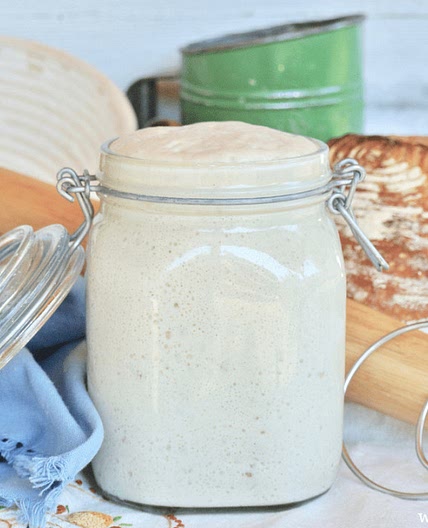
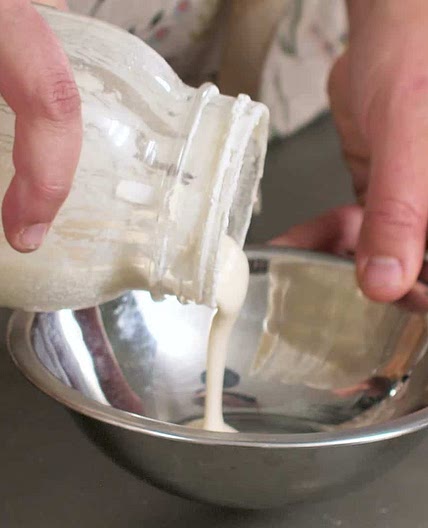
Pour in a glass jar, yes I prefer using glass with all fermented items because it is non-reactive material. Cover the jar loosely, with unscrewed lid or a muslin fabric.
Step 3
The optimal temperature of your room and water added is between 21 to 30 degrees celsius, any higher than 30 will result is a sour sourdough. If you live in a cold country with a cold kitchen make sure it stays in a warm spot in your kitchen, if you live in a hot country make sure it is placed in a cooler place. And definitely away from direct sunlight.
Step 4
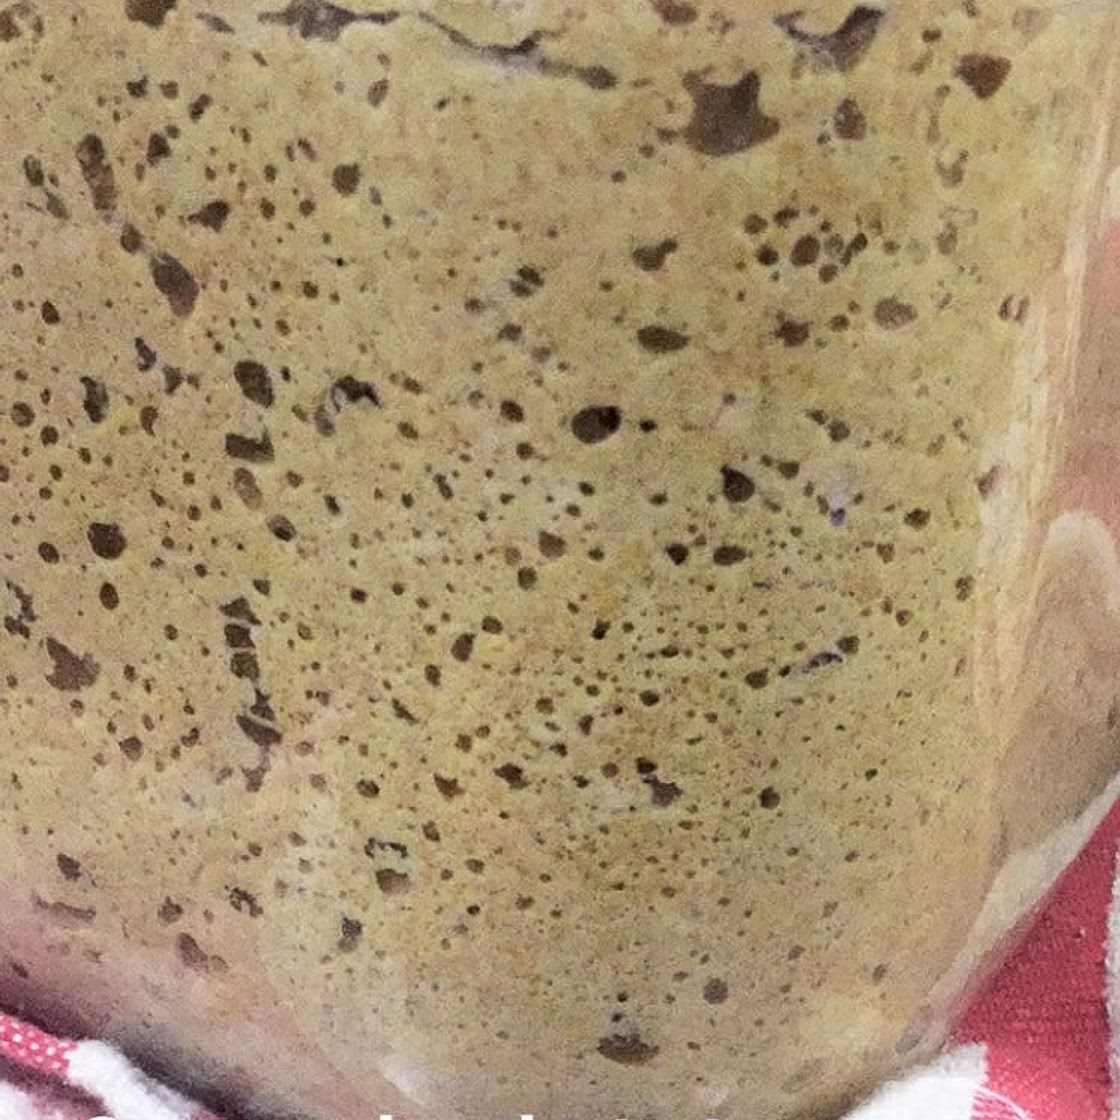
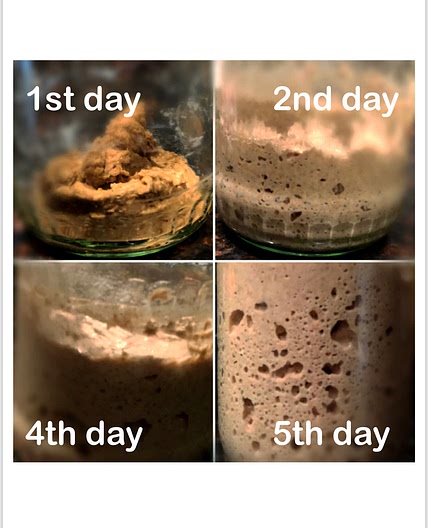
On your first day you won’t notice much action going on with your starter and that is fine. On the second day, this is where you’ll notice bubbles and activity. And you might even notice a dark liquid forming on top; that’s called hooch, that liquid does not mean your starter is going bad, it just an indication it needs to be fed. Just discard that liquid. And keep going.
Step 5
On third day, take a tablespoon of the starter and mix it with 50g of warm water and then add mix in 50g of flour. Cover and notice its action.
What to do with what’s left here? Well you can use it to make sourdough flat bread, crackers, pasta or baked goods. It won’t give you a loaf as it is still immature, but it will give you good results with foods that don’t need to rise as much.
Step 6
Repeat step 5 for day 4, 5 and 6. And on day 7 you have yourself a starter.
Step 7
How to use the starter? Well an active starter just need to be fed 4 hours before needing it. A dormant starter needs to be fed 2 to 3 days before needing it.
Step 8
On day 7, to store your starter, feed your starter and place it in the fridge for future use. And the “discard” feed and use.
Step 9
Notice the activity of your starter, it is not an exact amount of time as it all depends on the temperature, hydration level, food: sugar and the age of your flour, so knowing your starter is essential for getting the best results, so note its activity level, and at its most this is when to use it.
Notes
1 liked
0 disliked
