By S S
buttermilk fried chicken
11 steps
Prep:12hCook:1h
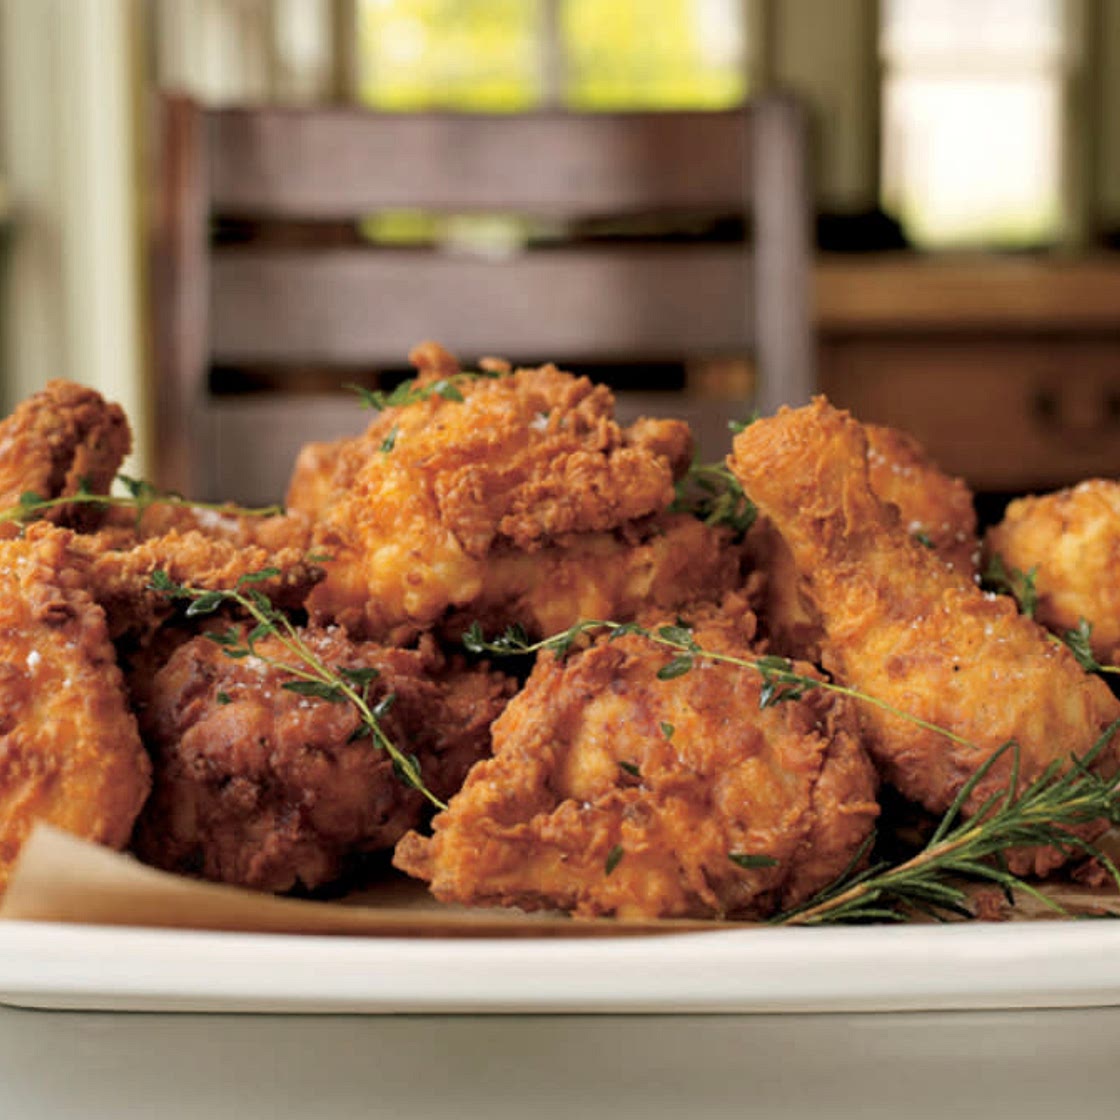
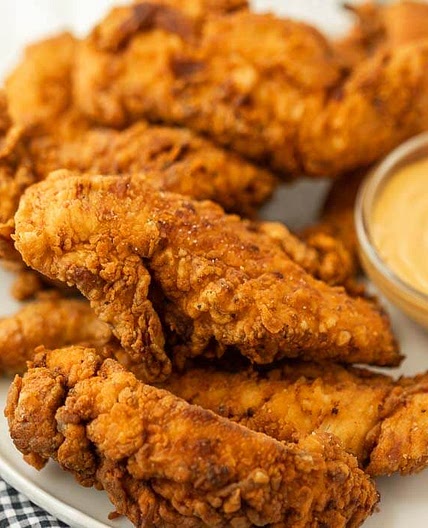
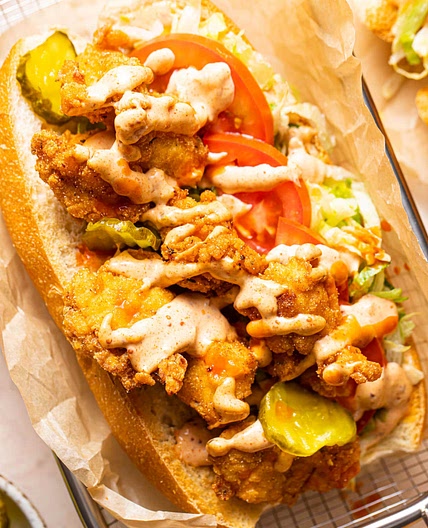
If there’s a better fried chicken, I haven’t tasted it. First, and critically, the chicken is brined for 12 hours in a herb-lemon brine, which seasons the meat and helps it stay juicy. The flour is seasoned with garlic and onion powders, paprika, cayenne, salt, and pepper. The chicken is dredged in the seasoned flour, dipped in buttermilk, and then dredged again in the flour. The crust becomes almost feathered and is very crisp.
Fr Ad Hoc at Home Cookbook
Updated at: Fri, 16 Feb 2024 19:20:00 GMT
Nutrition balance score
Unbalanced
Glycemic Index
65
Moderate
Glycemic Load
47
High
Nutrition per serving
Calories688.3 kcal (34%)
Total Fat26.7 g (38%)
Carbs73.2 g (28%)
Sugars15.5 g (17%)
Protein39.2 g (78%)
Sodium9889.5 mg (494%)
Fiber4.7 g (17%)
% Daily Values based on a 2,000 calorie diet
Ingredients
12 servings
Brine
5lemons
halved
12bay leaves
1 bunchflat-leaf parsley
1 ouncethyme
118mlclover honey
1 headgarlic
halved through the equator
¼ cupblack peppercorns
2 cupskosher salt
7.5 Lwater
COATING
6 cupsall-purpose flour
12 tspgarlic powder
12 tsponion powder
4 tsppaprika
4 tspcayenne
1 tablespoonkosher salt
plus 1 teaspoon
1 teaspoonfreshly ground black pepper
FOR DREDGING AND FRYING
Instructions
Step 1
Brine: Combine all the ingredients in a large pot, cover, and bring to a boil. Boil for 1 minute, stirring to dissolve the salt. Remove from the heat and cool completely, then chill before using. The brine can be refrigerated for up to 3 days.
Step 2
Pour the brine into a container large enough to hold the chicken pieces, add in the chicken, and refrigerate for 12 hours (no longer, or the chicken may become too salty).
Step 3
Remove the chicken from the brine (discard the brine) and rinse under cold water, removing any herbs or spices sticking to the skin. Pat dry with paper towels, or let air-dry. Let rest at room temperature for 1½ hours, or until it comes to room temperature.
Step 4
If you have two large pots (about 6 inches deep) and a lot of oil, you can cook the dark and white meat at the same time; if not, cook the dark meat first, then turn up the heat and cook the white meat. No matter what size pot you have, the oil should not come more than one-third of the way up the sides of the pot. Fill the pot with at least 2 inches of peanut oil and heat to 320°F. Set a cooling rack over a baking sheet. Line a second baking sheet with parchment paper.
Step 5
Meanwhile, combine all the coating ingredients in a large bowl. Transfer half the coating to a second large bowl. Pour the buttermilk into a third bowl and season with salt and pepper. Set up a dipping station: the chicken pieces, one bowl of coating, the bowl of buttermilk, the second bowl of coating, and the parchment-lined baking sheet.
Step 6
Just before frying, dip the chicken thighs into the first bowl of coating, turning to coat and patting off the excess; dip them into the buttermilk, allowing the excess to run back into the bowl; then dip them into the second bowl of coating. Transfer to the parchment-lined pan.
Step 7
Carefully lower the thighs into the hot oil. Adjust the heat as necessary to return the oil to the proper temperature. Fry for 2 minutes, then carefully move the chicken pieces around in the oil and continue to fry, monitoring the oil temperature and turning the pieces as necessary for even cooking, for 11 to 12 minutes, until the chicken is a deep golden brown, cooked through, and very crisp. Meanwhile, coat the chicken drumsticks and transfer to the parchment-lined baking sheet.
Step 8
Transfer the cooked thighs to the cooling rack skin-side-up and let rest while you fry the remaining chicken. (Putting the pieces skin-side-up will allow excess fat to drain, whereas leaving them skin-side-down could trap some of the fat.) Make sure that the oil is at the correct temperature, and cook the chicken drumsticks. When the drumsticks are done, lean them meat-side-up against the thighs to drain, then sprinkle the chicken with fine sea salt.
Step 9
Turn up the heat and heat the oil to 340°F. Meanwhile, coat the chicken breasts and wings. Carefully lower the chicken breasts into the hot oil and fry for 7 minutes, or until golden brown, cooked through, and crisp. Transfer to the rack, sprinkle with salt, and turn skin side up. Cook the wings for 6 minutes, or until golden brown and cooked through. Transfer the wings to the rack and turn off the heat.
Step 10
Arrange the chicken on a serving platter. Add the herb sprigs to the oil (which will still be hot) and let them cook and crisp for a few seconds, then arrange them over the chicken.
Note
Step 11
We let the chicken rest for 7 to 10 minutes after it comes out of the fryer so that it has a chance to cool down. If the chicken has rested for longer than 10 minutes, put the tray of chicken in a 400°F oven for a minute or two to ensure that the crust is crisp and the chicken is hot
