By Ray Williams
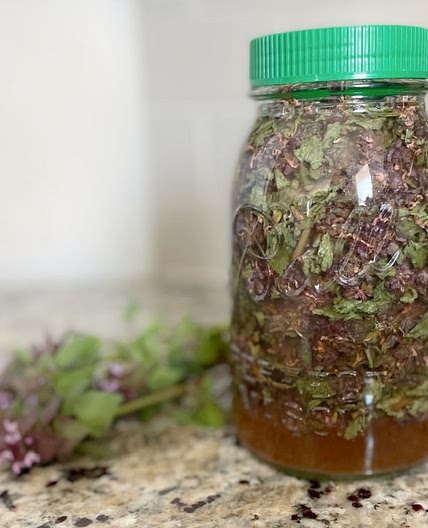
Sprouts/Mini Greens In A Mason Jar in 6 days
21 steps
Prep:15min
Sprouts in a mason jar are easy and delicious. Most seeds sprout in 6 days from soak to table.
Updated at: Sun, 25 Feb 2024 03:00:34 GMT
Nutrition balance score
Great
Glycemic Index
15
Low
Glycemic Load
0
Low
Nutrition per serving
Calories3.9 kcal (0%)
Total Fat0.3 g (0%)
Carbs0.2 g (0%)
Sugars0 g (0%)
Protein0.1 g (0%)
Sodium0.1 mg (0%)
Fiber0.1 g (0%)
% Daily Values based on a 2,000 calorie diet
Instructions
Step 1
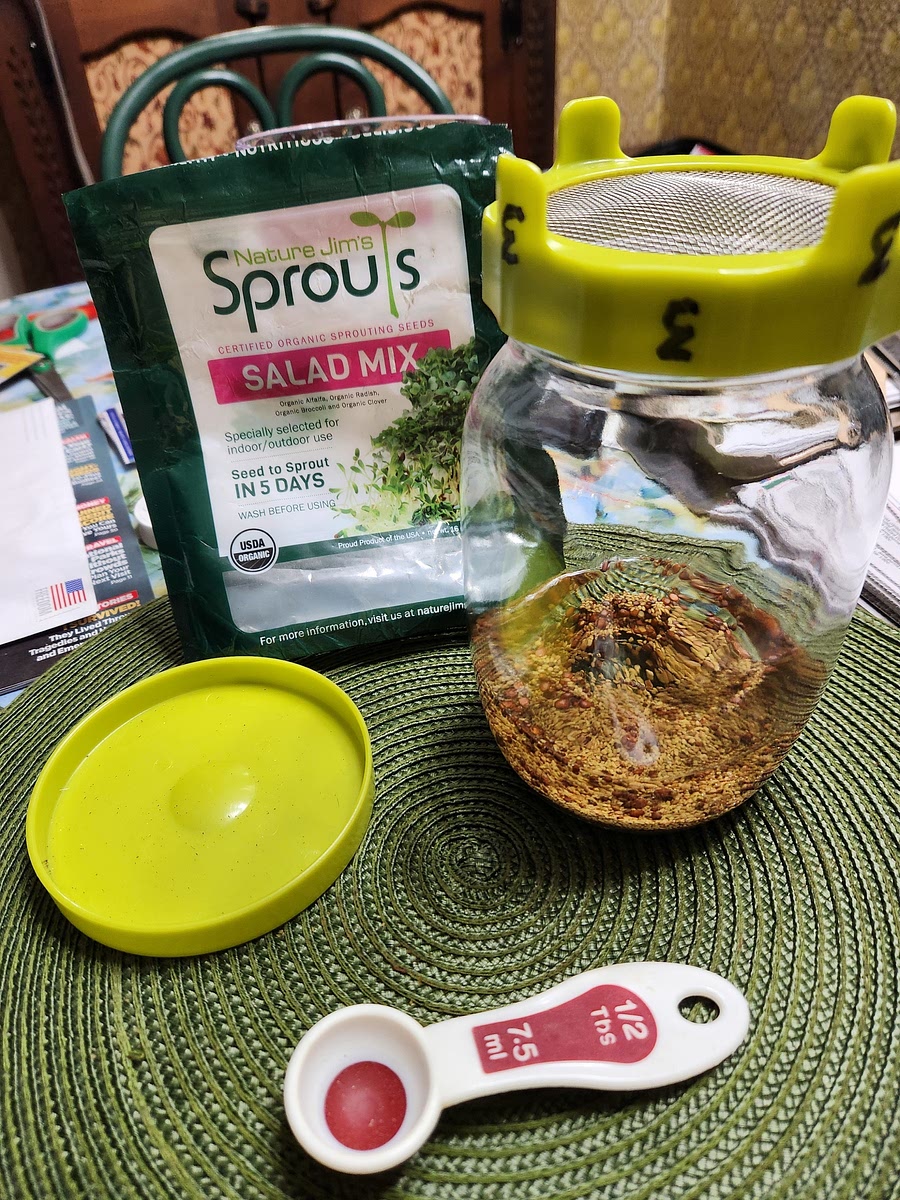
Purchase a sprouting kit, mason jars, and seeds.
Step 2
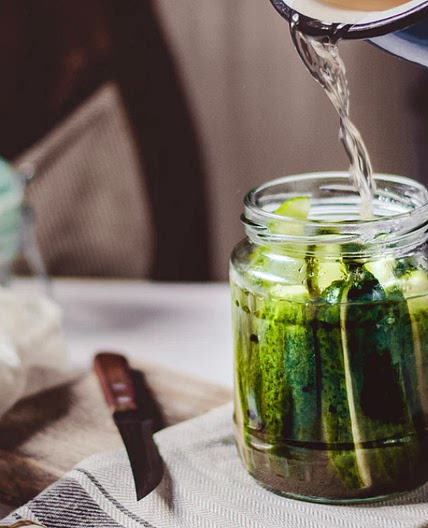
In a mason jar with 1 cup water, soak 1 1/2 tablespoons seeds for 8 to 12 hours.
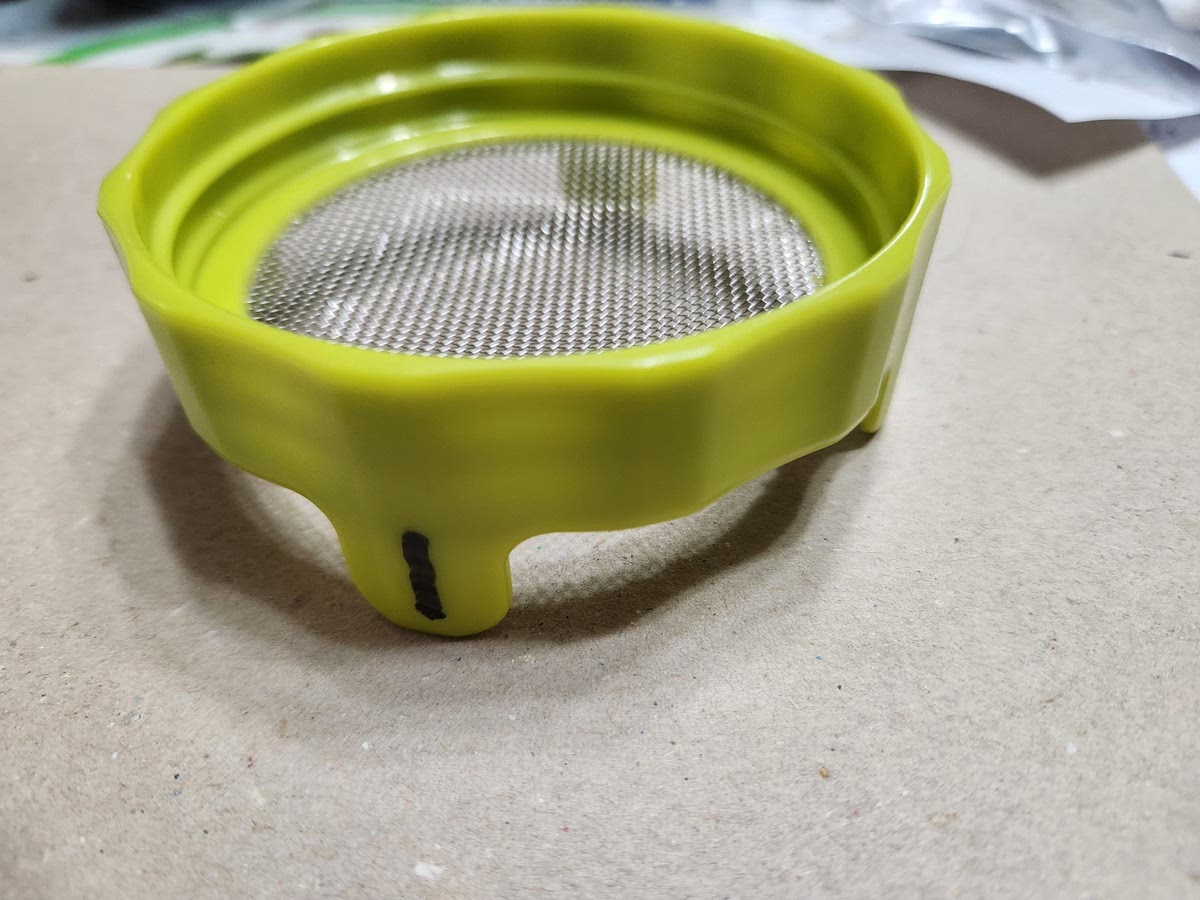
Place the screened lid on the jar, and it will remain there till you harvest the sprouts.
Step 3
Place screen lid on the mason jar. Drain, rinse and drain the seeds several times.
Step 4
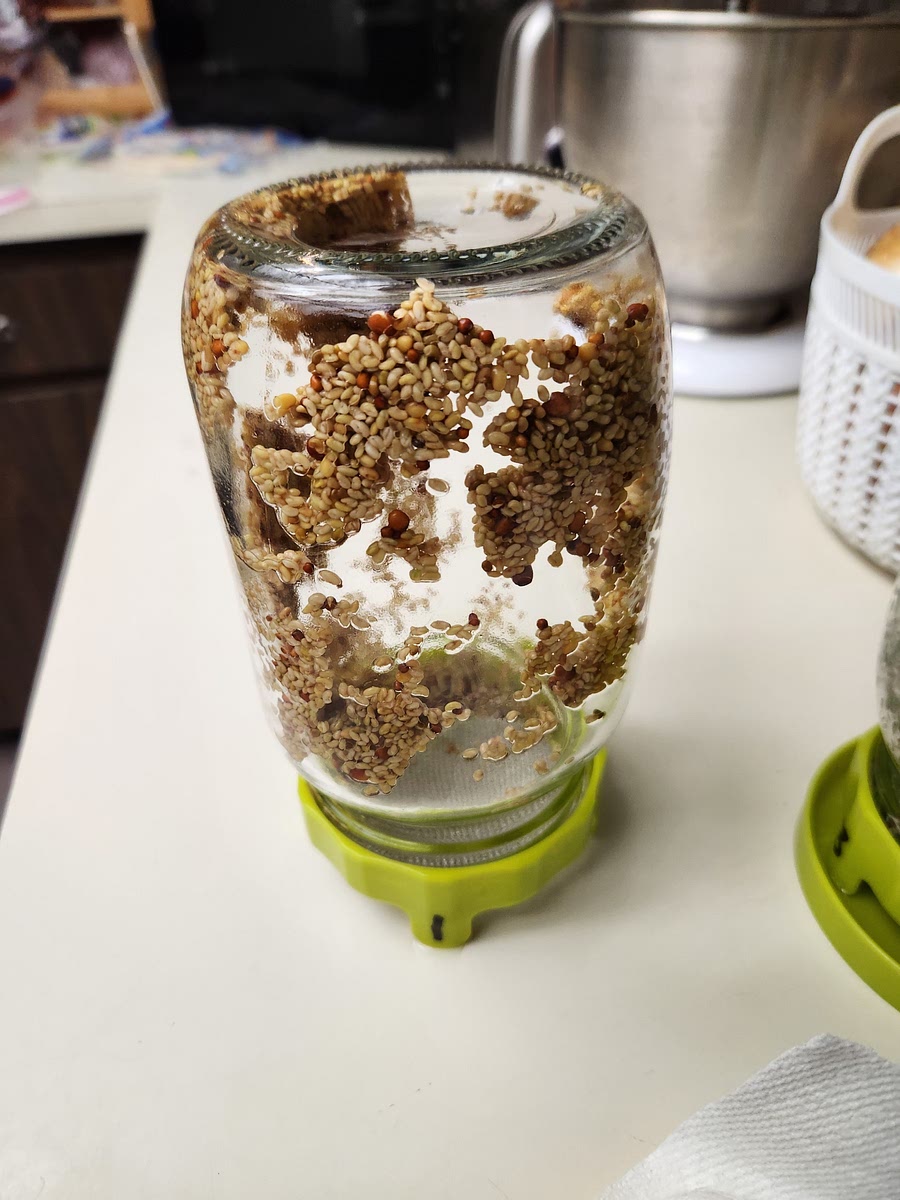
Place jar screen lid down on the saucer from the kit. Slip the Sox from the kit on the jar to darken the seeds.
Step 5
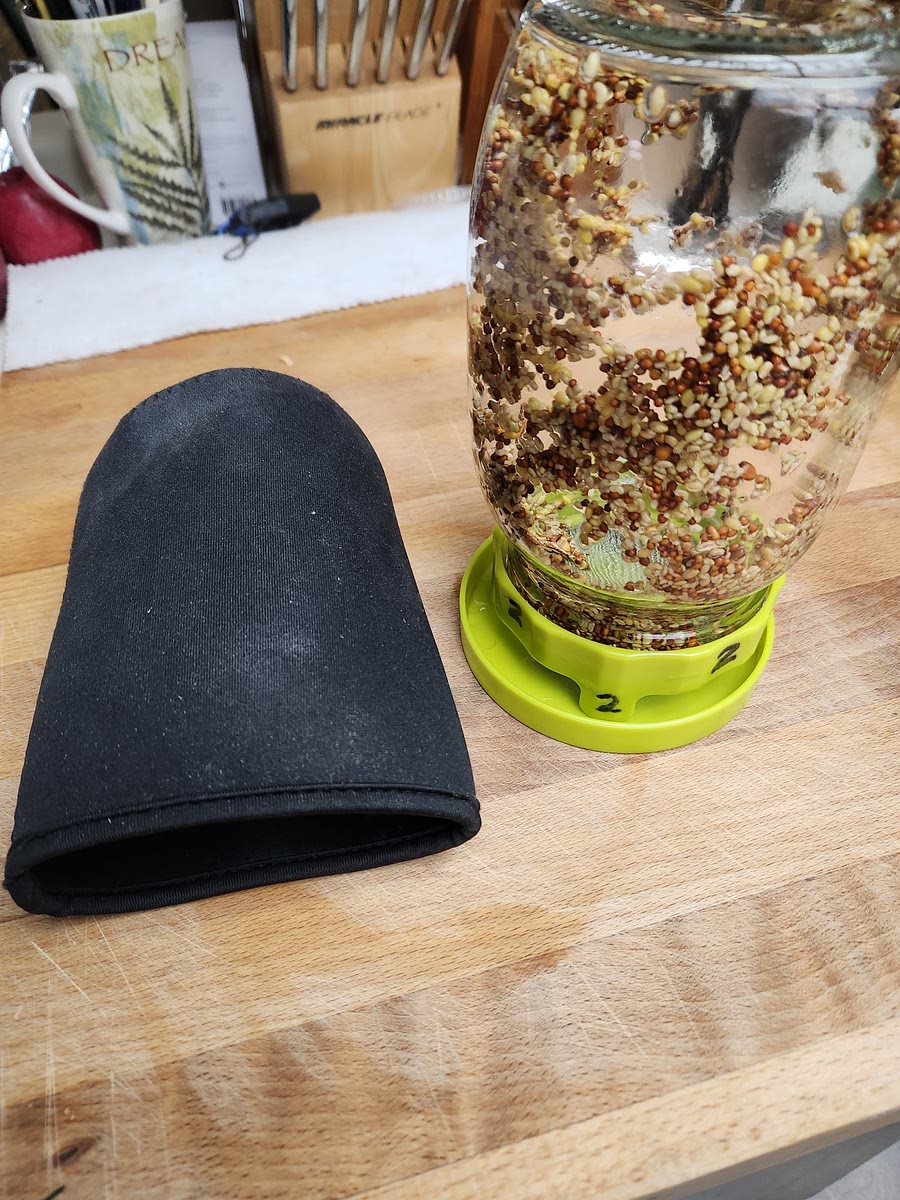
Remove the Sox and rinse and drain the seeds several times every 12 hours or so. This removes any pathogens that may be growing on the seeds. Repeat, loosely, ever 12 hours.
Step 6
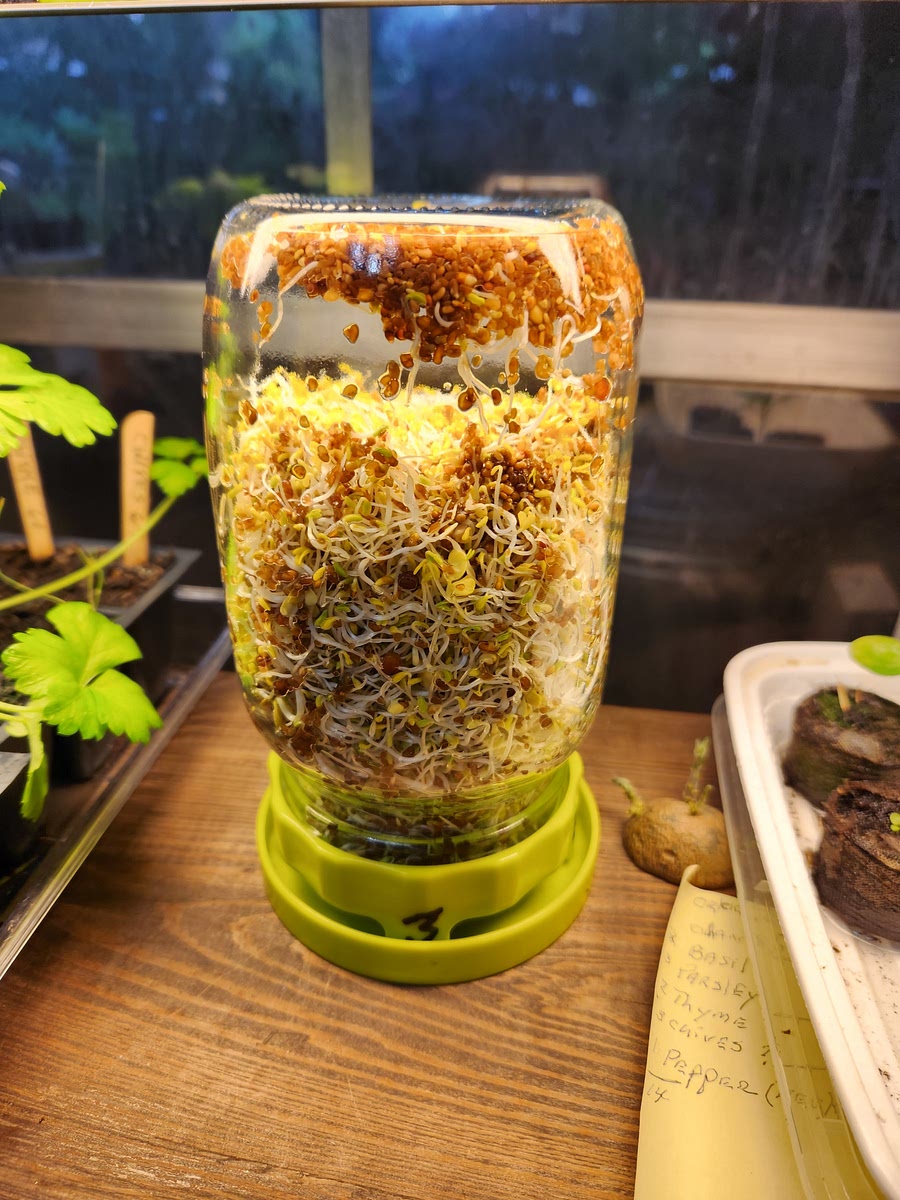
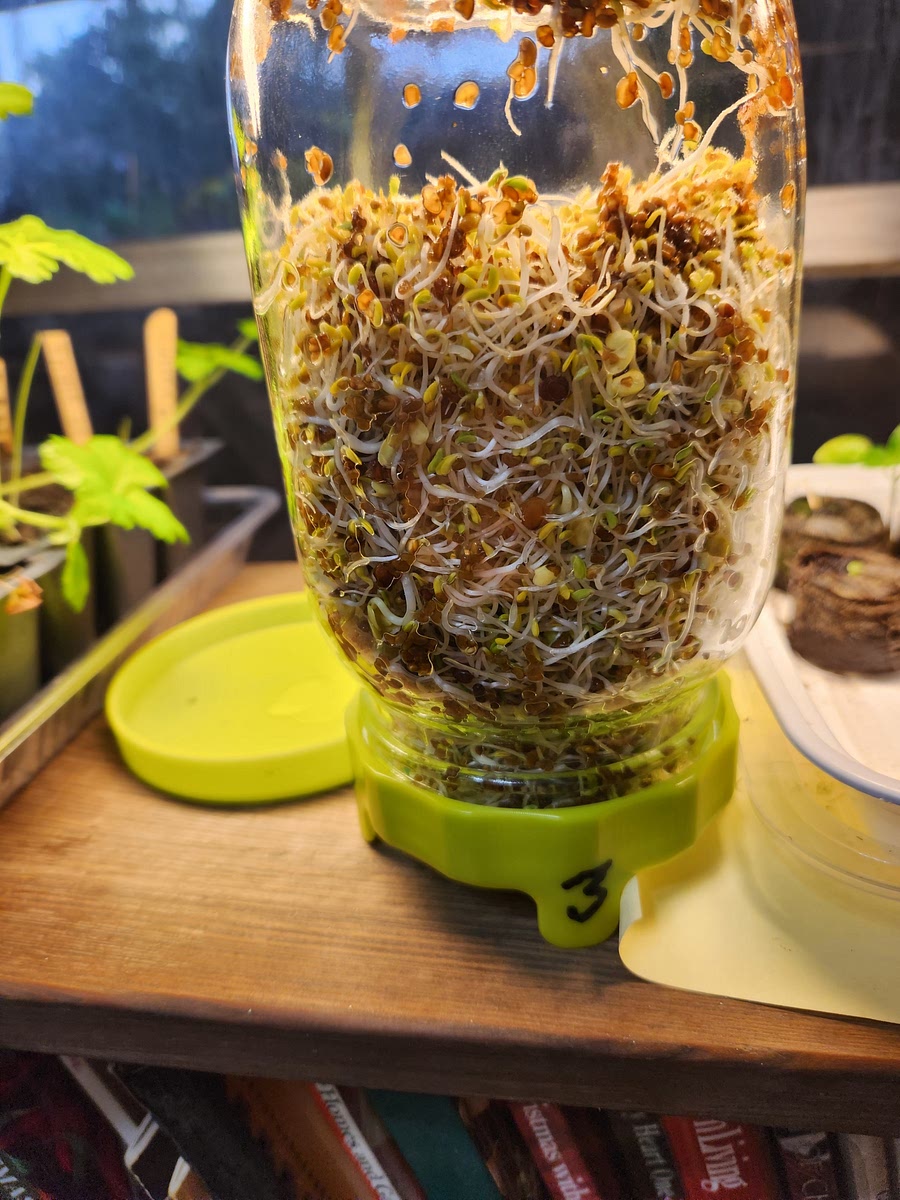
On the third day, after a rinse, leave the Sox off. Place the jar in a lighted place to start photosynthesis. The sprouts are now edible.
Step 7
During the greening, continue the rinse and drain about every 12 hours as long as the sprouts remain in the Jar.
Step 8
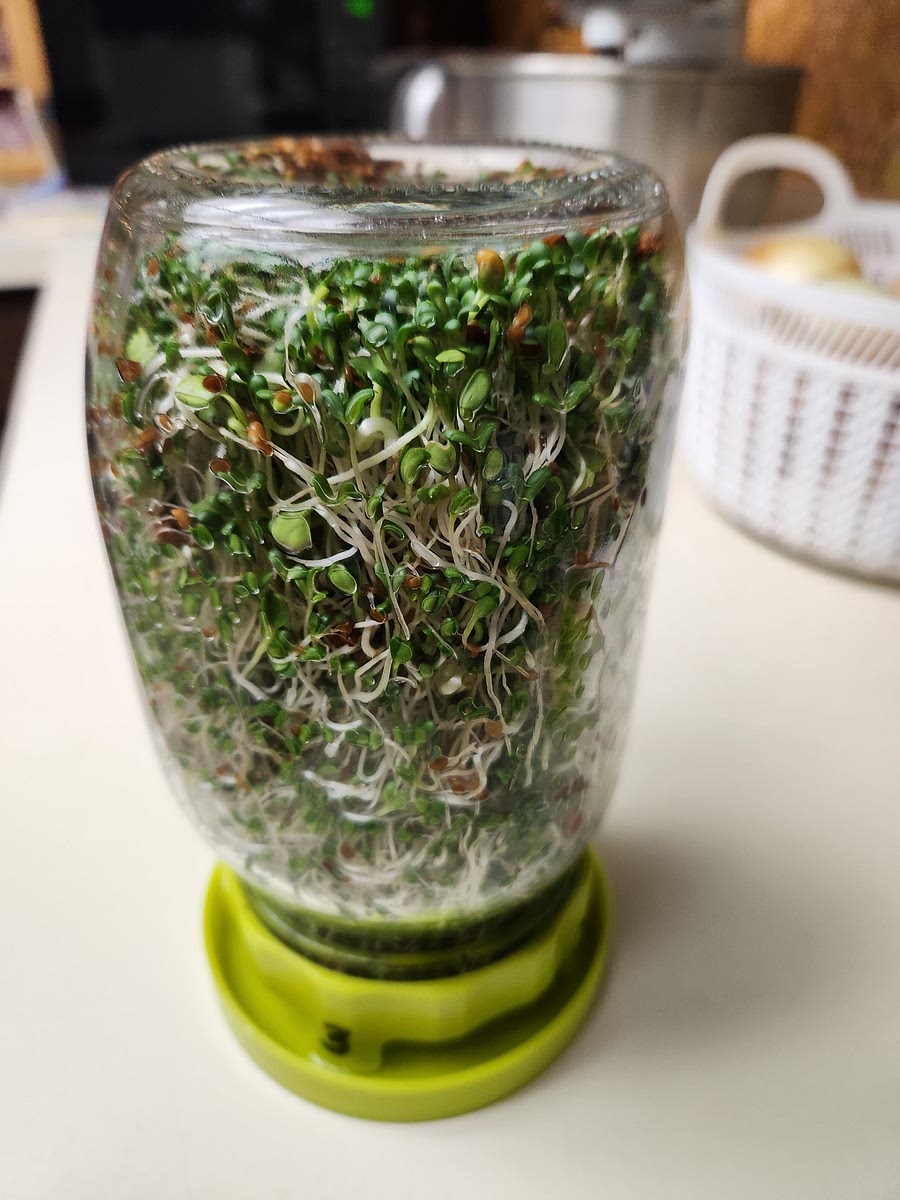
The sprouts are now edible. From this point, in light, they gain nutrients through photosynthesis as they turn green. I like about 72 hours of light.
Step 9
12 hour intervals.
Step 10
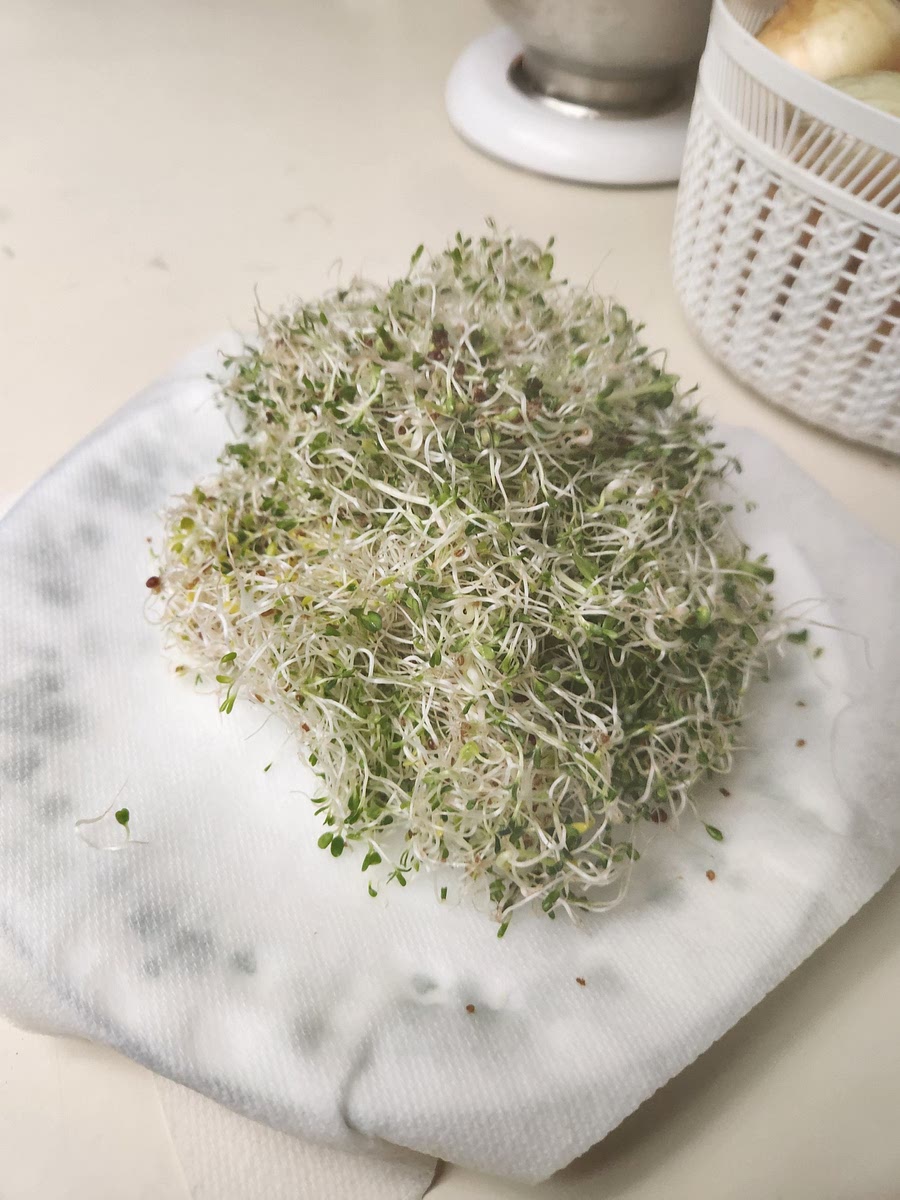
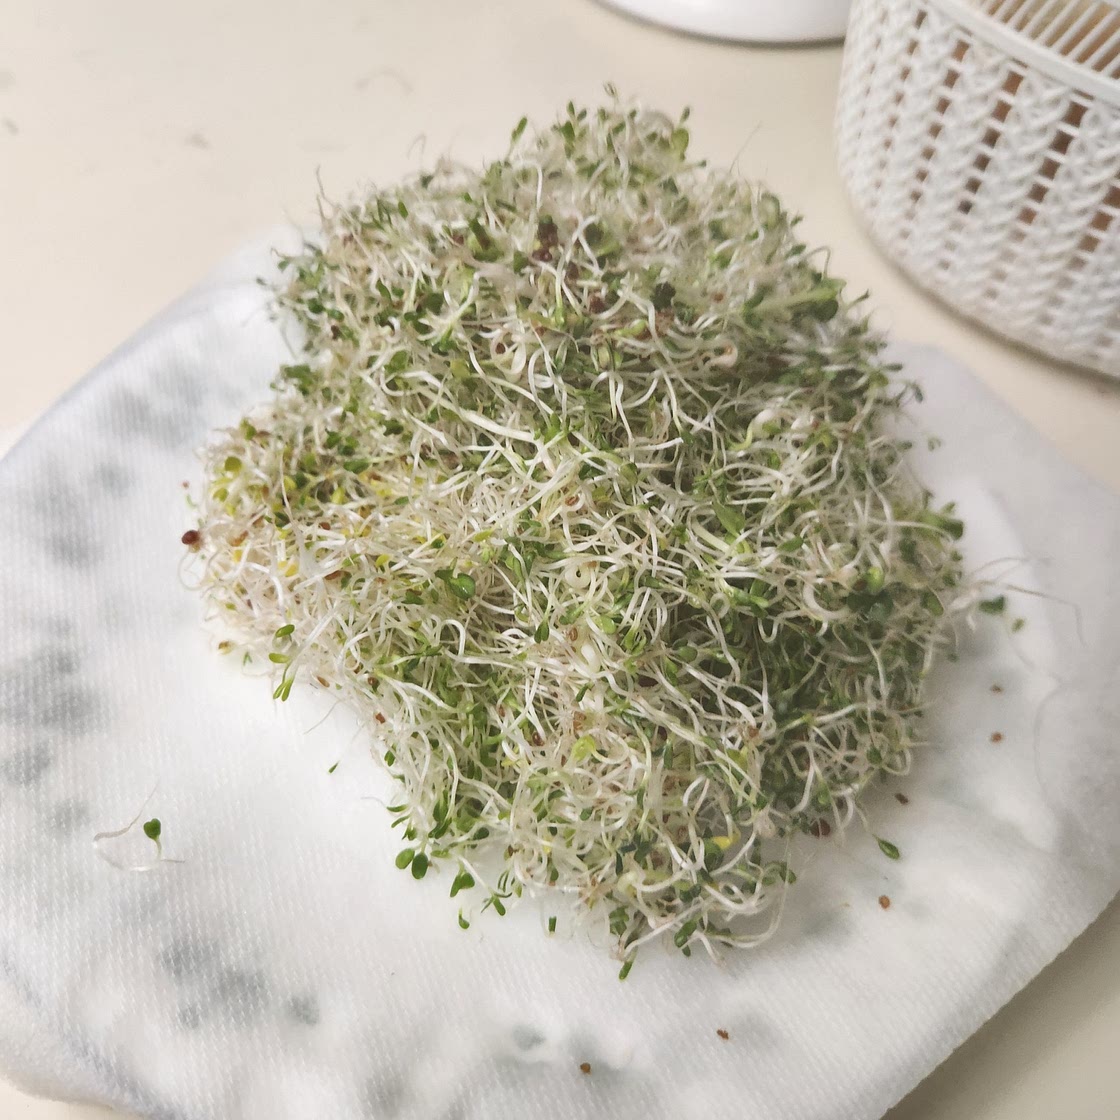
After your last rinse and drain, shake the sprouts out if the jar into a large salad bowl with water to wash the seed hulls from the sprouts. The hulls are edible but unsightly, so rinse away as many as you can.
Step 11
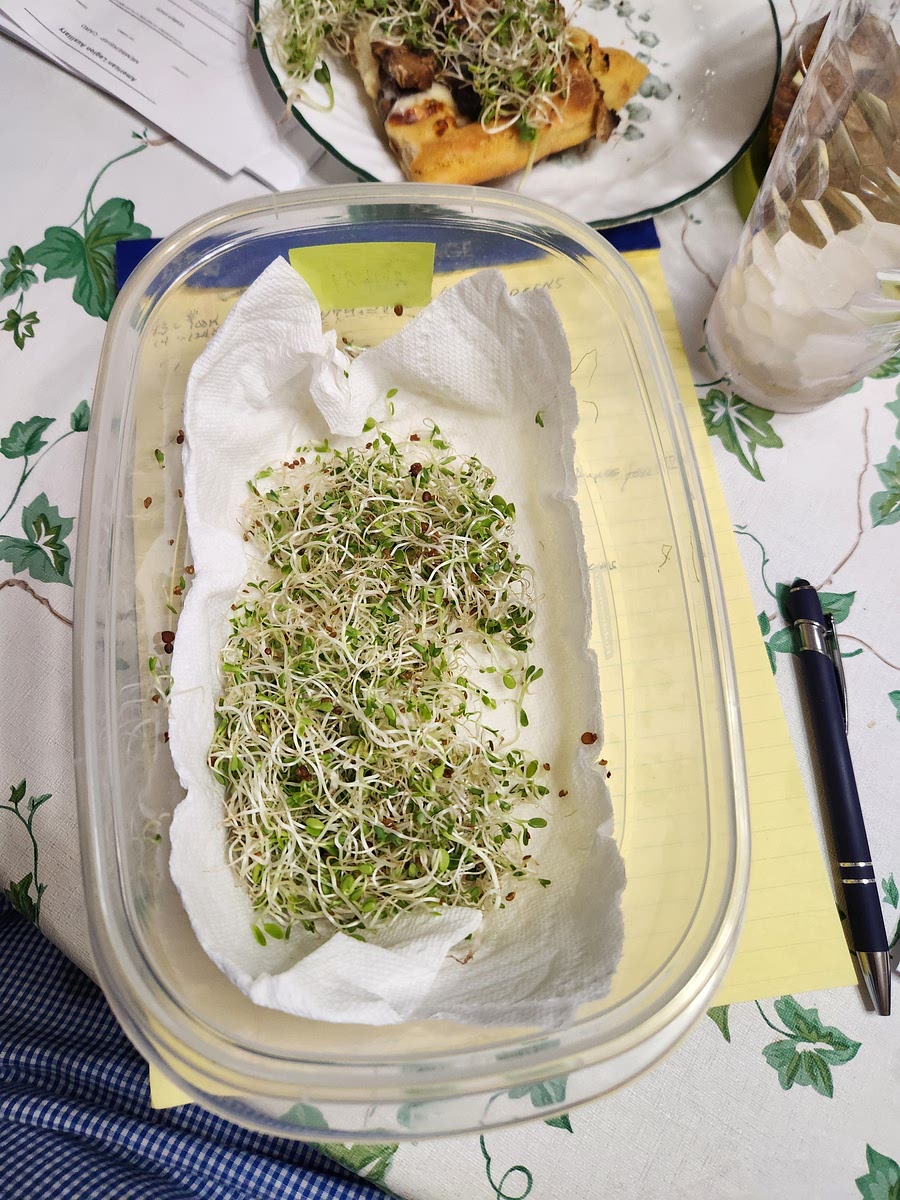
Place the sprouts in a colander or strainer to drain. Once drained, use paper towels layered in an airtight container to refrirerate the sprouts.
Step 12
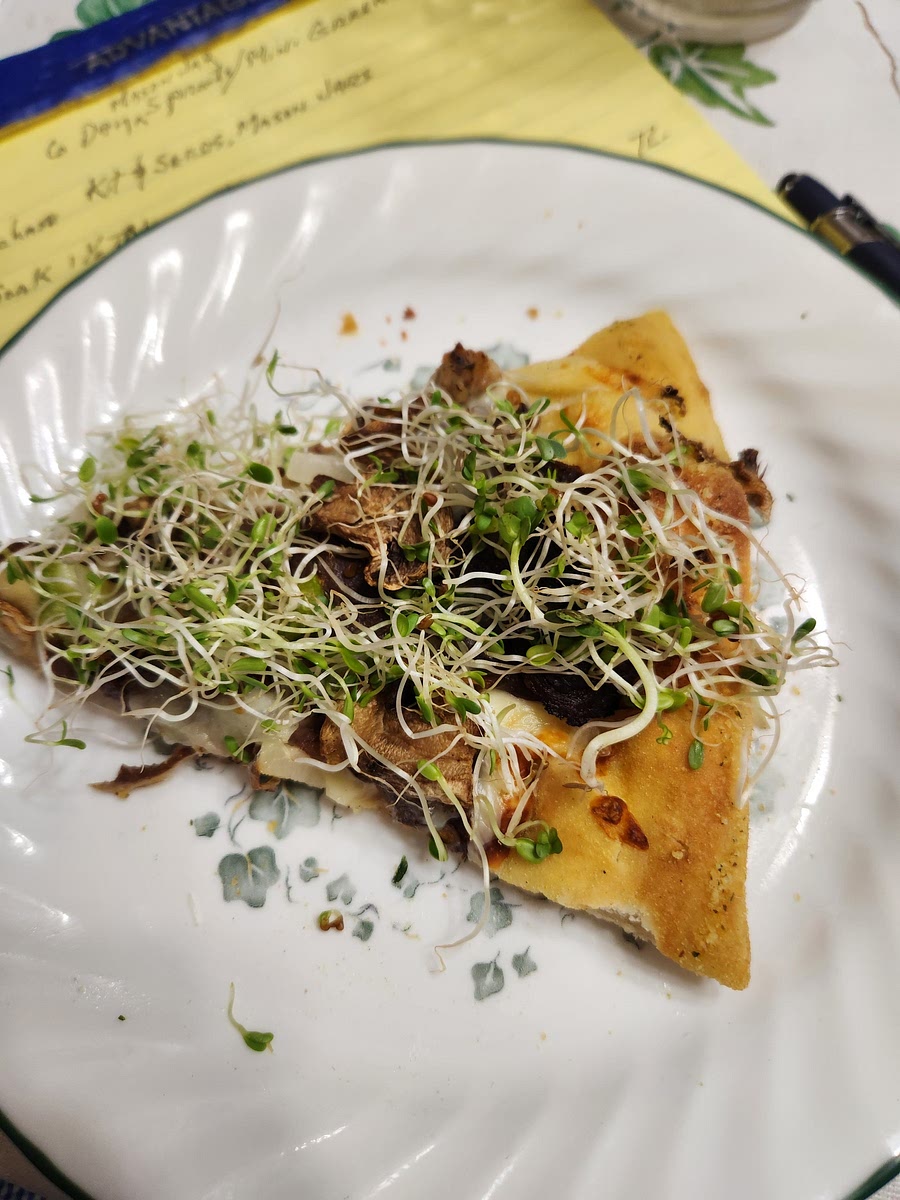
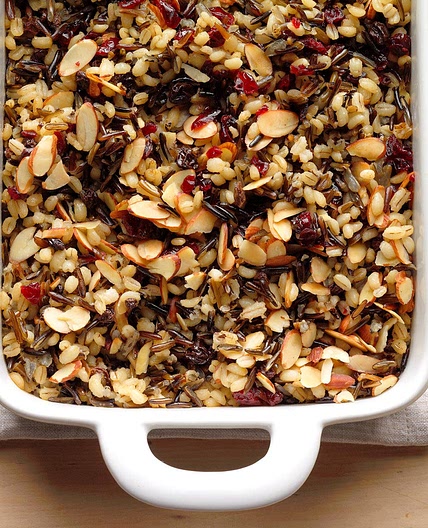
Serve on sandwiches, salads, or in soups and stews. Enjoy.
Step 13
Notes: Rinse & Drain:
Is simply removing the sock and running tap ( non-clorinated ) water through the screen lid and dumping it out through the screen lid a couple of times. Not having to remove the lid makes for quick and easy. Replace the sock each time.
Step 14
Timing:
Timing the rinse and drain is not critical.
I've done the 8 pm ( I like an 8am-8pm schedule) as late as midnight and the morning rinse early afternoon. I have missed a few, and they still turned out OK.
Step 15
Quality Control:
Before the rinse, give them the snif test.
Any bad oder is cause to dump and start over. I've only had one of those, it does happen.
Step 16
Layering:
After removing sprouts from the jar and draining, let them dry an hour or so before placing them in the airtight container. We have found they last a bit longer if we layered them. Simply put a folded paper towel in the bottom of the container with 1 to 1 1/2 inches of sprouts on top. Put another folded paper towel and another layer of sprouts and so on. Then stick em in the fridge.
Step 17
Storage:
If dried properly and placed in a airtight container, sprouts last 4-5 daysin the refrigerator. They don't freeze well.
Step 18
Sprouting/mini-green Kit:
*I purchased the kit fron from Amazon for around $10. It includes a plastic screen lid, saucer, and sock.
*I also bought seed on Amazon for about $17 a pound.
Step 19
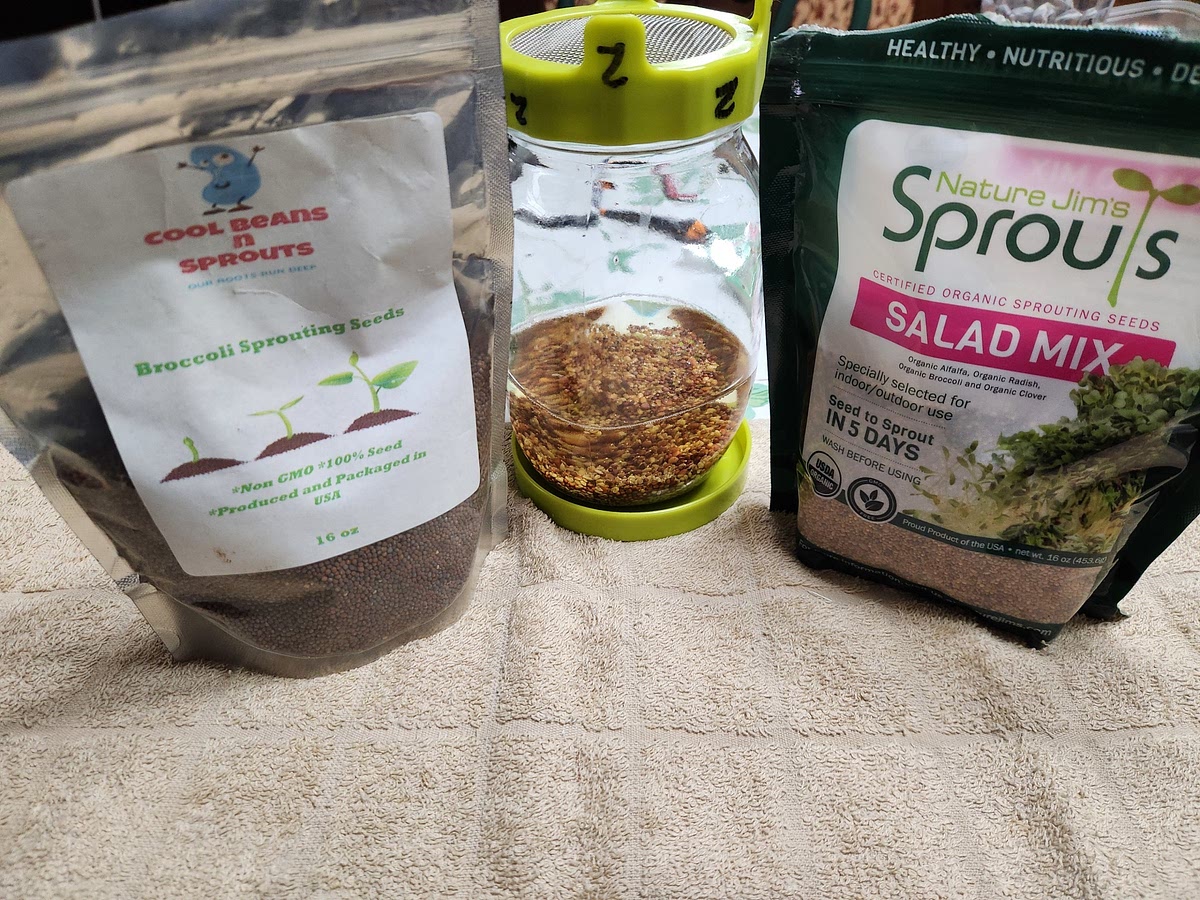
Seeds:
*Almost any vegetable seed may be used. Popular are the leafy greens, and some like sunflower, broccoli are nutrient dense. *We found Broccoli to be too strong for our taste and settled on a salad mix to work better.
Step 20
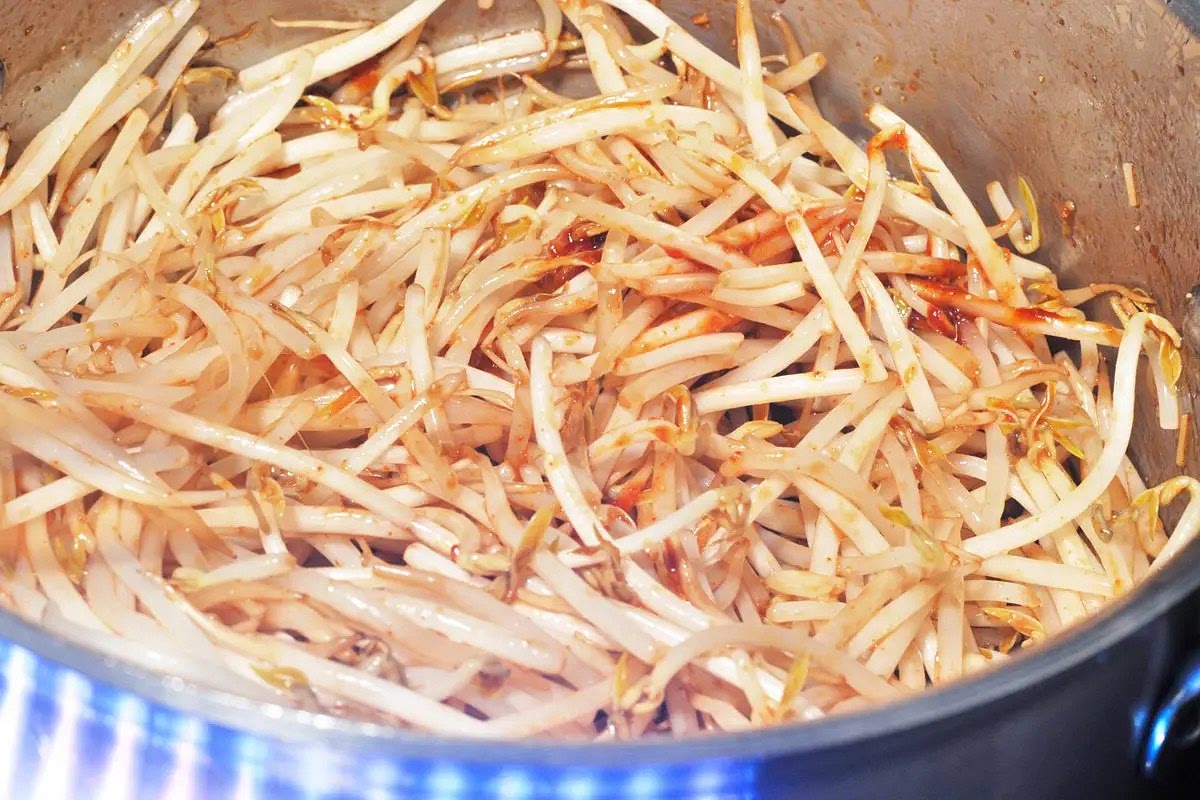
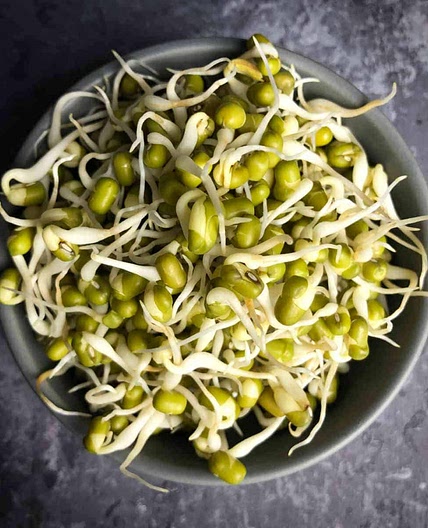
Bean sprouts:
*Bean sprouts are done the same way as vegge seed only no greening. Only use beans rather than seeds. Mong Beans are popular, as are pumpkin, watermelon, and other melons.
*They stay in the dark until they are 1 to 1.5 inches long. Use the same rinse schedule.
Step 21
Light:
Light causes greening of the sprouts through photosynthesis. Simply stand the jar of sprouts in its saucer (to catch any drips) in a lighted area. If you would like faster greening, lay the jar diagonally in a salad bowl to allow more light to enter the side of the jar. Turning 90° each time you rinse and drain.
Notes
1 liked
0 disliked
There are no notes yet. Be the first to share your experience!