1/10

2/10

3/10
4/10
5/10
6/10
7/10
8/10
9/10
10/10
97%
21
By Lacey (Lace Bakes)
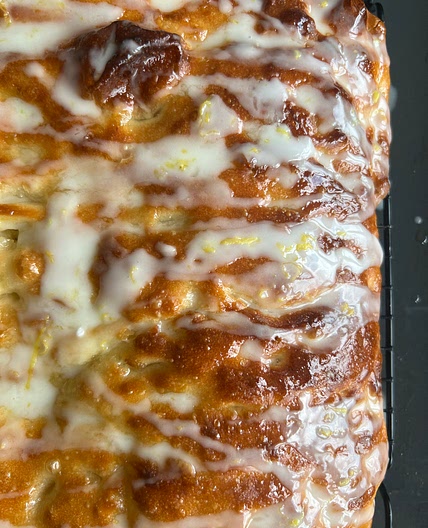
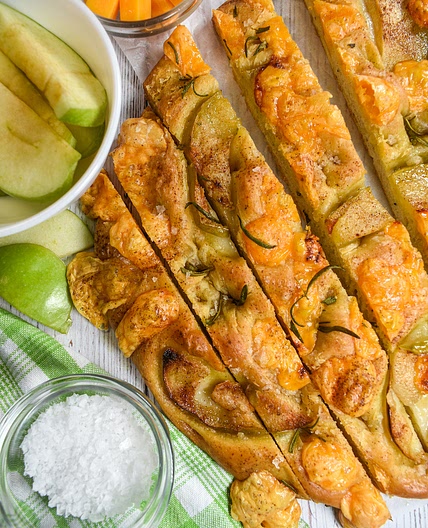
Tear & Share Apple Fritter Focaccia
16 steps
Prep:3hCook:25min
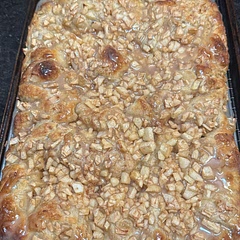
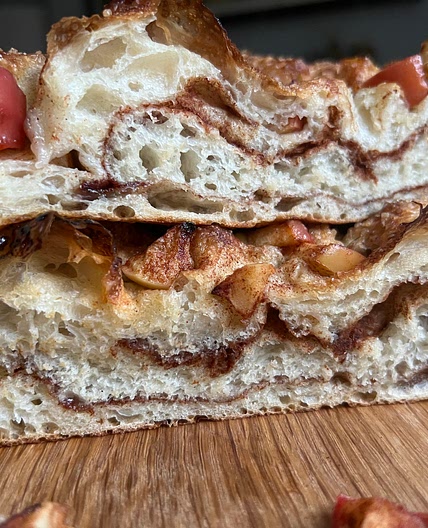
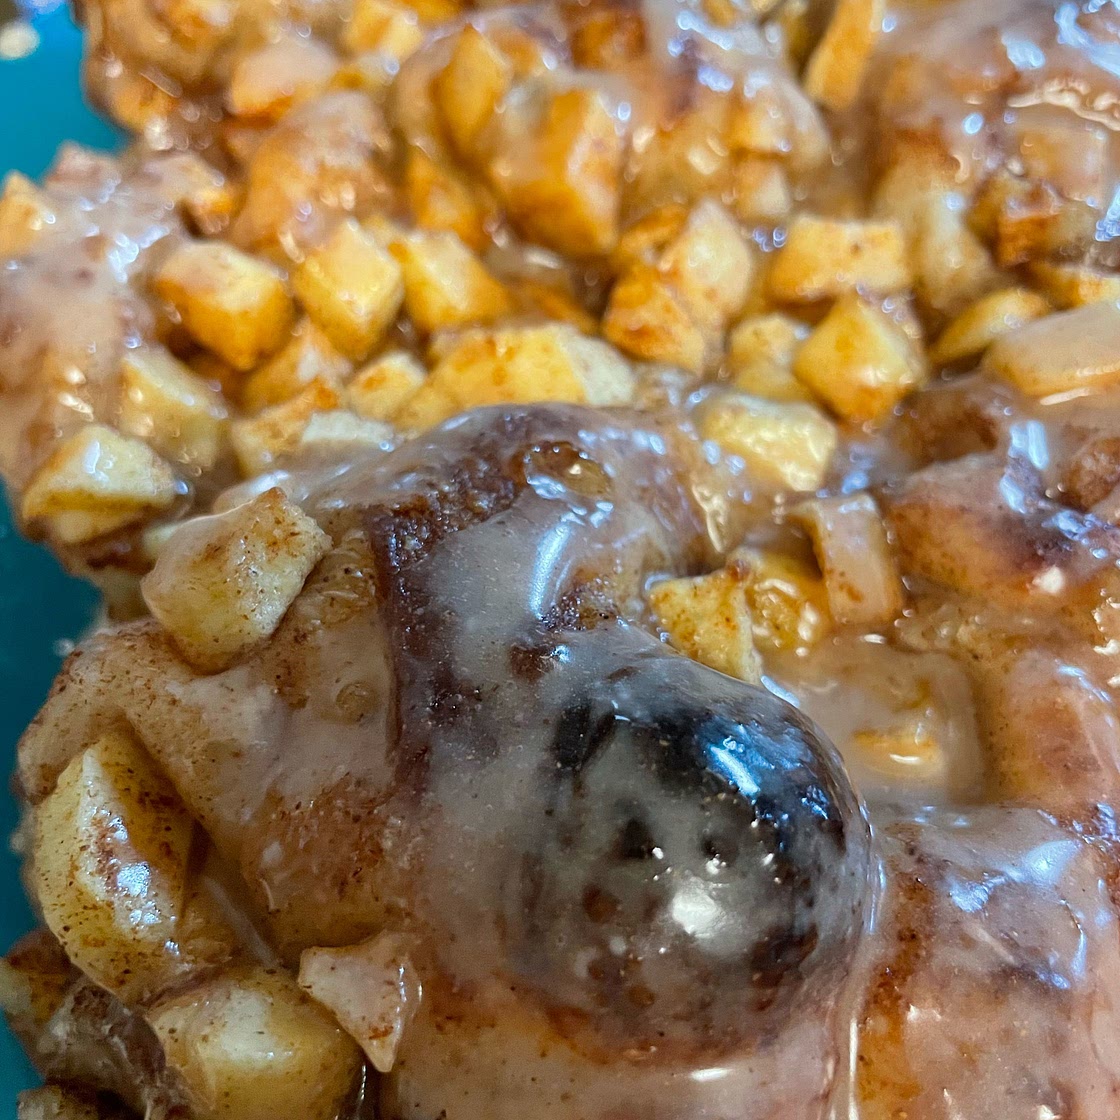
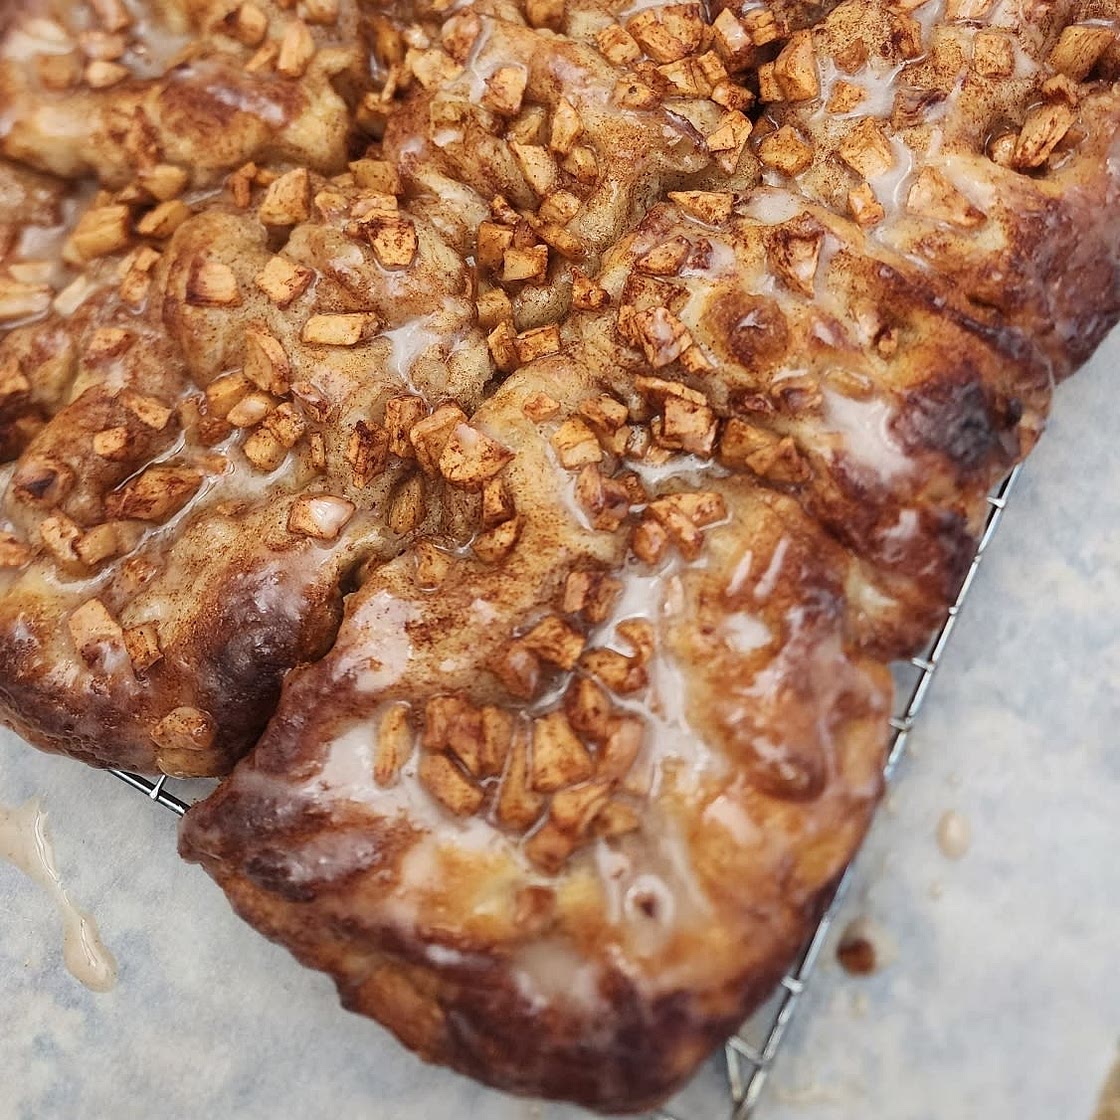
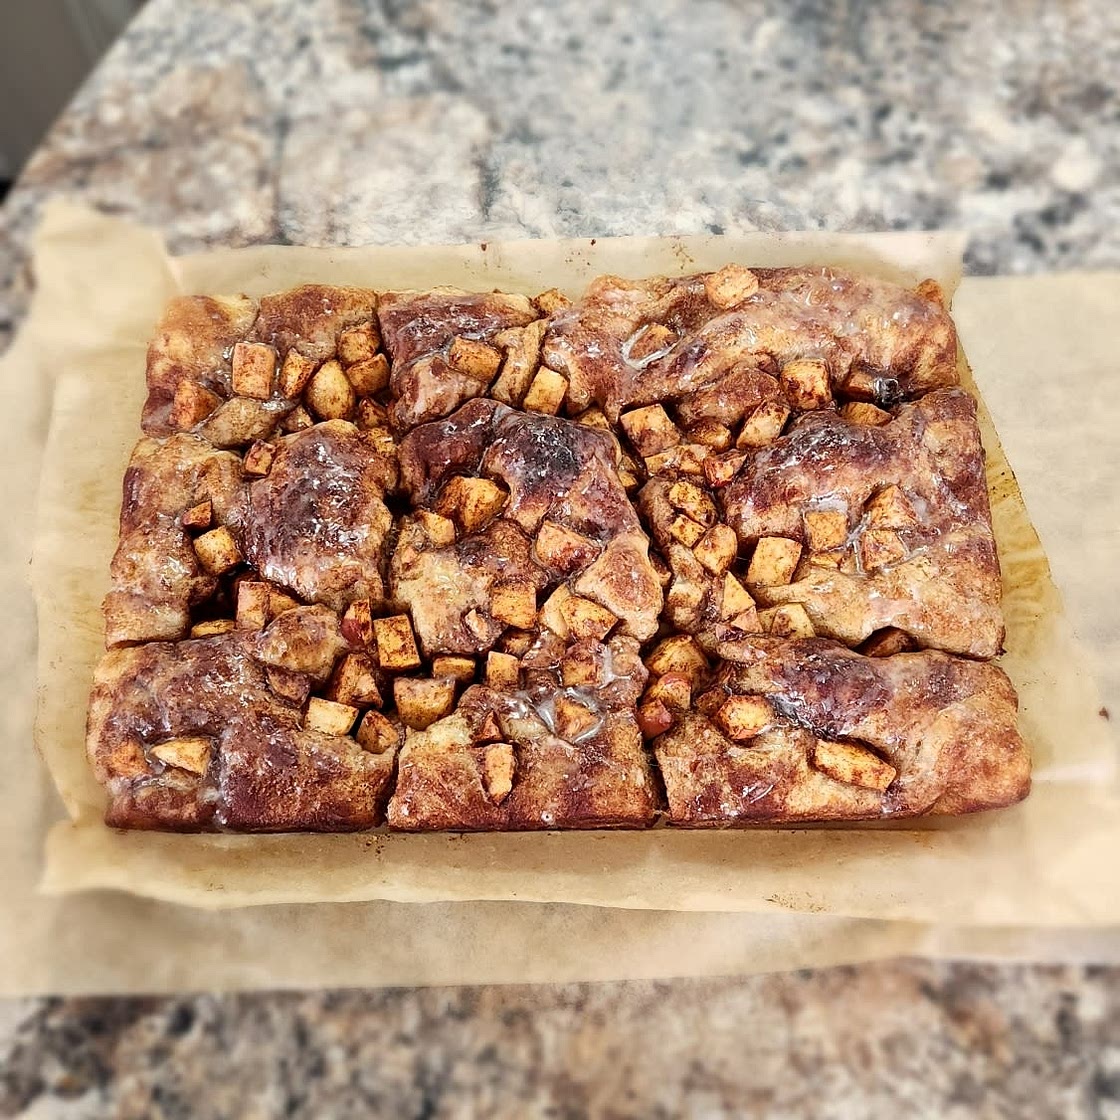
It's apple season and I can't think of a better way to enjoy them! So many of you have requested an apple fritter focaccia flavour this autumn, and I promise this one doesn't disappoint. I've used a new technique to make this easy to pull apart into individual potions!
Updated at: Sat, 26 Oct 2024 01:17:10 GMT
Nutrition balance score
Unbalanced
Glycemic Index
62
Moderate
Glycemic Load
21
High
Nutrition per serving
Calories173.3 kcal (9%)
Total Fat3.4 g (5%)
Carbs34.4 g (13%)
Sugars30.3 g (34%)
Protein0.6 g (1%)
Sodium48.6 mg (2%)
Fiber1.5 g (5%)
% Daily Values based on a 2,000 calorie diet
Ingredients
12 servings
For the cinnamon sugar (you'll use this throughout the recipe)
For the dough
1 batchfocaccia dough
Same-Day, Overnight or Sourdough Focaccia
1apple
medium, peeled and diced finely
1 tablespooncinnamon sugar
for the apples
Extra virgin olive oil
or oil of choice, for drizzling
4 Tablespoonscinnamon sugar
for coating the dough
For the apple topping
for the icing
Instructions
Mixing the dough, stretch + folds and proofing
Step 1
Mix the base focaccia dough but reduce the water in the recipe by 2 tablespoons (30ml)…we reduce the water slightly to account for the extra moisture the apples are going to add into the dough during the stretch + folds. You can use my ‘Overnight Focaccia’, ‘Same-Day Focaccia’ or ‘The Best Sourdough Focaccia’ recipes. These can be found in the “WILL IT FOCACCIA?! RECIPES” community on Samsung Food.
Step 2
In a small bowl, stir together the sugar and cinnamon. You’ll use this cinnamon sugar three times in this recipe.
Step 3
After the dough is mixed up, peel and dice one apple finely and stir it together with 1 tablespoon of the cinnamon sugar.
Step 4
When it’s time for the first stretch + fold, scatter half of the cinnamon sugar apples on top of the dough and then stretch + fold as instructed in the dough recipe. Cover the bowl, wait 15 minutes and repeat this again with the second half of cinnamon sugar apples.
Step 5
Cover the bowl to proof at room temperature for 1-1.5 hours if using the same-day focaccia dough, or follow the instructions for the overnight or sourdough focaccia doughs (ie put into fridge for overnight focaccia, or continue proofing and then put into fridge for the sourdough one).
Loading the dough into the tray and proofing
Step 6
When the dough has finished proofing in the bowl, prepare a 9x13 inch metal baking tray (quarter sheet pan). Line it with nonstick parchment paper and then drizzle the paper generously with extra virgin olive oil (or you can use a neutral oil like avocado oil or coconut oil if you’d prefer to).
Step 7
Drizzle some more oil over a clean worktop and grab a dough scraper or sharp knife (oil the blade on it so the dough doesn’t stick!). Tip the dough out onto the oiled work surface and use your hands to gently stretch the dough out into a 9x13 rectangle. Using the dough scraper, cut the dough into 12 equal pieces (I cut the rectangle into three strips and then cut each of those strips into four).
Step 8
Remove 3 tablespoons of the cinnamon sugar from the bowl and set aside for the apple topping later. The remaining sugar in the bowl can be used to coat the 12 pieces of dough (there should be 4 tablespoons or so of sugar to use).
Step 9
Coat each piece of dough with the cinnamon sugar, making sure you get both sides covered. Place each piece into the prepared baking tray, taking care to fit them into the tray into an even layer. Cover with an inverted tray or with an oiled piece of parchment paper and proof for 1.5 hours (or 2 hours if using the overnight or sourdough recipe).
Dimpling and baking
Step 10
Near the end of the proofing time, peel and dice two more apples (dice a bit bigger than before) and toss them in the 3 tablespoons of cinnamon sugar you reserved (don’t do this too early because you don’t want the sugar to liquify – do it just before dimpling!)…
Step 11
Preheat the oven to 220C/430F.
Step 12
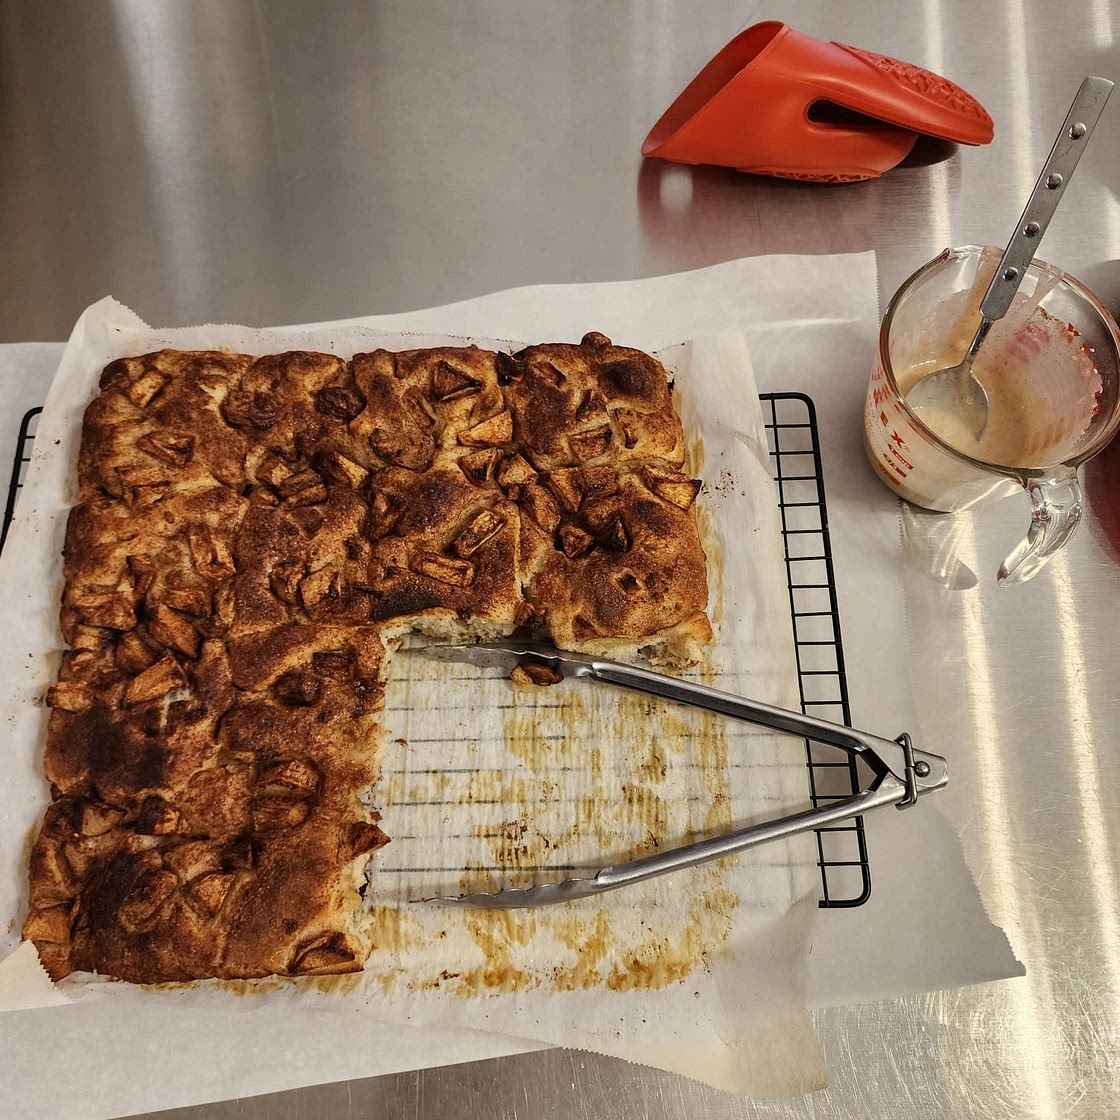
Melt 2 tablespoons of salted butter. Scatter the cinnamon sugar apples evenly over the dough and drizzle over the butter. Dimple the dough and then bake on the bottom rack of the oven for 22-27 minutes or until the bread on top is a deep golden brown and is starting to crisp up – the edges of the apples should be starting to char a little bit. We bake this one for longer due to the amount of extra liquid but also because we want the crispy texture like you’d get on an apple fritter.
Icing the focaccia
Step 13
When the focaccia is baking, whisk together the icing ingredients until smooth.
Step 14
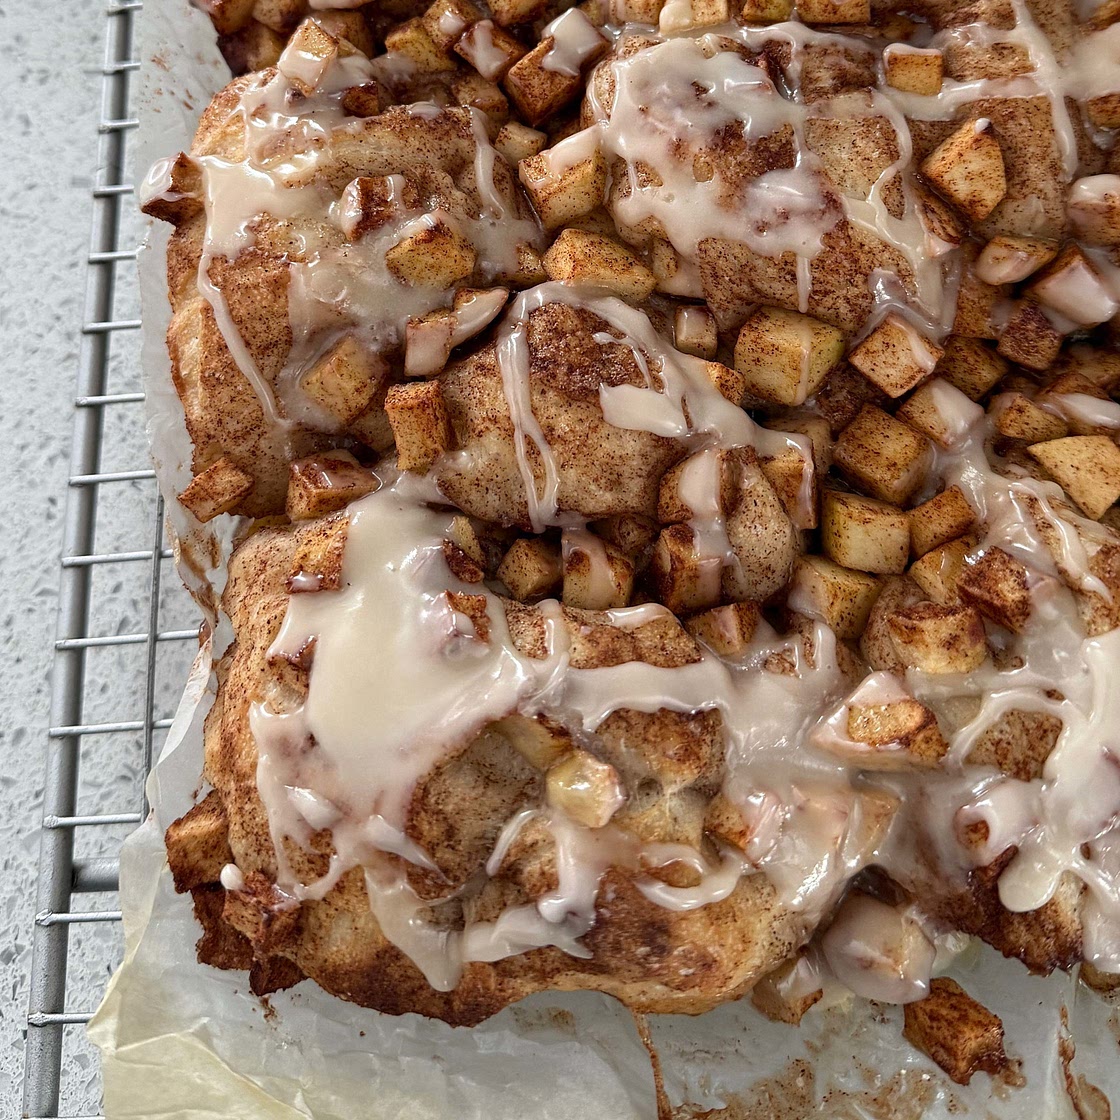
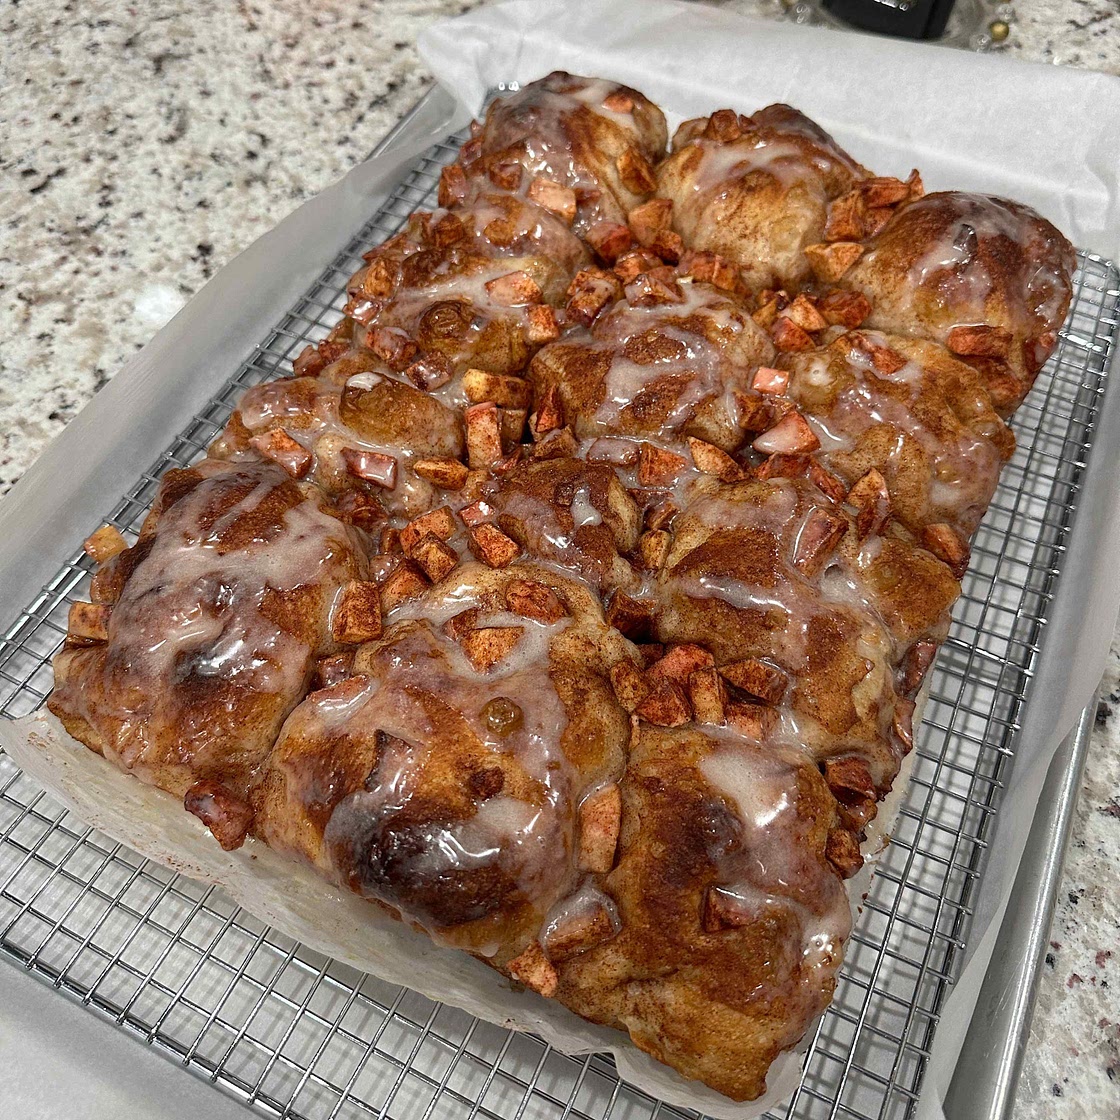
Remove from the oven and transfer to a cooling rack that has been set over a large baking tray or piece of parchment paper (this is to catch icing drips). Drizzle the icing evenly over the top of the bread while it’s hot from the oven and then use a pastry brush to dab the icing evenly into the dough – brushing could remove some apples so just dab it in! Use any excess icing that dripped onto the tray to brush onto the edges of the focaccia.
Step 15
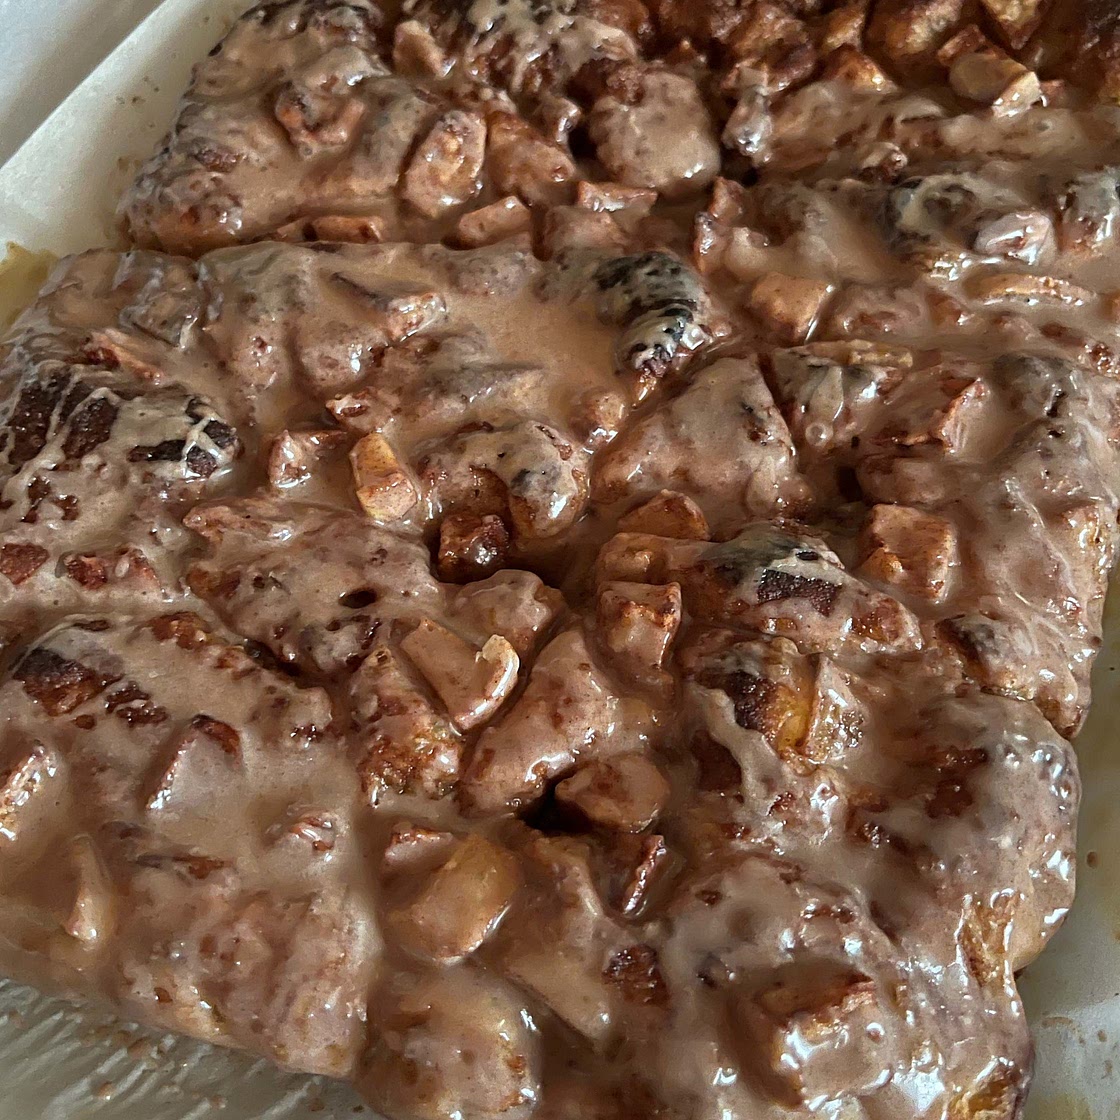
Allow the glaze to harden for at least 15 minutes and then pull apart the tear and share apple fritter focaccia and enjoy!
Tip!
Step 16
Unfortunately, the icing will soften up again if you wrap and store this focaccia so it’s really best to enjoy immediately. Another option is to leave a portion unglazed, reheat the focaccia wrapped foil in the oven (180C/355F for 12-15 mins) and ice it when it’s hot again. I peel off the foil from the top for the last 3 minutes so it can crisp up on top again at the end.
Notes
48 liked
1 disliked
Delicious
Go-to
Sweet
Easy
Moist


