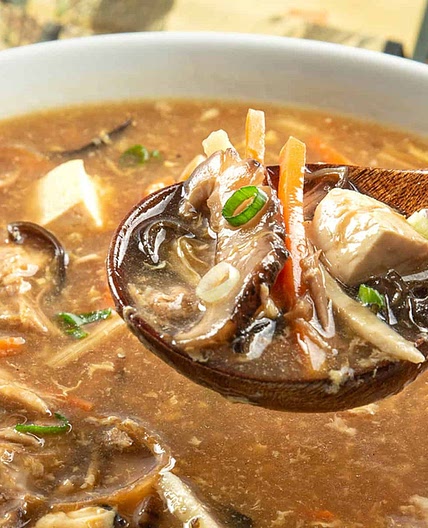
Crista's Bone Broth
Leave a note
Nutrition balance score
Unbalanced
Glycemic Index
44
Low
Nutrition per recipe
Calories7170.1 kcal (359%)
Total Fat762.1 g (1089%)
Carbs6.9 g (3%)
Sugars1.7 g (2%)
Protein65 g (130%)
Sodium2344.6 mg (117%)
Fiber2.2 g (8%)
% Daily Values based on a 2,000 calorie diet
Ingredients
0 servings
Instructions
Roast the Bones
Step 1
Preheat the oven to 400°F (200°C). Place the bones on a rimmed baking sheet in a single layer.
Step 2
Drizzle with olive oil and toss to coat. This helps develop a richer, caramelized flavor.
Step 3
Roast for 30-45 minutes, flipping halfway through. The bones should be golden brown, and you'll start to smell a deep, savory aroma.
Step 4
Tip: If you’re using meaty bones, you’ll see some browning on the meat, which adds even more flavor to your broth.
Cook the Bones
Step 5
Once the bones are roasted, transfer them to the Instant Pot, and deglaze pan if needed to get all the flavor into the broth.
Step 6
Add your apple cider vinegar, freezer scraps, herbs (add rosemary, thyme, bay leaves as an option), and salt to the pot.
Step 7
Cover with cold water. Add enough water to cover the bones completely, but make sure not to exceed the max fill line (usually 2/3 of the pot’s capacity).
Step 8
Set the Instant Pot to Manual or Pressure Cook mode for 3 hours on High Pressure.
Step 9
When the cooking time is up, allow the pot to naturally release pressure for at least 15-20 minutes. This gives the flavors more time to develop.
Finish and Store the Broth
Step 10
Open the lid carefully, and use a slotted spoon or tongs to remove the bones, vegetables, and herbs.
Step 11
Strain the broth: Set a fine-mesh strainer over a large bowl or pot and pour the broth through to remove the small bits.
Step 12
For a clearer broth, strain it twice—once through the fine-mesh and then again through a cheesecloth to catch any remaining particles.
Step 13
Taste the broth and adjust seasoning with more salt if necessary.
Step 14
Allow the broth to cool to room temperature before refrigerating. Once cooled, store the broth in airtight containers in the fridge for up to 5-7 days or freeze for up to 3 months.
Step 15
When the broth cools, you can skim the fat layer off or leave it for extra richness. If you’re planning to use the broth for cooking, you can also freeze the fat for later use in sautéing or frying.
Notes
0 liked
0 disliked
There are no notes yet. Be the first to share your experience!
