By Taylor Weidler
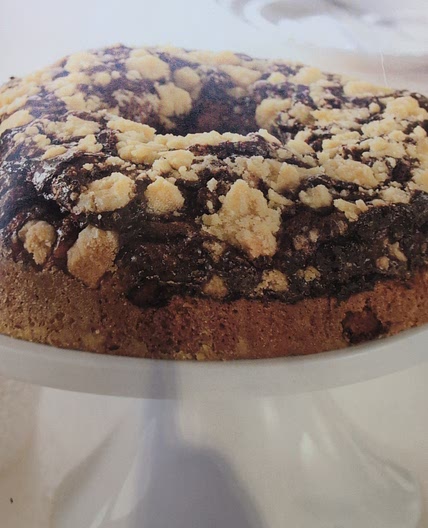
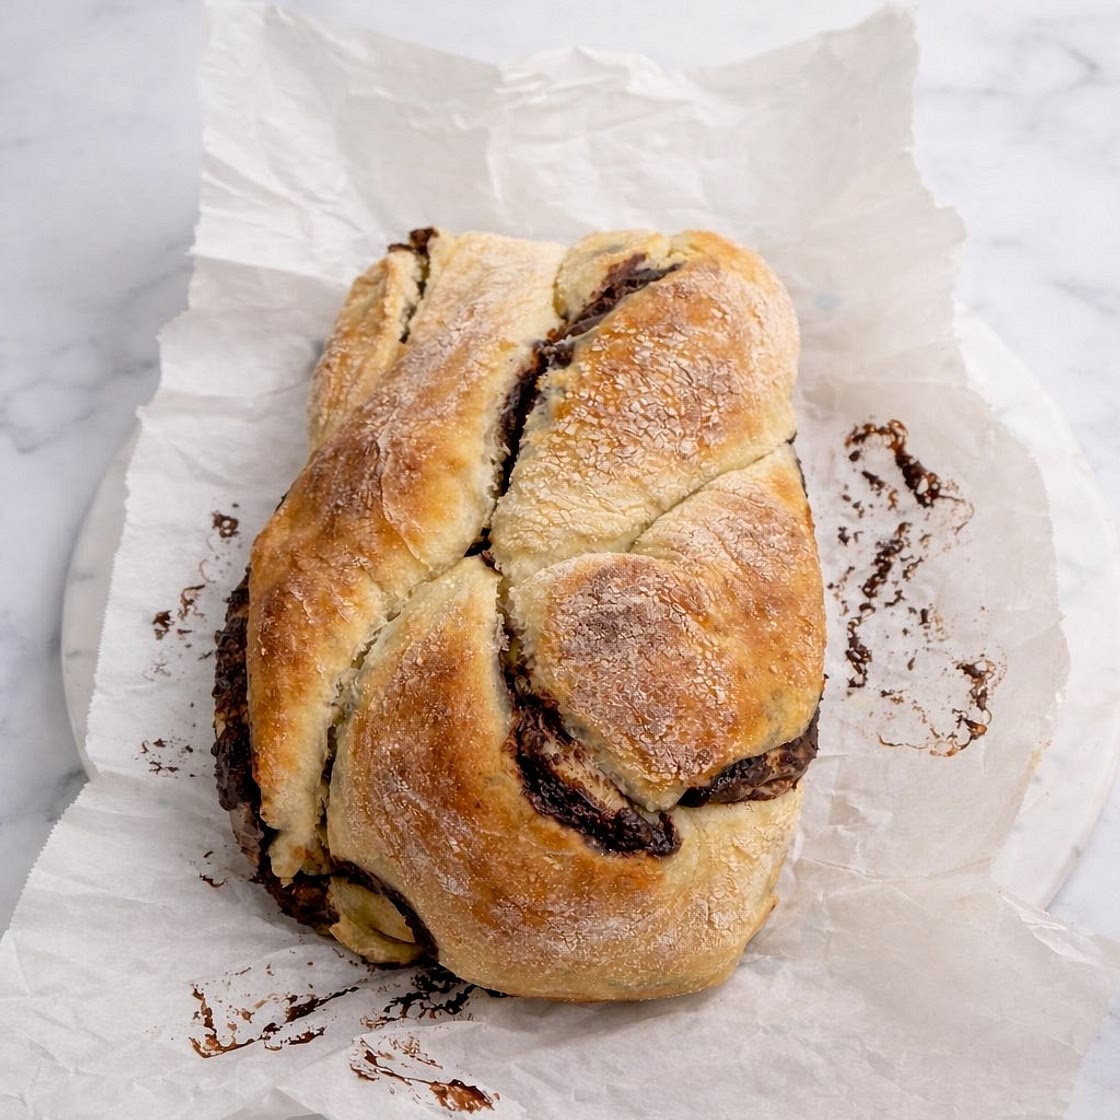
easiest and most delicious chocolate babka bread!🤎
20 steps
Prep:3h 15minCook:30min
this easy and delicious chocolate babes bread comes together fast and tastes amazing! it is soft, moist, and perfectly chocolatey without being too sweet. great for breakfast, dessert, or a quick snack. simple, cozy, and always a hit!
Updated at: Fri, 09 Jan 2026 04:56:41 GMT
Nutrition balance score
Unbalanced
Glycemic Index
67
Moderate
Glycemic Load
42
High
Nutrition per serving
Calories495.9 kcal (25%)
Total Fat24.4 g (35%)
Carbs63.2 g (24%)
Sugars21 g (23%)
Protein8.8 g (18%)
Sodium67.4 mg (3%)
Fiber3.2 g (12%)
% Daily Values based on a 2,000 calorie diet
Ingredients
6 servings
for the dough!
2 ½ cupflour
1 packetfast acting yeast
2 tablespoonssugar
salt
1egg
1 tablespoonbutter
softened, can be salted or unsalted
¾ cupmilk
preferably whole milk
oil
enough to coat the bowl
for the filling!
Instructions
starting the dough and first proof!
Step 1
in a large bowl, mix together the flour, yeast, salt a sugar
Step 2
once mixed together, add the butter and mix thoroughly with your hands. make sure all of the butter is incorporated. no clumps!
Step 3
then add in the egg and mix well!
Step 4
finally add in the milk. add the milk in 2 separate increments
Step 5
using either your hands or a dough hook, mix dough together for about 8-10 minutes. The dough should be a little sticky!
Step 6
once mixed, in a new bowl, or the same one used to mix the dough, add a splash of oil and coat the inside of the bowl thoroughly.
Step 7
place dough inside the bowl and cover it with a damp kitchen towel (preferably a toweled damped with warm water) and let sit on the counter for 2 hours!
for the filling!
Step 8
when your dough has about an hour left of proofing, it’s a perfect time to start the filling! in a medium sauce pan, melt together the chocolate chips and the butter. mixing occasionally.
Step 9
once melted, add in the powdered sugar, Mix completely until the sugar dissolves
Step 10
once the sugar is dissolved, take the pan off the heat be add in your coco powder. mix very thoroughly!! Once combined and smooth, set aside for it to cool
time for assembly and second proof!
Step 11
after 2 hours, your dough should have risen (about double its original size). on a clean, floured surface, drop your dough onto it and start rolling it out into a large rectangle. you want your dough to be around 1/4 of an inch thick!
Step 12
once all rolled out, pour your filling onto your dough and spread it evenly. make sure to leave about 1/2 an inch around all edges to help with rolling!
Step 13
starting from the end closest to you, slowly roll the dough over the filling. similar to the shape of a cinnamon roll!
Step 14
once it’s rolled into a log, pop it into the fridge for 8-10 minutes! this will make it so much easier to cut!
Step 15
after it’s been in the fridge, it’s time to shape and cut it! start by cutting the log in half lengthwise. You should be left with two long halves
Step 16
then pinch the top of both pieces together. then take one half and bring it over to the other side and repeat! very similar to a braid but with two pieces instead of three!
Step 17
once that is complete, line a loaf pan with parchment paper covering the bottom and the sides. place the dough inside of the pan. (you may have to tuck your loaf into its self depending on the size of your pan, that is totally okay!)
Step 18
cover the loaf once again with a damp kitchen towel for another 25 minutes
baking time!
Step 19
when your second proofing is done, it’s time to bake! bake the loaf at 350 degrees for about. 30-32 minutes! check your loaf by sticking a tooth pick into the doughy parts and seeing if it comes out clean!
Step 20
once slightly cooled, cut into slices and ENJOY!!!
Notes
0 liked
0 disliked
There are no notes yet. Be the first to share your experience!