By Mika Slothouber
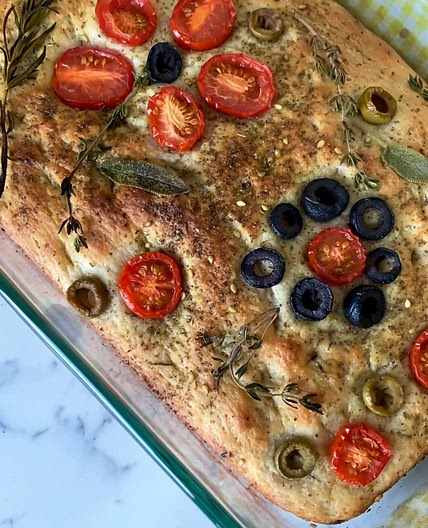
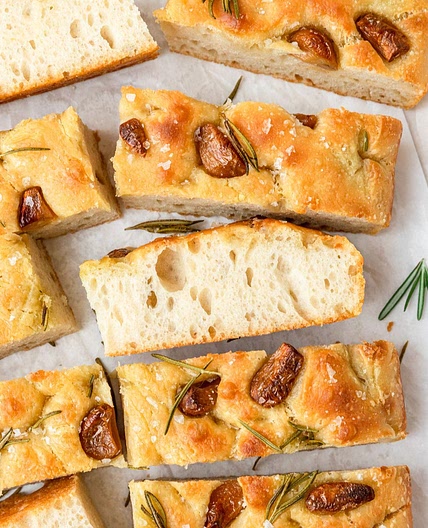
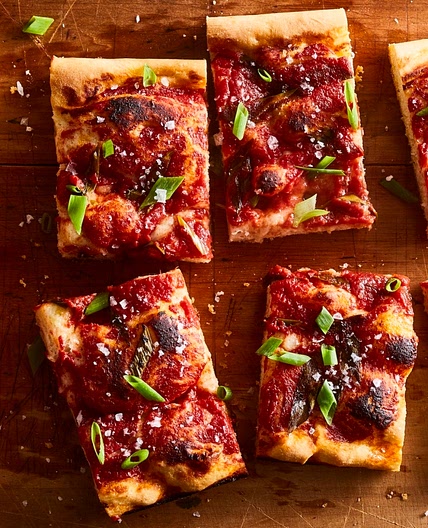
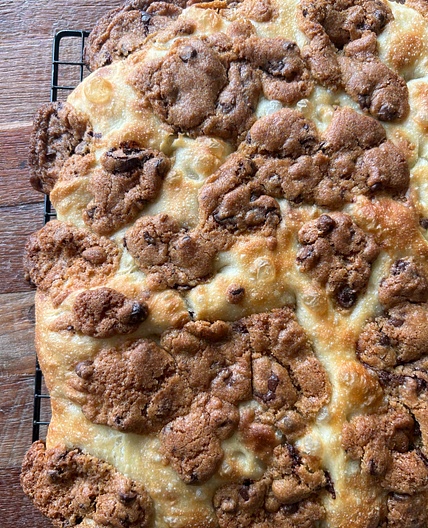
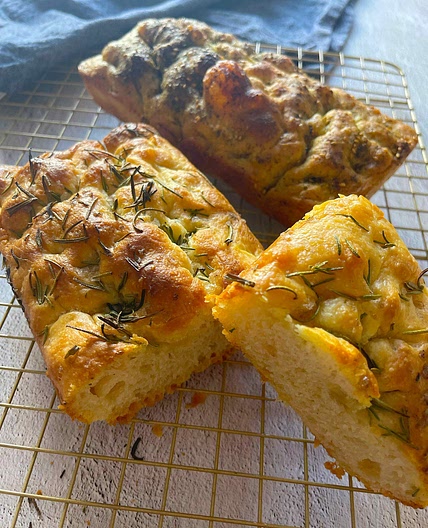
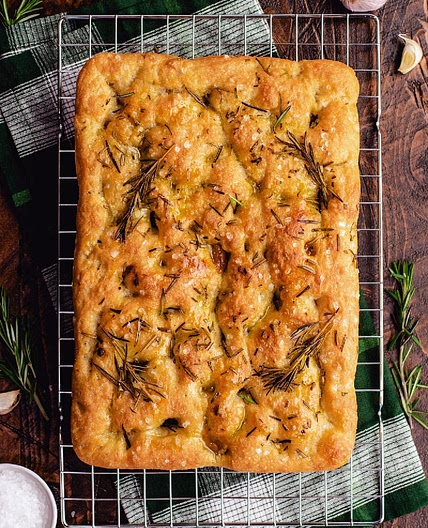
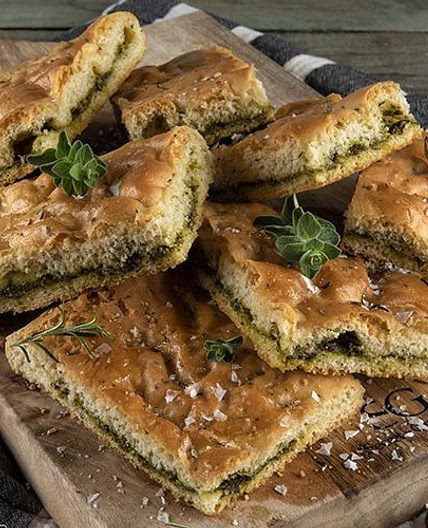
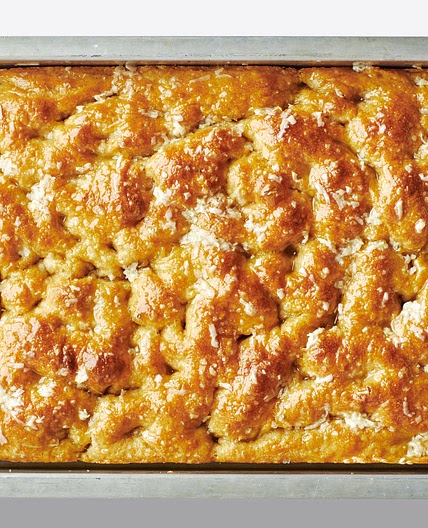
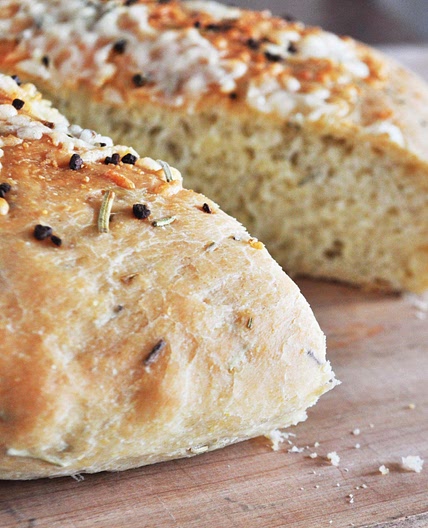
Focaccia same day
21 steps
Prep:3h 20minCook:25min
Updated at: Fri, 23 Jan 2026 12:12:00 GMT
Nutrition balance score
Unbalanced
Glycemic Index
74
High
Glycemic Load
24
High
Nutrition per serving
Calories199 kcal (10%)
Total Fat5.4 g (8%)
Carbs32 g (12%)
Sugars1.9 g (2%)
Protein5 g (10%)
Sodium401.7 mg (20%)
Fiber1 g (4%)
% Daily Values based on a 2,000 calorie diet
Ingredients
12 servings
Instructions
Stage 1: Mix, Stretch and Fold, and First Proof
Step 1
In a large mixing bowl, whisk together the warm water, instant yeast, honey and 15 ml (1 tablespoon) of the extra virgin olive oil until everything has dissolved. Add the bread flour and salt, and mix very well with a spoon until no dry patches of flour remain. Cover the bowl with a clean tea towel and leave the dough to proof for 15 minutes at room temperature.
Step 2
After 15 minutes, it is time to stretch and fold. Dip your hand into a bowl of water before touching the dough to prevent it from sticking to your fingers. Now take hold of the edge of the dough at the 12 o’clock position. Pull it up to stretch, then pull it down over the bulk of the dough, finishing in the 6 o’clock position. Repeat this action on all sides of the bowl until the dough has tightened up. If the dough doesn’t tighten up into a ball, don’t worry! The main point here is that you have stretched the dough to develop the gluten strength.
Step 3
Cover the bowl and leave to proof for another 15 minutes, then stretch and fold once more. You may notice it’s easier to stretch the second time around – this is because the gluten in the dough has started to develop.
Step 4
Gather your dough into a rough ball shape and position it in the bowl smooth-side up. Cover the bowl and leave to proof, undisturbed, for about 1–1 ½ hours at room temperature. The dough should have nearly doubled in size and should be puffy, bubbly and jiggly. (See page 13 for more on proofing times and how to adjust for warm/cold temperatures.)
Stage 2: Preparing the Tray and Second Proofing
Step 5
To prepare the tray, rub a tiny bit of the remaining olive oil onto it, then place a sheet of non-stick baking parchment on top and press down. The oil will help the parchment to stay in place. Now drizzle the remaining 45 ml (3 tablespoons) of olive oil onto the baking parchment, spreading it evenly around the base and sides. The non-stick parchment prevents the focaccia from sticking to the tray when baking, while still allowing the bread to crisp up at the bottom.
Step 6
Using a curved dough scraper or an oiled hand, gently release the dough from the sides of the bowl and tip it on to the oiled baking tray.
Step 7
Oil your hands and fold one side of the dough towards the middle. Repeat with the other side, folding it over the top as if you are folding a piece of paper into thirds (it will look like a large burrito). Rotate the dough so its long side aligns with the long side of the tray, then flip it over so the seams from the folding are at the bottom and the top is smooth.
Step 8
Cover the tray to prevent the dough from drying out and forming a crust as it proofs. You can use another (inverted) baking tray for this, or an oiled piece of baking parchment, but do not use cling film (plastic wrap) or a tea towel, as these will stick.
Step 9
Proof at room temperature for about 1–1 ½ hours. Exact proofing times will depend on the temperature. If it’s a hot day, it might only take 1 hour for the dough to puff up and spread, but on a very cold day, it could take 2 hours. While the dough is proofing, prepare any toppings you plan to dimple into your focaccia.
Stage 3: Dimple, Top and Bake
Step 10
When the dough is ready, it should be puffy, bubbly and jiggly, and it will have spread out to mostly fill the space in the tray. If it hasn’t spread out completely, oil your hands, slide them under the dough and gently pull the dough towards the edges until it fills the tray and is a uniform thickness. If you’re using a larger tray, you may not need to stretch it all the way to the edges.
Step 11
Preheat the oven to 220°C (430°F) and move the oven rack to the lowest position. (See note on oven settings below).
Step 12
Drizzle the top of the dough with 15–30 ml (1–2 tablespoons) extra virgin olive oil, then oil your hands. Using both hands, press your fingers into the dough, gently touching them to the bottom of the tray. Repeat until the entire tray of dough is dimpled.
Step 13
Top with a sprinkle of flaky sea salt, then press any extra toppings firmly into the little dimples you’ve created.
Step 14
Bake the focaccia for 18–25 minutes, or longer if needed, until it is a golden-brown colour.
Step 15
Once it’s out of the oven, allow the focaccia to cool for a couple of minutes in the baking tray, then transfer to a cooling rack so the bottom of the bread remains crispy.
Step 16
You can finish the focaccia with an extra drizzle of extra virgin olive oil at this point if you wish for it to look burnished and glistening. Let it cool for at least 15–20 minutes before you slice (or tear) and enjoy! See below for instructions on storing, freezing and reheating focaccia.
Step 17
OVEN TEMPERATURE: Temperatures stated are for a conventional oven (not fan/convection).
Step 18
PLACEMENT OF OVEN RACK: For most ovens, setting the oven rack to the lowest position will help to ensure the bottom of the focaccia gets crispy. One exception is if you have a gas oven with all heat concentrated at the bottom. In this case, bake the focaccia on the middle rack instead.
Step 19
OVEN SETTINGS: If you have a pizza setting on your oven, always opt to use that for focaccia. This setting directs extra heat to the bottom of the oven, which allows the base of the bread to crisp up while preventing toppings from burning. Be mindful that the pizza setting is often a fan setting, so reduce the temperature by 15–20°C.
Step 20
BAKE TIMES: If your focaccia still looks pale by the time the suggested bake time has lapsed, leave the bread in the oven until it has reached the colour you’re hoping for. If it takes a lot longer than stated, then increase the temperature of your oven by 10–15°C (20–30°F) the next time you make the recipe. After a few attempts and adjustments, you should be able to find the settings that are best for baking focaccia in your oven. If you’re having trouble getting the base crispy, I’ve found that placing the tray directly on the bottom of the oven for the final 4–5 minutes of baking can help to toast it up nicely!
Step 21
If you’d prefer to use active dry yeast (also called dried active yeast), use the same quantity of yeast, but you’ll need to activate it first. Whisk together the yeast with the warm water and honey or sugar stated and let it sit for 5–10 minutes, or until the yeast has bloomed – it will look very foamy on the surface when it is ready to use. Add the remaining ingredients and continue the recipe as normal. If you’d prefer to use fresh yeast, triple the amount of yeast that is called for. If a recipe calls for 4 g (1 teaspoon) instant yeast, then use 12 g (1 tablespoon) fresh yeast. Activate the fresh yeast as above before adding the rest of the dough ingredients.
View on thehappyfoodie.co.uk
↑Support creators by visiting their site 😊
Notes
0 liked
0 disliked
There are no notes yet. Be the first to share your experience!