By mycomfortbakes
Chocolate Date Bars
11 steps
Prep:20min
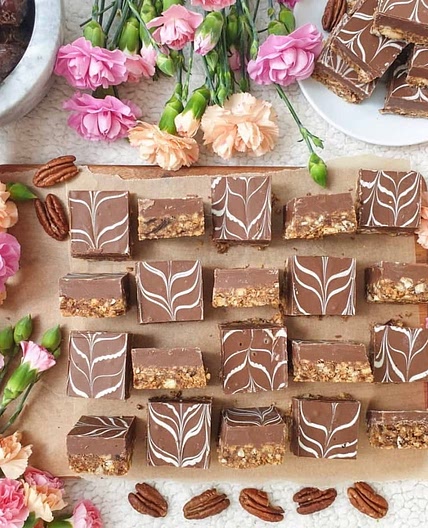
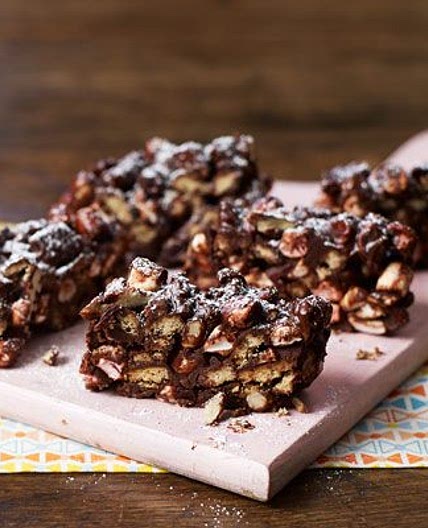
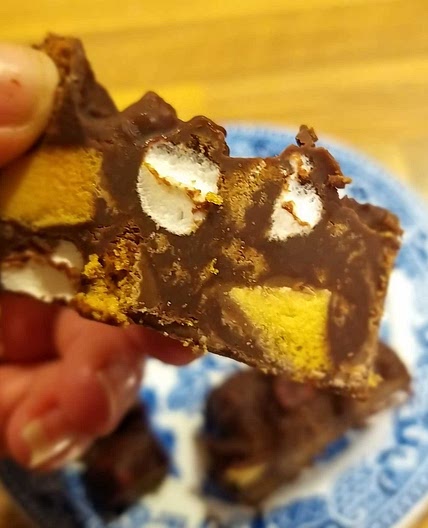
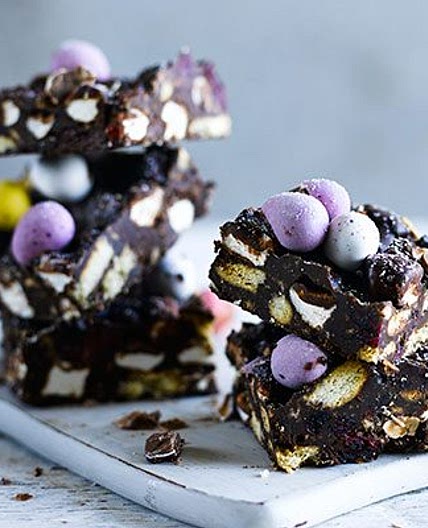
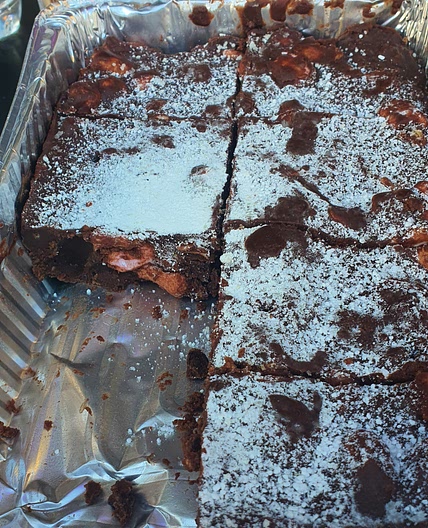
A rocky road/tiffin like bar filled with biscuits, nuts and dates, topped with a layer of chocolate. My favourite no bake Eid recipe and a hit every time!
Updated at: Wed, 16 Aug 2023 20:22:35 GMT
Nutrition balance score
Unbalanced
Glycemic Index
56
Moderate
Nutrition per recipe
Calories6957.4 kcal (348%)
Total Fat448 g (640%)
Carbs687 g (264%)
Sugars435.6 g (484%)
Protein84.6 g (169%)
Sodium4879.1 mg (244%)
Fiber48.7 g (174%)
% Daily Values based on a 2,000 calorie diet
Ingredients
0 servings
250gbutter
margerine
3 tblspgolden syrup
3 tblspcaster sugar
350gbiscuits
crushed, use digestives, rich tea or any similar biscuit
½ cupalmonds chopped
½ cuppecan nuts
chopped
1 cupdates
chopped, press CHOPPED pieces into cup well so you have exactly a cup or even more
3 Tbspcocoa powder
1 tspmixed spice
400gmilk chocolate
3 pieceswhite chocolate
for drizzling
Instructions
Step 1

First prepare your ingredients. To begin, crush your biscuits using a food processor or by placing them in a freezer bag and bashing them with a rolling pin (get all your frustration out). You dont want many bigger pieces, the smaller the better (mine was mostly a powder). Also chop your almonds and pecans using a food processor or by hand, and chop your dates.
Step 2

Melt your butter in a large saucepan while constantly stirring.
Step 3

Add caster sugar and golden syrup and stir well until the sugar dissolves (you don't want the sugar to burn at the bottom). Remove from the heat and set aside.
Step 4

To a large bowl, add cocoa powder, chopped dates, chopped nuts and spice and mix well. Add the crushed biscuits and mix well again.
Step 5

Then pour over your butter mixture and mix thoroughly until combined.
Step 6

Press mixture into a lined 25cm × 30cm tin or foil tray. You need to do this will all your strength because you dont want any gaps or for your bars to fall apart later. Use a cup and your hands to really press the mixture together tightly.
Step 7

Melt your milk chocolate and pour it over the tray. Tilt the tray so the chocolate reaches the corners and gently tap it on a surface to level the chocolate.
Step 8

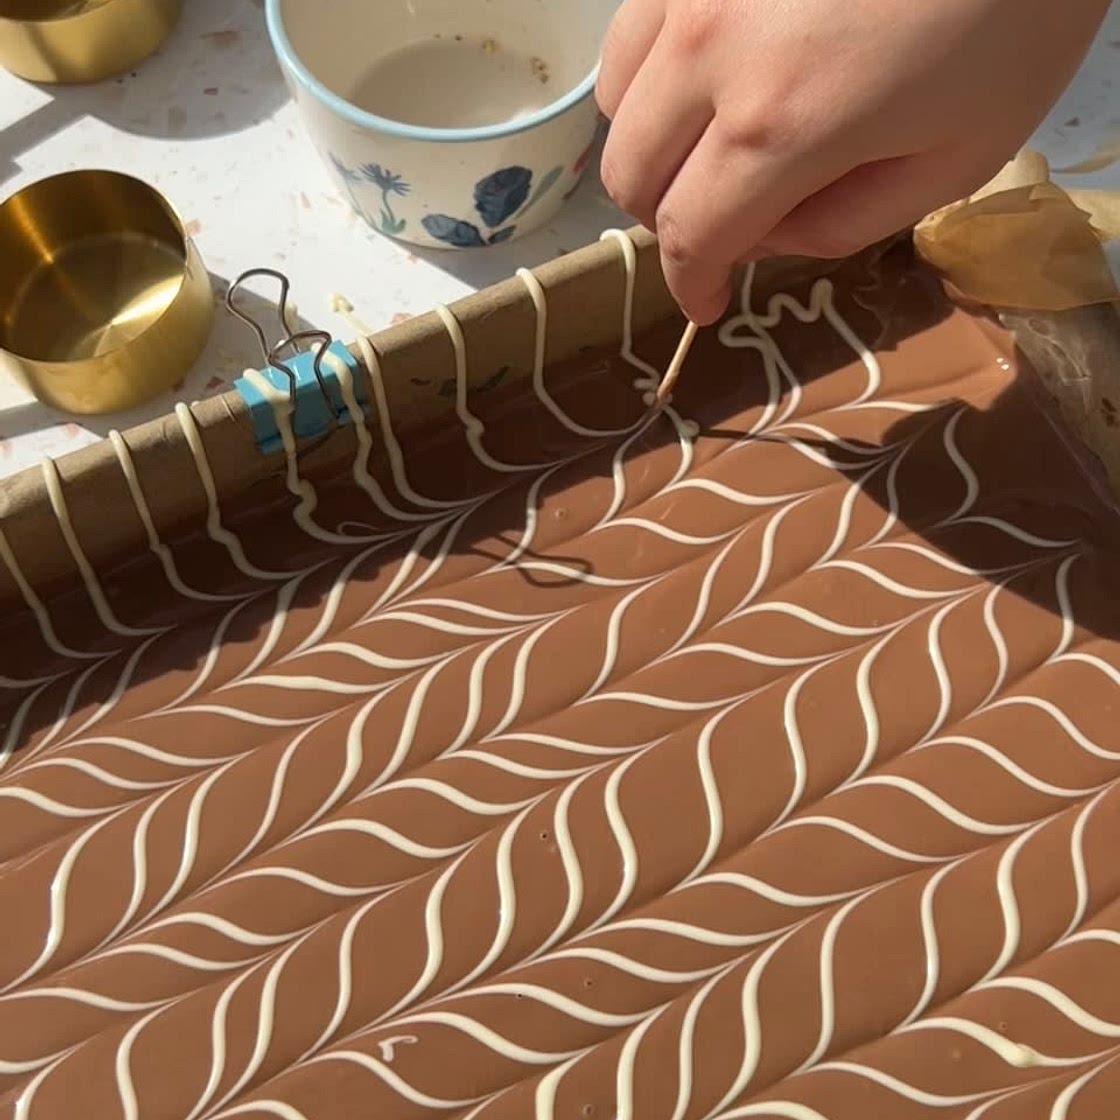
Melt some white chocolate and add it to a bag. Snip the edge to form a tiny hole and drizzle straight lines across the width of the tray, 2cm apart.
Step 9

Then drag a toothpick through the chocolate up and down the length to create the feathering effect in the picture.
Step 10
Chill in the fridge JUST until the chocolate hardens so that you’re able to cut them before they harden too much. Cut into squares immediately and chill again for about 2 hours. Enjoy :)
Step 11
Store in the fridge or in an air right container in a cool dry place. These should last quite a while so you can make them in advance.
Notes
0 liked
0 disliked
There are no notes yet. Be the first to share your experience!
