Nutrition balance score
Uh-oh! We're unable to calculate nutrition for this recipe because some ingredients aren't recognized.
Ingredients
12 servings
Instructions
Step 1
>>This is the end of my canning rant. Sorry, not sorry.<<
Step 2
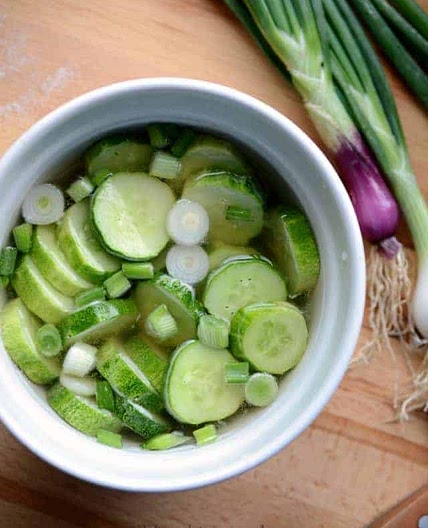
Place finely chopped zucchini, pepper and celery all together in a large, non reactive mixing bowl. Combine with salt and cover with cold water until covered. Let sit for at least 1 hour and up to six.
Step 3
Drain and rinse the zucchini mixture using a colander or large sieve, and drain and rinse again. After the second rinse be sure to press out excess moisture; set vegetable mix aside.
Step 4
In a large heavy bottom pot, add sugar, vinegar, celery seed (optional), mustard seed, dry mustard and cloves. Bring to a boil over high heat. Then, reduce the heat to medium-low and simmer for 5 minutes. Add reserved zucchini mixture and return to a boil.
Step 5
Once a boil is reached, reduce the heat and gently boil, uncovered for at least 45 minutes or until mixture is thickened.
Step 6
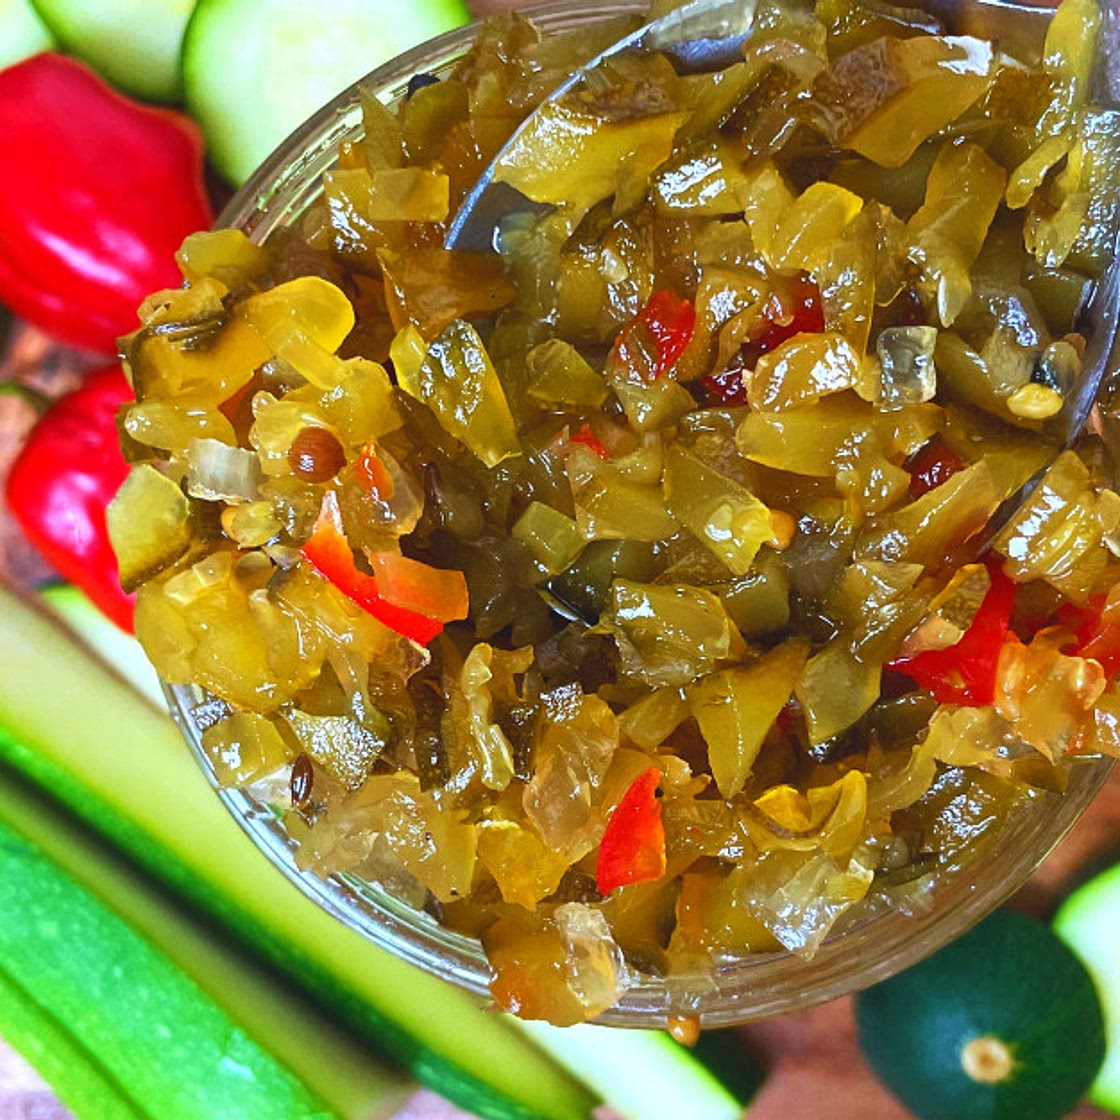
Ladle your relish goodness into hot jars within 1/2 inch of headspace and process 10 minutes for half pint jars and 15 minutes for pint sized jars. (See steps below for water bath canning)
Step 7
Run the jars through a ‘quick clean’ or ‘sterilization’ cycle in your dishwasher.
Step 8
Place the jars in a large pot (12 quart) of water on top of a steaming rack (so they don’t touch the bottom of the pan), and bring the water to a boil for 10 minutes. Remove hot jars right before use.
Step 9
Or hand wash and rinse the jars, dry them, and place them (without lids or rings) in a 200°F oven for 10 minutes.
Step 10
You CAN do this!
Step 11
Sanitize (directions above) your jars and place them on a dishtowel.
Step 12
Remove any air bubbles by running a long plastic or wooden skewer between the jar and the jam.
Step 13
Wipe the rims of the jars with vinegar to remove any spillage (which can prevent your jars from creating a seal).
Step 14
Secure the rings to the top of your jar until they are “fingertip tight”–secured but air still has room to pass through.
Step 15
Using a jar rack or plate, lower the jars into the boiling water of your water bath canner.
Step 16
Pour in more water to ensure that the water covers at least an inch above your jars.
Step 17
Place the lid on your pot.
Step 18
Bring water to a full boil for 10 minutes, then use a jar lifting to remove the jars out of the water and let them cool on a towel undisturbed for a minimum of 8 hours. (note do not tighten the caps or you’ll risk breaking the seal).
Step 19
When are the jars ready?
Step 20
As your jars cool, you’ll hear the jars making clicking pops. Leave the jars undisturbed on a towel for a minimum of 12-24 hours. After that, you can confirm the jars have been sealed by removing the rings. A sealed jar lid will remain secured to the jar without the rim and be slightly indented in the center. Use your index finger to moderately tap on the jar in a few places, it should not pop back when pressed. The majority of your jars will seal within a few hours of cooling down. If you have any jars that didn’t seal properly, just store them in the fridge and use them within 3 months.
Step 21
Sealed jars will store in a cool, dark place for a year. If the seal is broken, the relish will keep in the fridge for at least a month.
Notes
1 liked
0 disliked
There are no notes yet. Be the first to share your experience!
