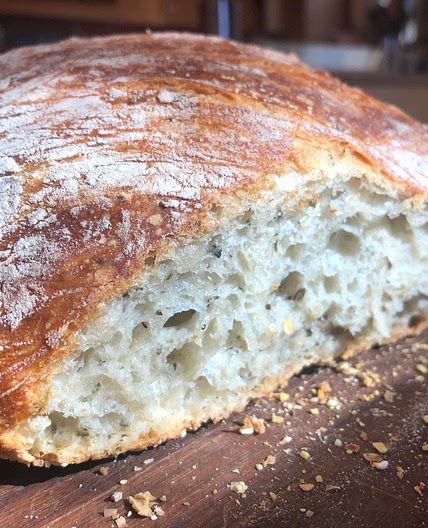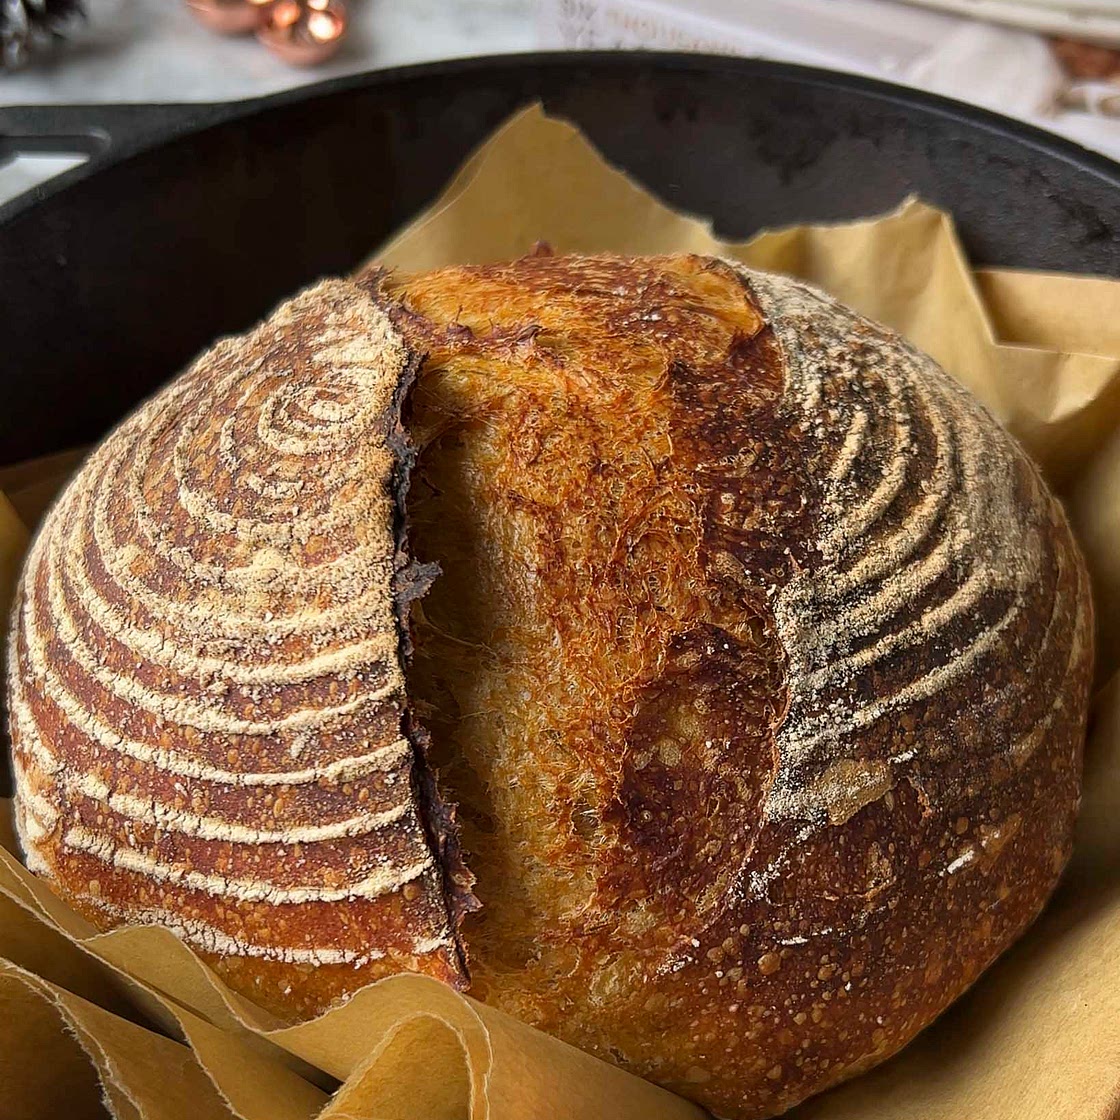
1/4
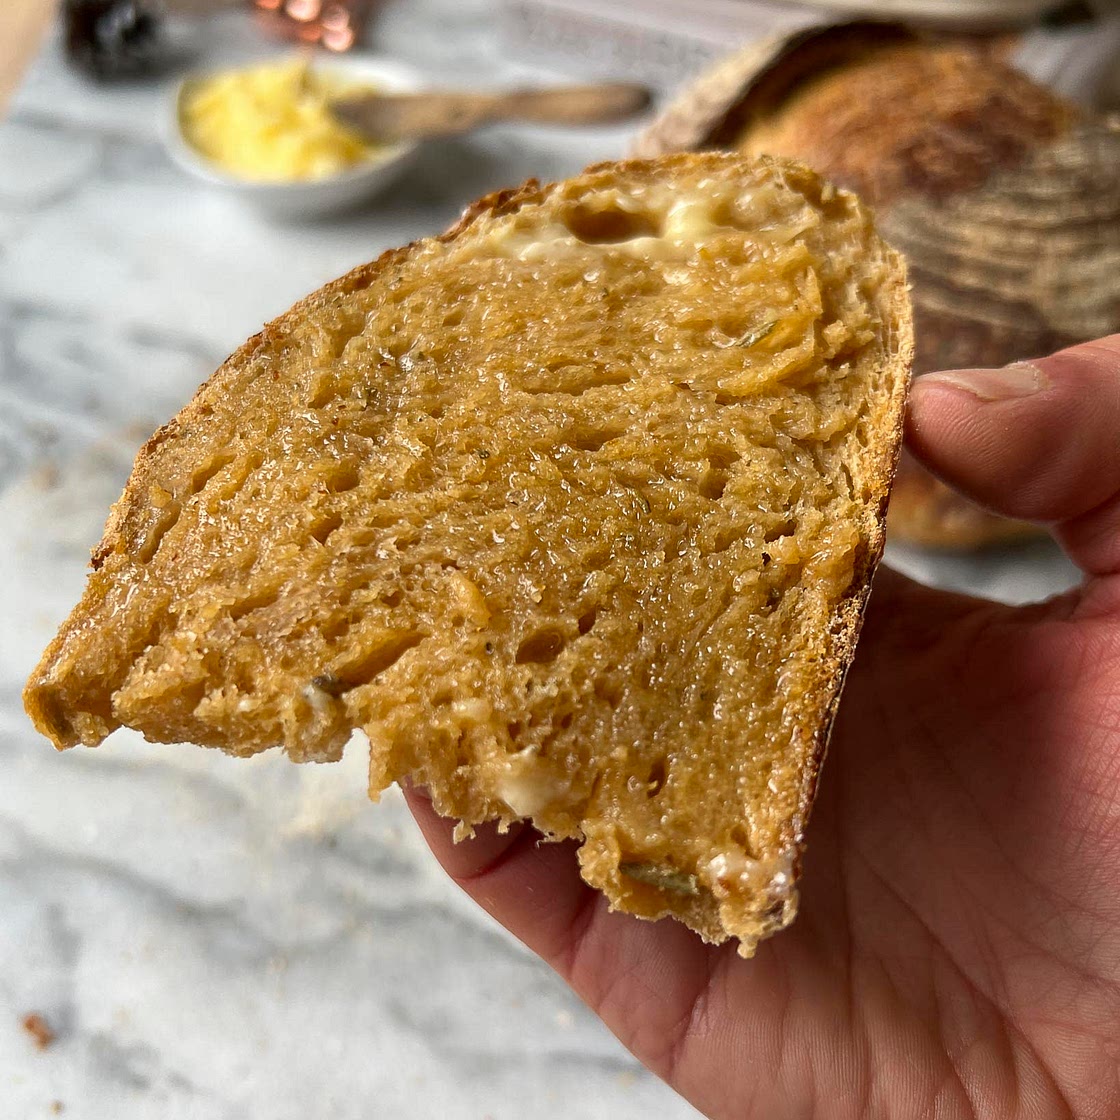
2/4
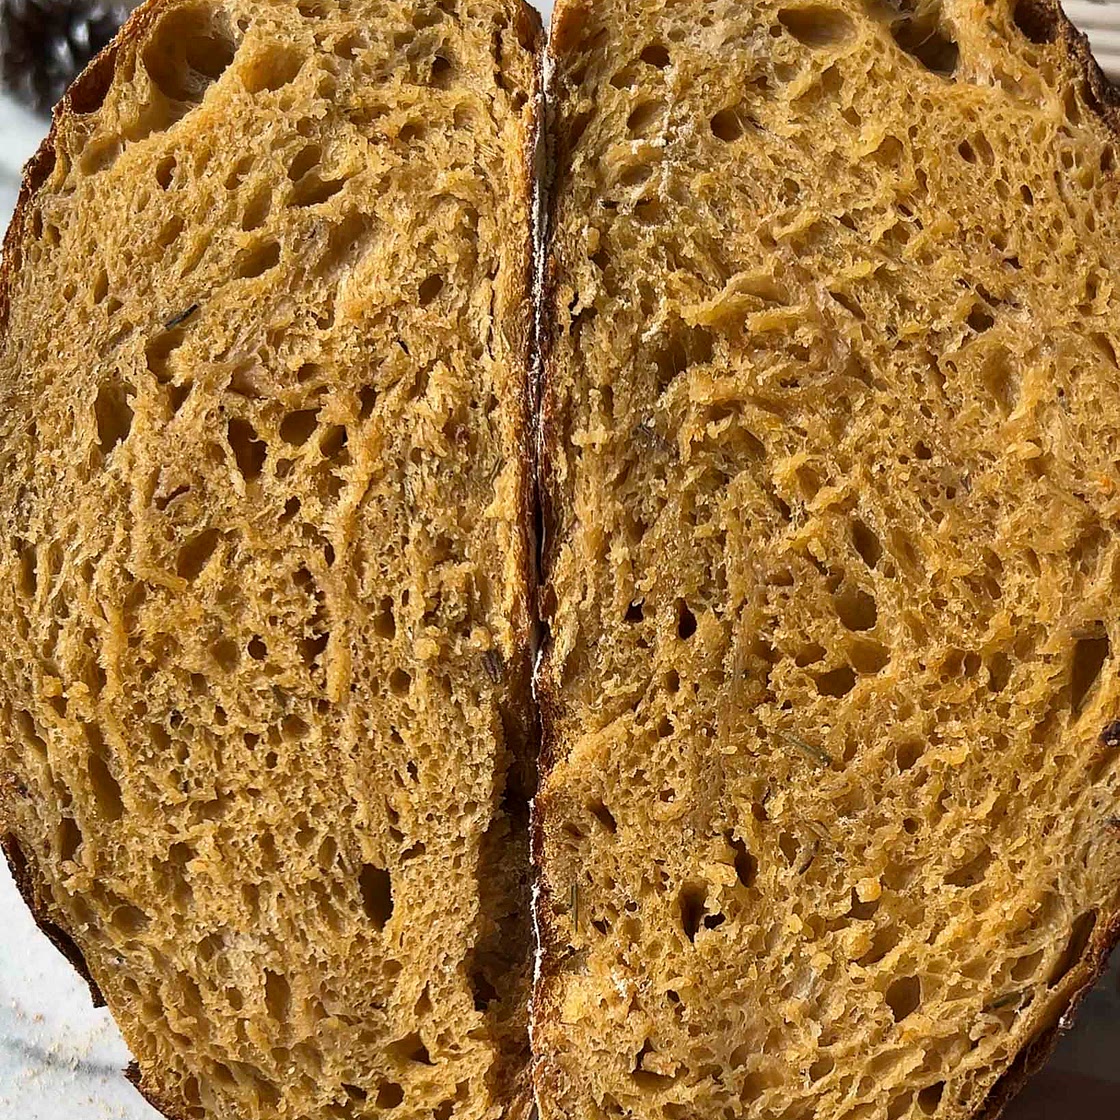
3/4
4/4
Leave a note
Nutrition balance score
Good
Glycemic Index
72
High
Glycemic Load
281
High
Nutrition per serving
Calories1955.3 kcal (98%)
Total Fat9.2 g (13%)
Carbs388.1 g (149%)
Sugars8.1 g (9%)
Protein66.2 g (132%)
Sodium2941.6 mg (147%)
Fiber29.5 g (105%)
% Daily Values based on a 2,000 calorie diet
Ingredients
1 servings
Instructions
Step 1
Feed Your Starter: You'll want to feed your starter about 8-12 hours before you plan to mix all of the ingredients together. Since this recipe calls for 100g of active, bubbly starter, it makes sense to feed at least 70 grams of water and 70g of flour the night before.*Optional* Autolyse Dough, 1 - 2 hours : In a large bowl or Tupperware, combine flour and water. Using your hands, mix the ingredients together until the dough fully absorbs the water. This will only take a couple of minutes, and there should be no dry patches left when you're done. Cover with a lid or cloth.
Step 2
Mix Dough: After you've let the dough autolyse, add sourdough starter and sea salt. Mix with your hands by slowly pinching in until incorporated. Perform 2 - 5 sets of stretch and folds.
Step 3
Bulk Fermentation, 3 - 7 hours: Bulk fermentation usually takes about 3-5 hours, but it can vary depending on the temperature of your home and the strength of your starter. My bulk fermentation took a total of 7 hours at roughly 68 F. For this step, you're going to perform 3-4 sets of stretch and folds every so often. Here's a great video showing how to do soft stretch and folds. The bulk fermentation is done when the dough has significantly increased in size, air bubbles form on top, and air pockets on the sides and bottom. You can also perform the poke test. If you poke the dough gently with your index finger and it bounces back, retaining its original shape in the affected spot, it's a sign your dough is ready.
Step 4
Cold Proof, 12 - 48 hours: Now it's time to lay your dough baby to rest and pop her in the fridge. First, you'll need to cover it to prevent the exterior of the dough from drying out. It's pretty standard for bakers to use a plastic ziplock bag or a dampened cloth. After you've covered the dough, place it in the fridge.
Step 5
Shape + Final Proof, 1 - 3 hours: Lightly flour your work surface, and sprinkle a little bit of flour on top of the dough as well. Shape your dough as desired and place in a covered banneton or container. Let it rest on the counter for another few hours or until slightly puffy.
Step 6
Preheat Oven, 30 mins: Place your Dutch oven into your oven and preheat to 500 degrees.
Step 7
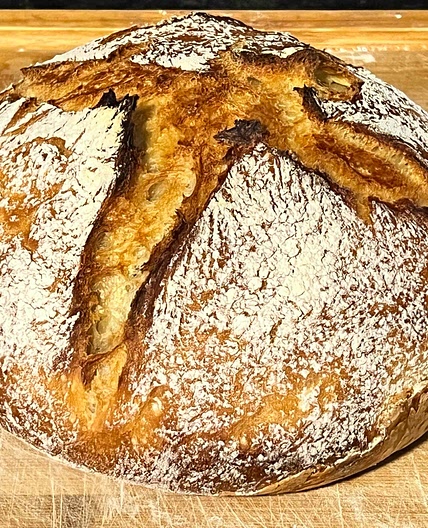
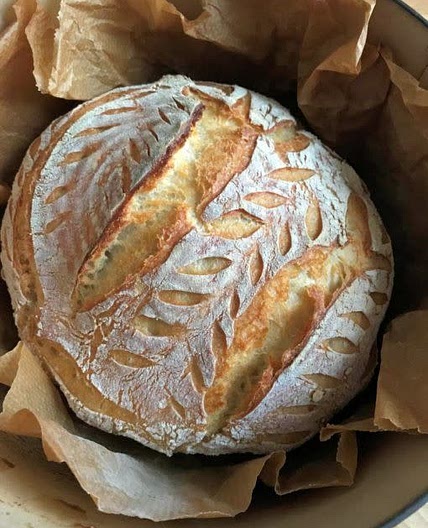
Score & Bake, 40 mins: When the oven is preheated, cover your Tupperware/bread basket with a piece of parchment paper, and then place a cutting board over the parchment paper. While holding the parchment paper and cutting board against the Tupperware, flip it over and allow the dough to turn out. Lifting from the parchment paper edges, place your dough in the preheated Dutch oven, add the lid, and bake at 500 for 20 minutes. After 20 minutes, remove the lid, and lower the temp to 450. Continue baking for another 20 minutes. The bread is done when the crust is a beautiful golden brown and the internal temp is about 208-210 degrees.
View on Jesha's
↑Support creators by visiting their site 😊
Notes
0 liked
0 disliked
There are no notes yet. Be the first to share your experience!

