1/3
2/3
3/3
Leave a note
By Laura Brady
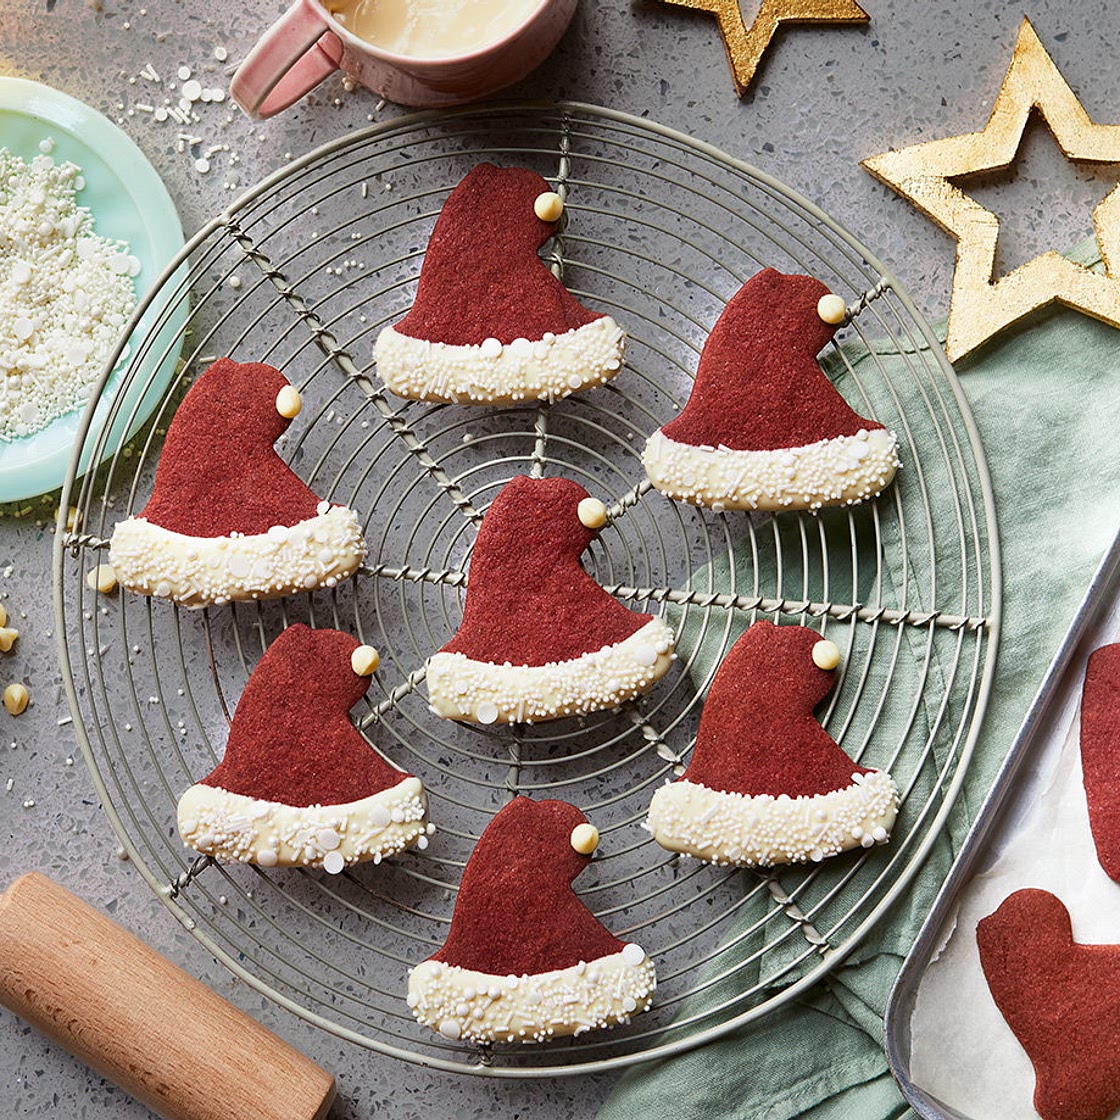
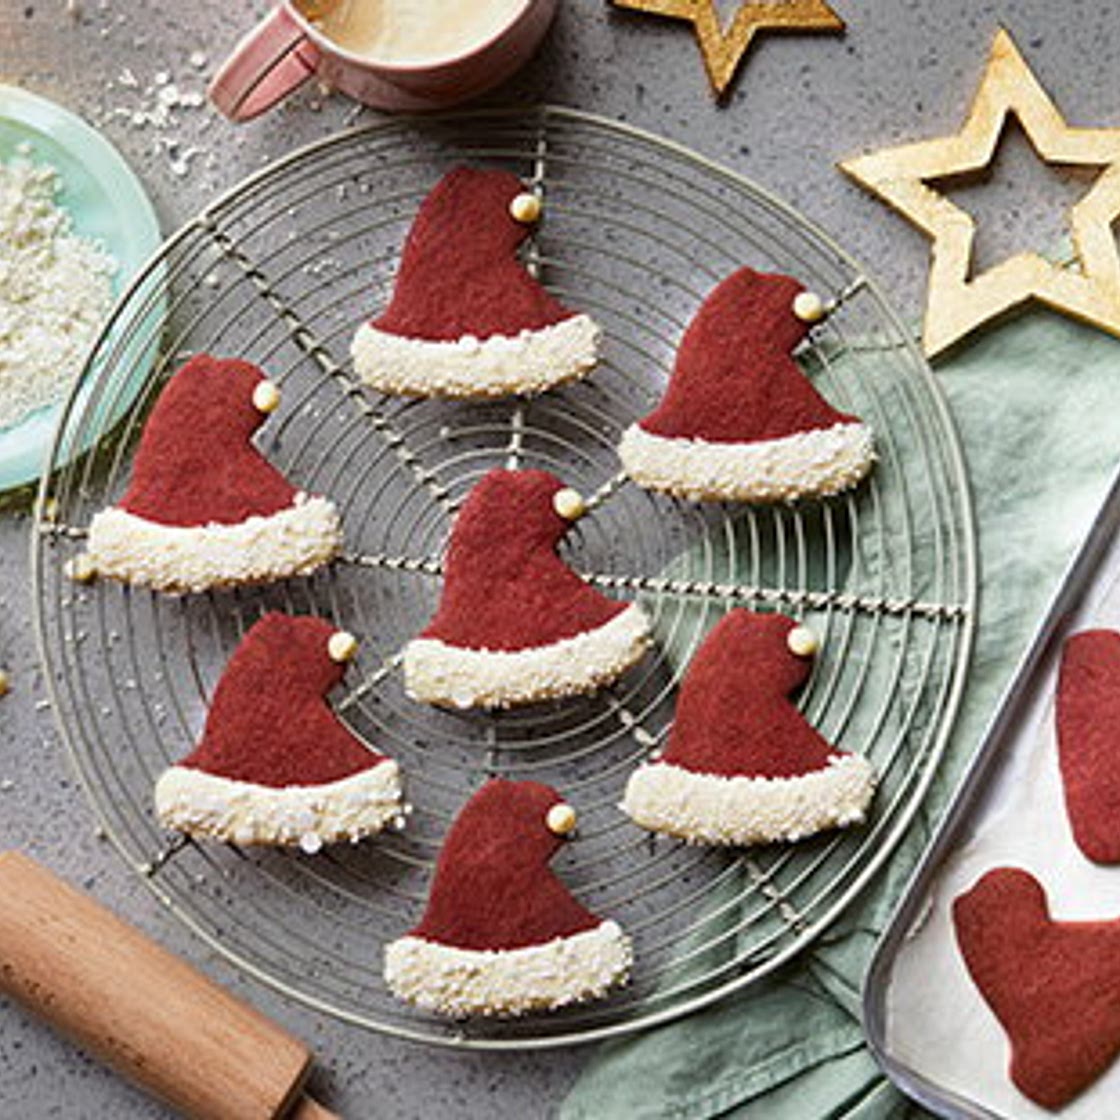
Red velvet Santa hat cookies
7 steps
Prep:45minCook:20min
Give Father Christmas a warm welcome this Christmas by leaving out a few of these jolly red velvet Santa hat cookies.
Tip: When beating the butter with the first ingredients do not overwork the mixture, just ensure they are well combined, or you will beat too much air in the mixture and your cookies will spread during baking. Chilling the cookies after cutting them out also helps them to hold their shape better during baking.
Freeze cookies before icing or freeze iced cookies in single layers before separating with baking paper and stacking in an airtight container. In order to enjoy optimum flavour and quality, frozen items are best used within 3 months of their freezing date.
Updated at: Thu, 17 Aug 2023 03:08:30 GMT
Nutrition balance score
Unbalanced
Glycemic Index
61
Moderate
Glycemic Load
10
Moderate
Nutrition per serving
Calories128 kcal (6%)
Total Fat6.2 g (9%)
Carbs16.8 g (6%)
Sugars9.6 g (11%)
Protein1.6 g (3%)
Sodium9.5 mg (0%)
Fiber0.3 g (1%)
% Daily Values based on a 2,000 calorie diet
Ingredients
34 servings
Instructions
Step 1
Line 3 large baking trays with baking paper. Put the butter, sugar, cocoa powder, vanilla extract, food colouring and a pinch of salt in a bowl and beat together with an electric whisk until combined and the colour is even.
Step 2
Beat the egg in a jug and slowly add to the butter mixture, whisking until well incorporated. Sift in the flour and mix until just combined. Gather the dough into a ball, wrap in clingfilm and chill for at least 30 mins. Meanwhile, draw a Christmas hat (about 7 x 7cm) onto a piece of card, then cut it out.
Step 3
Place the dough on a lightly floured surface and roll out to 5mm thick. Cut out hat cookies with the template and a sharp knife.
Step 4
Place on the prepared baking trays and chill again for 30 mins. Meanwhile, preheat the oven to gas 6, 200°C, fan 180°C. Bake the cookies in batches for 10 mins, then leave to cool completely on a wire rack.
Step 5
Reserve 1 white chocolate chip for each cookie. Melt the remaining white chocolate over a saucepan of simmering water until smooth.
Step 6
Dip the base of each cooled cookie in the white chocolate to make a Santa hat fur trim. Scatter with sprinkles. Use a dot of melted white chocolate on the top of the cookie, then stick a white chocolate chip on top for a Santa hat bobble. Store un-decorated cookies in an airtight container and eat within 1 week. Decorated cookies will keep for 3 days.
Step 7
Tip: When beating the butter with the first ingredients do not overwork the mixture, just ensure they are well combined, or you will beat too much air in the mixture and your cookies will spread during baking. Chilling the cookies after cutting them out also helps them to hold their shape better during baking.
View on Tesco Real Food
↑Support creators by visiting their site 😊
Notes
0 liked
0 disliked
There are no notes yet. Be the first to share your experience!