1/2

2/2
100%
1
By pollypocketsy
Kefir Cheese Balls
3 steps
Prep:5min
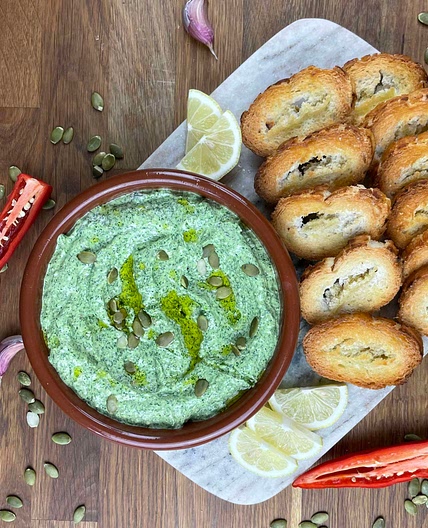
Making homemade seasoned Cheese balls is super easy and very little required besides a little patience . They are creamy and have a delicious flavor so great for smashing on your fav sourdough or on toasted pitta .
Updated at: Wed, 16 Aug 2023 23:52:36 GMT
Nutrition balance score
Uh-oh! We're unable to calculate nutrition for this recipe because some ingredients aren't recognized.
Ingredients
6 servings
Instructions
Step 1
Get a large bowl then put a strainer over it with a Muslin cloth or cheese cloth. Now pour over the kefir stir in a generous pinch of salt and cover it over . Let the whey drip down into the bowl. You can drink the whey or use it to make pancakes . Don’t throw it out . As soon as the whey stops dripping check to see that the consistency is thick and creamy . Now out a plate on top with some cans of beans or weights to weigh it down and put this in the fridge for 24-36 hours to firm up
Step 2
When the kefir has formed enough roll into balls ( whatever size you want ) then put them on a kitchen paper lined tray and cover them with more kitchen paper . Put them back into the fridge for a few hours to firm up
Step 3
Once the balls have firmed up you can roll them in the zaatar tajin and rainbow pepper . You can also roll them in chillies or any homemade seasoning you like . To keep them nice and preserved put some oil in a clean sterilized mason jar then put the cheese balls in and cover with the oil. Put them in the fridge until you want to use them and enjoy !
rainbow pepper2 Tbsp


