By Mtina
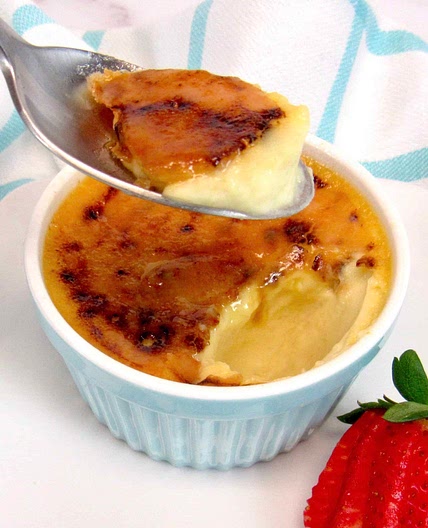
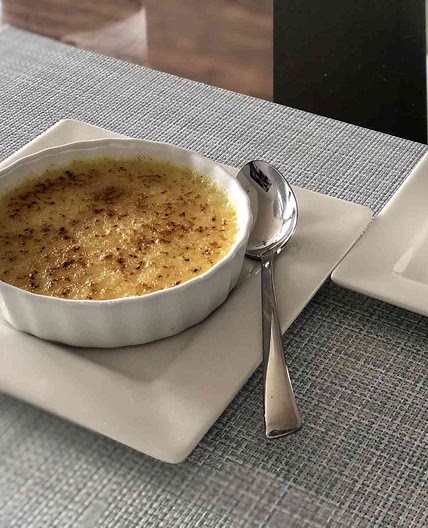
Creme Brulee Classic - delicious pot o' gold
15 steps
Prep:15minCook:30min
Definitely one of my favourite desserts! I've been trying to recreate it at home from the moment I first tried it in a restaurant and fell in love with it...
There are thousands of creme brulee recipes around, they all seem so simple and yet took me quite a bit of failed attempts to get it right... And I did!
So the focus of this recipe is sharing those small(print) details you need to pay attention to in order to achieve the heavenly creaminess of this pot o' gold.
Heads up - you will need a cooking torch for this one. There are some methods to bypass the torch, but personally, I would not recommend them.
Updated at: Thu, 17 Aug 2023 11:26:17 GMT
Nutrition balance score
Unbalanced
Glycemic Index
63
Moderate
Glycemic Load
16
Moderate
Nutrition per serving
Calories501.4 kcal (25%)
Total Fat42.8 g (61%)
Carbs26 g (10%)
Sugars25.5 g (28%)
Protein5.1 g (10%)
Sodium51.1 mg (3%)
Fiber0 (0%)
% Daily Values based on a 2,000 calorie diet
Ingredients
6 servings
Instructions
Step 1
Preheat the oven to 160.
Preparing the cream
Step 2
Slit open vanilla bean, scrape the goodness and add to the cream in a pot. Add the white sugar and mix until sugar disolves. You can throw in the scraped vanilla bean too for extra flavour.
Step 3
Bring it to a gentle boil and let it cool down a little.
Remove the used vanilla bean shell.
Step 4
Separate 6 egg yolks into a separate bowl.
Step 5
Start slowly adding warm cream to the yolks through a strainer, while whisking the whole time. It's very important to add the cream bit by bit whisking the whole time in order to avoid overcooking the eggs with the hot cream (this is called tempering). Once you do that - your cream is (almost) ready!
Step 6
If you want to go the extra mile - strain the whole mixture one more time into the measuring cup or similar dish with a curved edge (this will help fill in the ramekins later).
NOTE: Do this gently in order to remove as many bubbles as possible and not to make new ones.
Now use the strainer to remove the remaining bubbles from the surface.
Step 7
Place 6 ramekins in a deep baking dish. Fill them gently with the cream, being careful not to make bubbles we spent hard time getting rid of earlier.
Preparation for the bake
Step 8

Now gently fill the dish with the ramekins with the boiling water halfway up the ramekins (this is called water bath cooking and will help them to cook slowly).
Be careful not to burn yourself and also not to get water into the cream.
Seems basic, but stranger things have happened. =)
Step 9
If you want to go an extra, extra mile - use the cooking torch to remove (or burn) the last remaining baubles (I like to go extra, extra). =)
Baking the cream
Step 10
Now (again) gently put the "contraption" in the oven, making sure the water and cream don't mix, and bake!
NOTE: The cooking time can slightly vary depending on the oven and the size of the ramekins.
I use 30min for the shallow ones, 35 for the deeper ones and then double-check them for doneness.
Step 11
Check for doneness and return to the oven if not achieved.
You're looking for quite a bit of a jiggle- definitely more than I would consider normal. If you feel just a bit concerned they will come out watery - that's the right spot!
Cooling and storing
Step 12
When done, let them cool down to room temperature and then place in the fridge for at least 4h, ideally overnight.
NOTE: To save precious space in the fridge, I use small carton cut-outs to stack them. Also, it's good to cover them with a foil to avoid your precious pots of gold soaking up the smell of the other fridge stuff.
NOTE: I don't know what is the recommendation, but I can tell you they stay fresh in the fridge for days (10 or so), so you can prepare bigger batches...
Serving
Step 13

And now the final touch - the sugar crust!
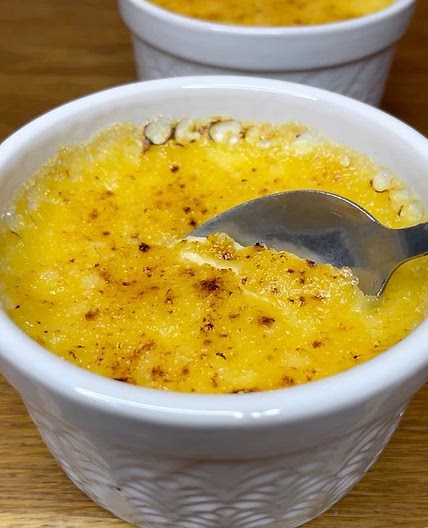
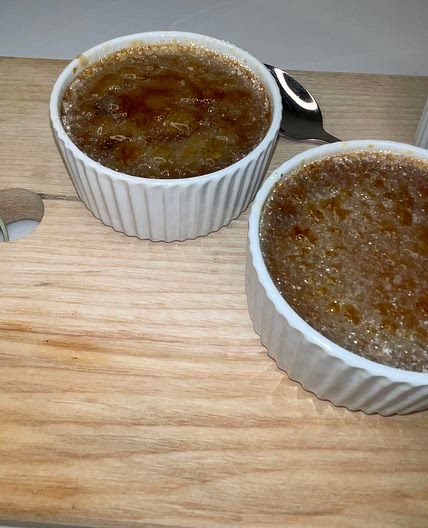
Distribute around 1 tsp of brown sugar on top of the cream. Make sure to cover the whole surface equally. If there is some remaining loose sugar I usually shake it out, because we don''t want the thick crust.
NOTE: Do this only to the ones you plan to eat immediately. Don't do it in advance since the crust will go soggy and the whole desert ruined.
Step 14

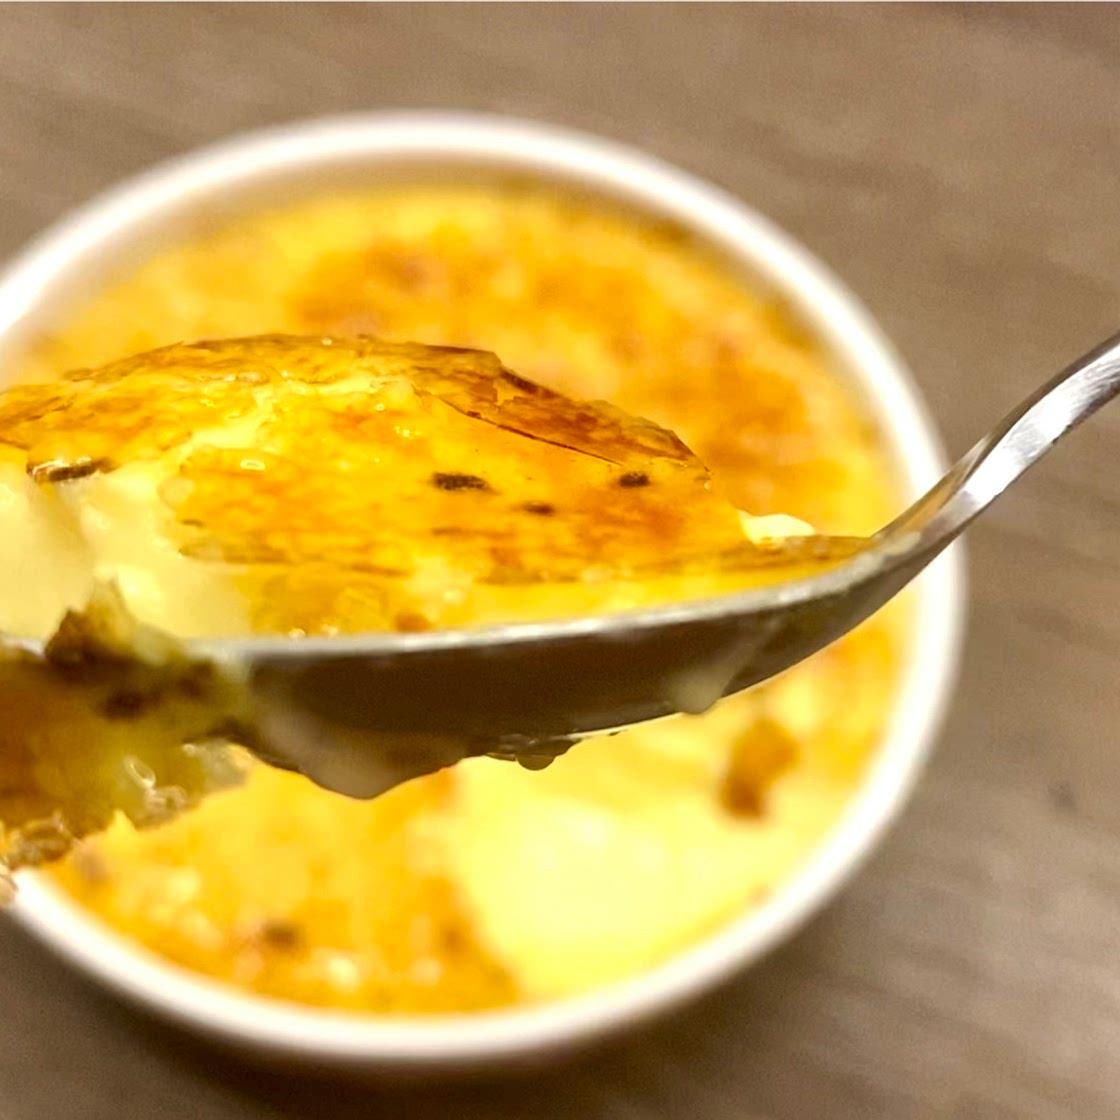
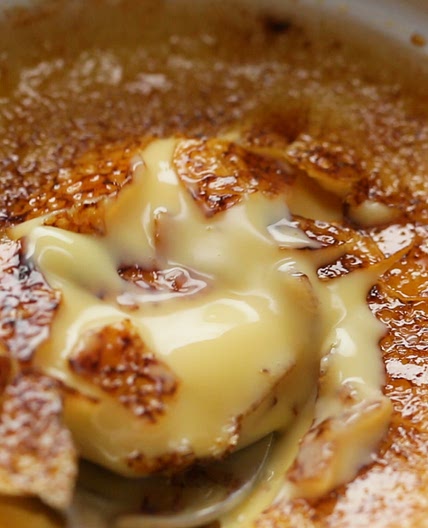
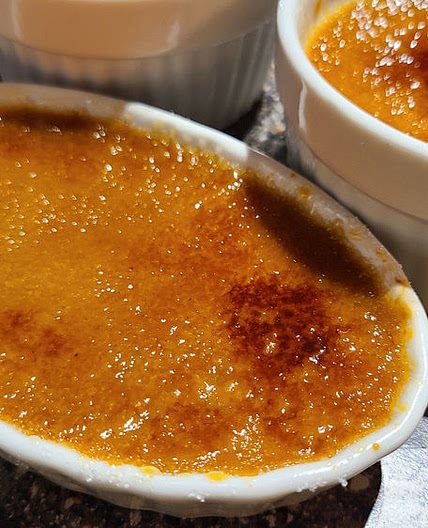
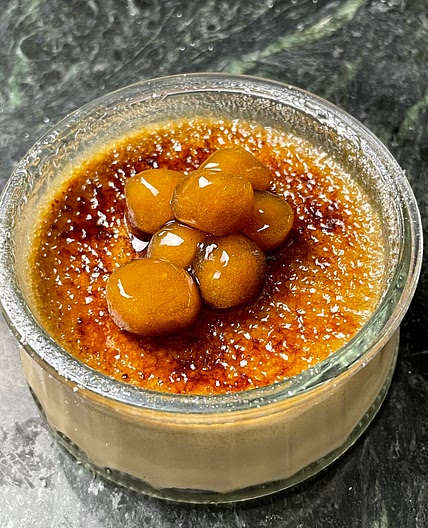
Now have some fun and use the torch to melt the sugar. Start from the inside and move toward the edges in circular movements, and make sure you melt all the sugar as you go. Don't worry about burning some more than the other, it adds a special bit of flavour and touch to the desert.
Step 15

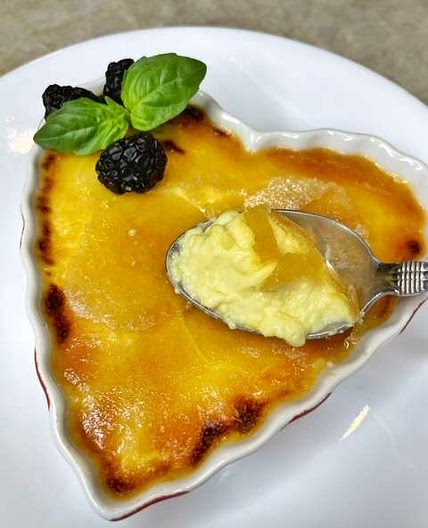
That's it! Enjoy your delicious pot o' golds.
Notes
8 liked
1 disliked
Delicious
Sweet
Go-to
Crispy
Special occasion
