By Loren is in the kitchen
Vegan pumpkin pie filling
9 steps
Prep:4h 7minCook:1h
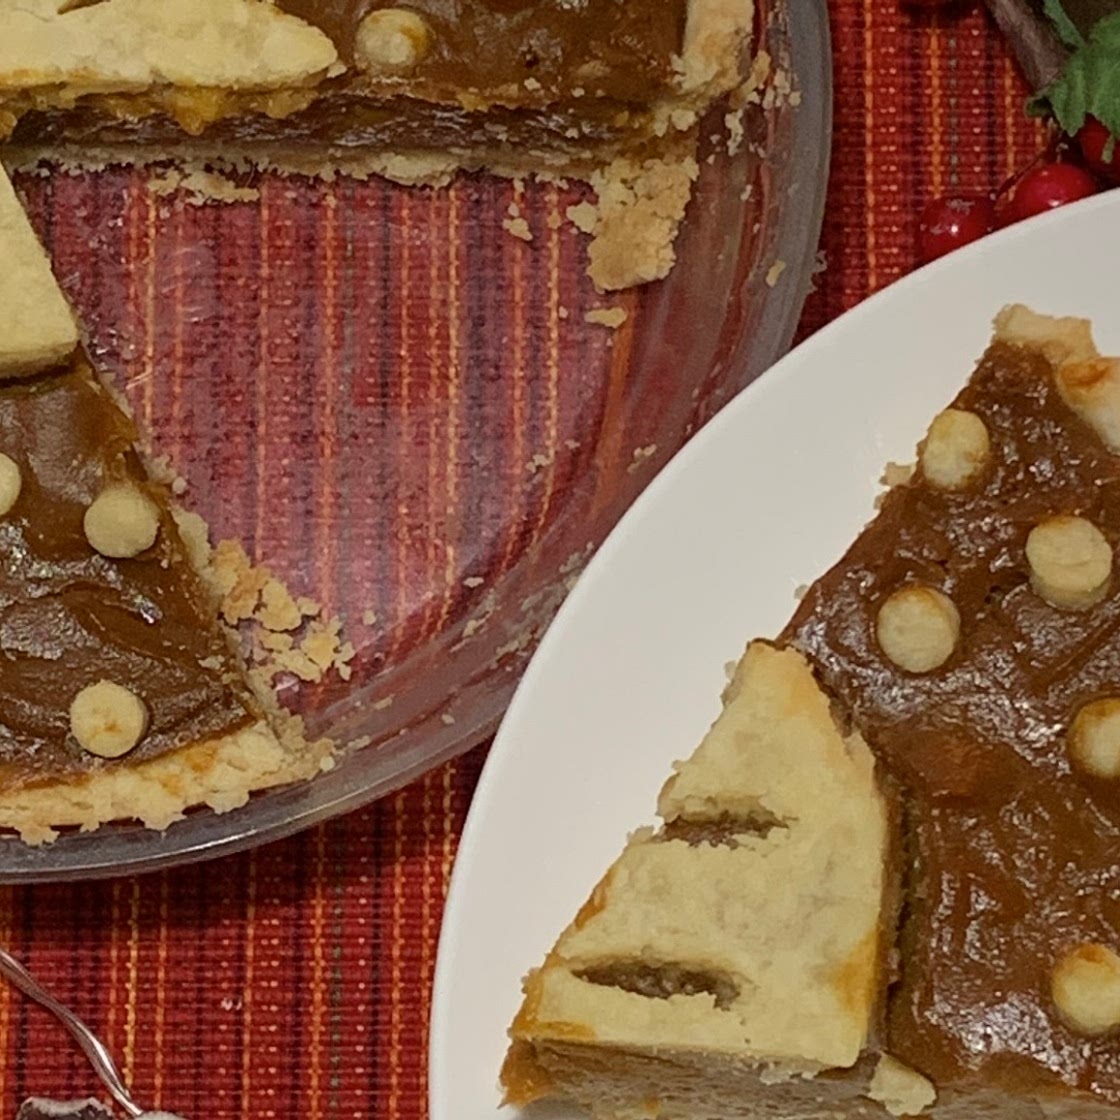
Smooth, spiced, velvety, festive, and vegan pumpkin pie filling.
Updated at: Thu, 17 Aug 2023 10:39:33 GMT
Nutrition balance score
Unbalanced
Glycemic Index
63
Moderate
Glycemic Load
32
High
Nutrition per serving
Calories227.7 kcal (11%)
Total Fat3.1 g (4%)
Carbs50.4 g (19%)
Sugars31.1 g (35%)
Protein1 g (2%)
Sodium166.4 mg (8%)
Fiber2 g (7%)
% Daily Values based on a 2,000 calorie diet
Ingredients
8 servings
Instructions
Step 1
Preheat the oven to 350 F.
Step 2
Prepare my pie crust recipe, and mold it into a 10” pie dish, keep refrigerated until the filling is ready. (Search for “vegan pie crust” on my whisk account for the recipe!<3)
Step 3
Add canned pumpkin, coconut cream, brown sugar, cinnamon, ginger, nutmeg, cloves, salt, and cornstarch to a blender and blend until smooth. If you don’t have a blender just whisk it together in a bowl until smooth.
Step 4
Pour the pumpkin pie filling into a 10inch pie dish lined with my uncooked pie crust recipe.
Step 5
Spread the mixture evenly with a spatula.
Step 6
Decorate now with excess pie crust cut out with cookie cutters if desired. If you’d like the edges and the decorations for the pie to get caramelized and golden brown you can brush it with vegan milk, vegan butter, vegetable oil, or maple syrup.
Step 7
Bake for 1 hour. If the crust starts to burn, cover the edges of the crust with foil after about 30 minutes of baking. The filling may still look jiggly that's normal.
Step 8
Let cool at room temperature for 30 minutes, then cover with plastic wrap and transfer to the refrigerator to chill for at least 4 hours or overnight.
Step 9
Slice and serve.
Notes
1 liked
0 disliked
There are no notes yet. Be the first to share your experience!