By mamagourmand.com
Crusty, Airy Gluten-Free French Bread (1 Hour)
7 steps
Prep:10minCook:25min
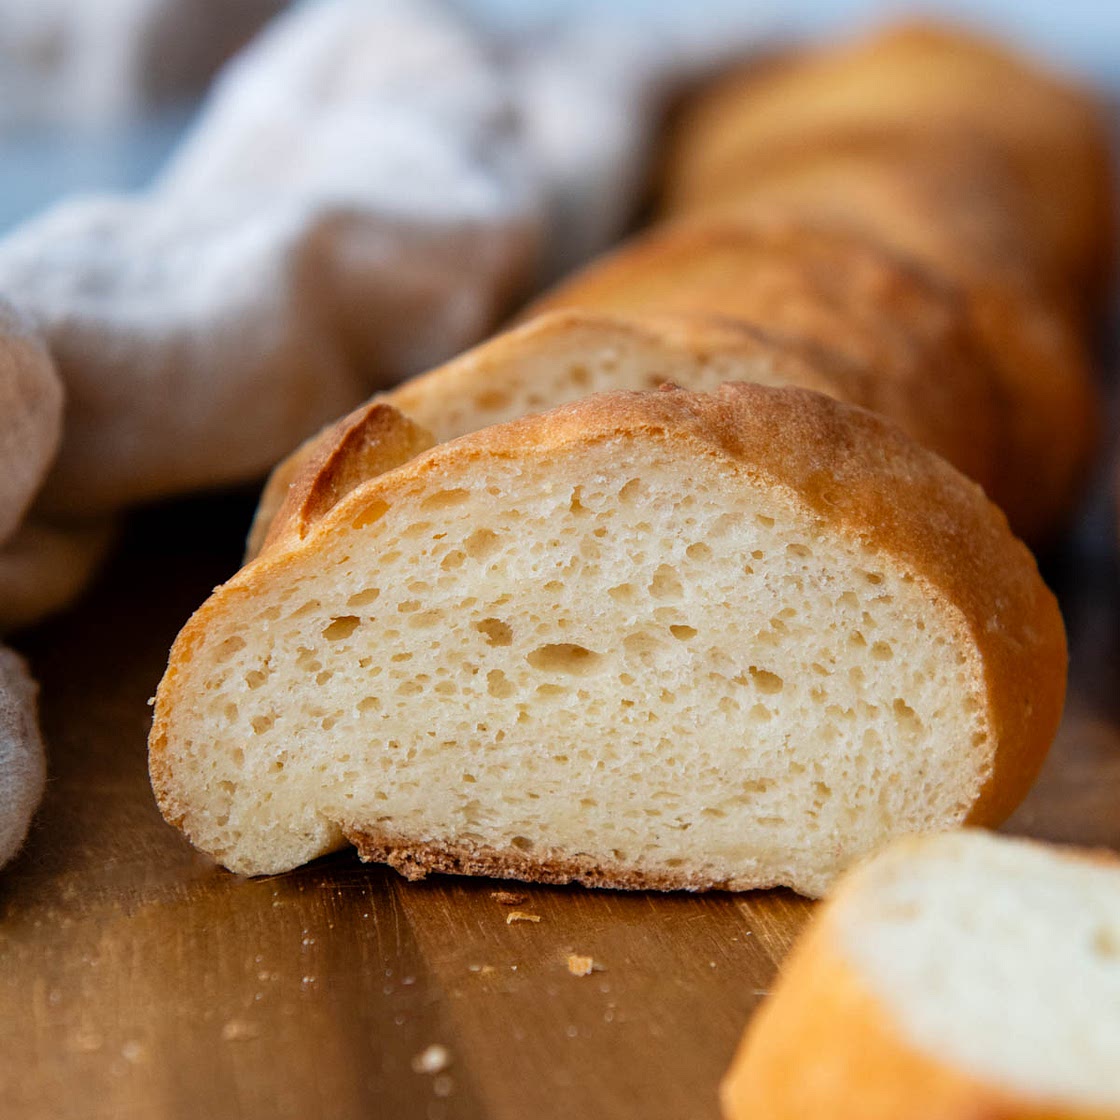
Learn how to make the best gluten-free french bread with an easy and well-tested recipe. As an experienced gluten-free baker, I've perfected simple techniques to make a crusty baguette with a soft, airy crumb. This homemade loaf mixes together in minutes, requires one short rise, a quick bake, and ready to enjoy in less than 1 hour!
Updated at: Sun, 11 Jan 2026 08:27:41 GMT
Nutrition balance score
Unbalanced
Glycemic Index
71
High
Glycemic Load
14
Moderate
Nutrition per serving
Calories109 kcal (5%)
Total Fat4 g (6%)
Carbs20.1 g (8%)
Sugars1.6 g (2%)
Protein2.2 g (4%)
Sodium348.6 mg (17%)
Fiber2.5 g (9%)
% Daily Values based on a 2,000 calorie diet
Ingredients
12 servings
Instructions
Step 1
Using a stand mixer with paddle attachment, mix together gluten free flour, potato starch, yeast, psyllium husk powder, baking powder, and salt on low speed until combined.
Step 2
Add warm water (see recipe note below), eggs, apple cider vinegar, honey, and oil. Mix on low speed to let the dough come together, about 1 minute. Increase the speed to medium and beat for 5 minutes (this helps thicken the batter), scraping down paddle and bowl halfway through. The batter will be thick and stiff, but still slightly sticky.
Step 3
On a greased large sheet of parchment paper shape the dough into a large ball, using greased hands. (Spray nonstick cooking spray on them or rub with a little bit of olive oil.) Use a sharp knife to evenly divide the dough in half.
Step 4
Move one half to the side and roll one into a smooth 12-inch log using greased hands. Repeat with the second log and position about 3-4 inches apart. For an authentic look, pinch the ends so they are tapered. Use a sharp knife to slash 3 diagonal slits on top, about ¼-inch deep. (See how-to images in the recipe post.)
Step 5
Move the parchment with bread to a baking sheet. Place a large piece of greased plastic wrap over the shaped bread and let rise in warm, draft free place for 30 minutes. After 30 mins, the bread will not be fully risen, but will rise more as it bakes due to the baking powder. Meanwhile, preheat the oven to 450℉.
Step 6
When ready to bake, remove the plastic wrap. Throw 5-6 ice cubes at the bottom of the oven (this creates a steamy environment for a crisp outer crust) and place the bread on the middle rack. Bake for 10 minutes. Loosely tent a large piece of foil over the baking sheet (to prevent the bread from over-browning) and reduce the oven temp to 350℉. Bake for 15 minutes longer.
Step 7
Transfer to a wire rack to cool slightly before slicing, about 30 minutes.
View on mamagourmand.com
↑Support creators by visiting their site 😊
